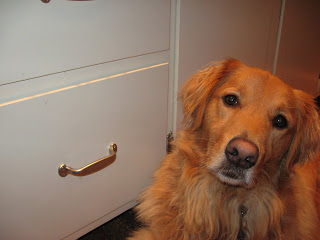
When I ordered cabinets for the bathroom, the generous salesman at
Just Cabinets gave me several boxes of knobs. They were the
basic brushed silver knobs that come with all KraftMaid cabinets, and they send them to the store even if the customer ordered something else. So they were just extras to them, but I estimated they saved me at least $50. The best part is that I would have been my top choice anyway.
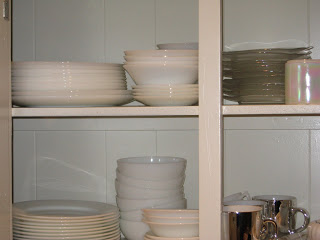
I decided I really wanted
handles on the drawers, even though they were a steep $8 each. I saw them in the store and I just knew they would be perfect. I looked everywhere for a cheaper substitute, but eventually sucked it up and ordered them= $68. The drawers are heavy, constructed of plywood with a front of some other wood. They also have no glides of any kind, so pulling them open with just a knob would have been cumbersome.
Oh, and did I mention that mom and I repainted the cabinets? Yup. And it only took us about six months.

We took all the cabinet doors off, sanded them, and set them aside. Then we attacked the cabinet frames. These cabinets were such a hodge podge. More than I had ever realized. The backs were that 70s paneling, which, by the way, paints beautifully. The doors were made at two different times. Some had rounded corners, and appeared to be made of maple. Possibly. Other doors had square cut doors, and who knows what they were made of. The shelves were quite diverse. Some cheap, warped, rough pine. Some scrap chestnut. Some particle board. The particle board was the best- very thirsty. Oh, and all of it had been covered by a hideous black and red print contact paper. It covered every surface on the interior. Every corner was crisp. We joked that it had been professionally installed, it was that thorough.
Mom and I stood and sat in every concieveable contorted position to sand, clean, then prime and paint these cabinets. I even stood on the counter. And got stuck. I’m not so good with heights, but I was fine while working. It was just when I would try to get back down that I would freeze. Then someone would have to come help me down. All three feet off the ground. How sad is that?
Our “professional” painter (the only person we ever fired) told us that we would need to sand the 70s paneling that formed the back of the cabinets. Well, we tested it: sanded and unsanded, and it didn’t seem to matter. We opted for not going for the extra sanding, and it has been fine.
We used
Kilz2 as our primer, followed by 2 to 3 coats of oil paint from Sherwin Williams. Yeah, yeah, I know. Oil paint bad. But I seriously don’t think latex would hold up on such heavily used surfaces like a kitchen. We used foam rollers to apply the oil paint. It is possibly the nicest paint job in the whole house.
In all, I’m pleased with how they turned out, but I would have gladly torn them all out and replaced them, had our budget allowed. I’m also quite confident with the hand sanders now, too.
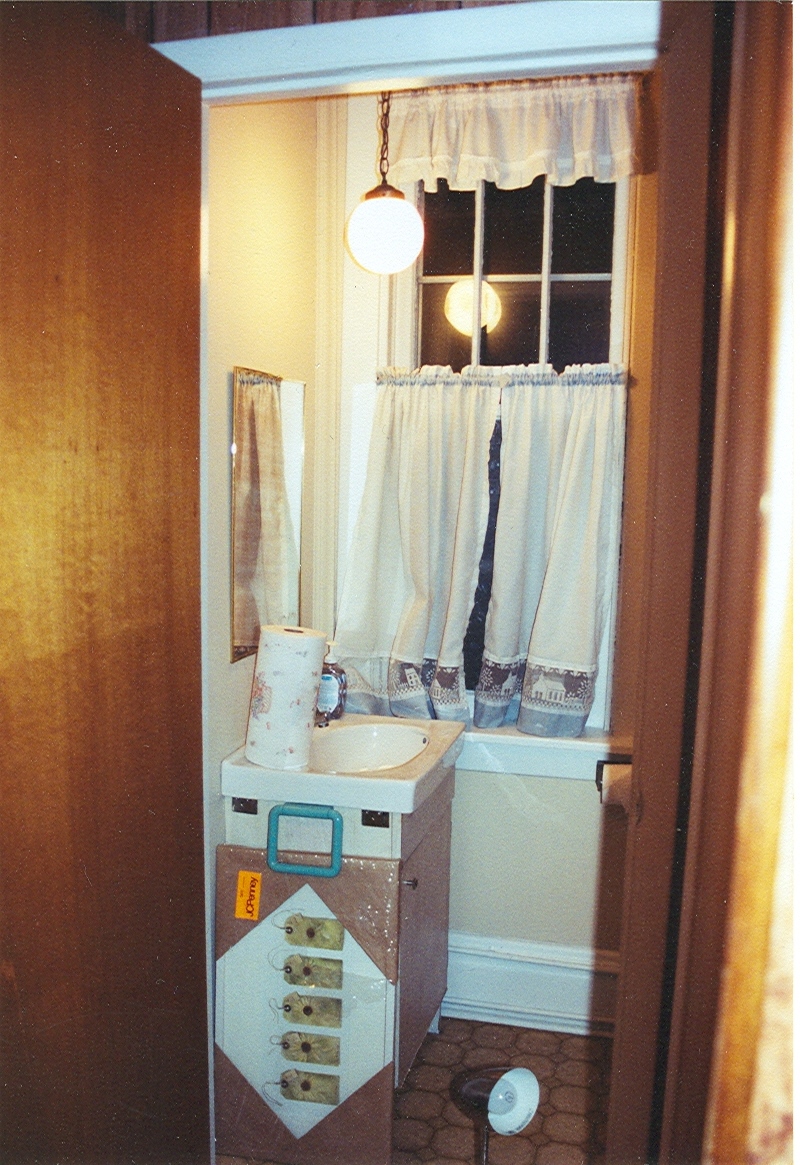 I was very glad to have a second bathroom in the house at all. And it served its purpose. But when we realized we were going to have to tear out the whole bathroom upstairs, I decided we needed to have a place to shower during the renovation of the upstairs bathroom.
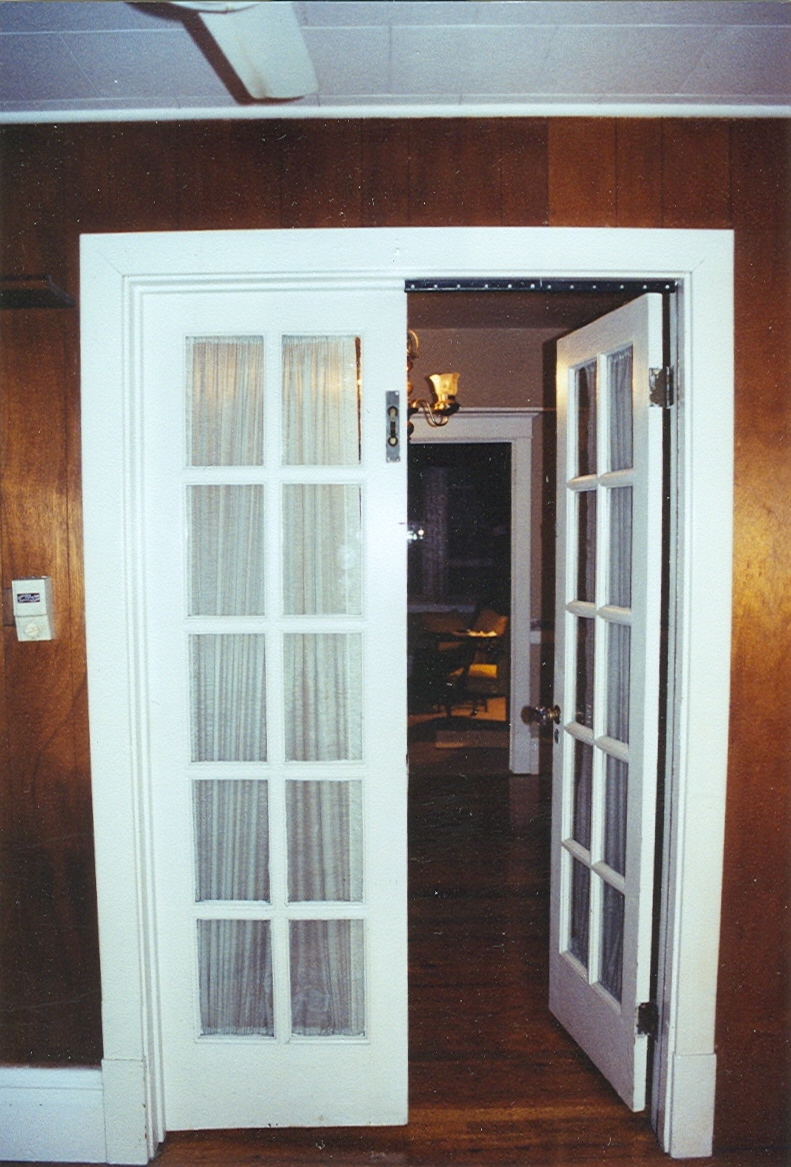
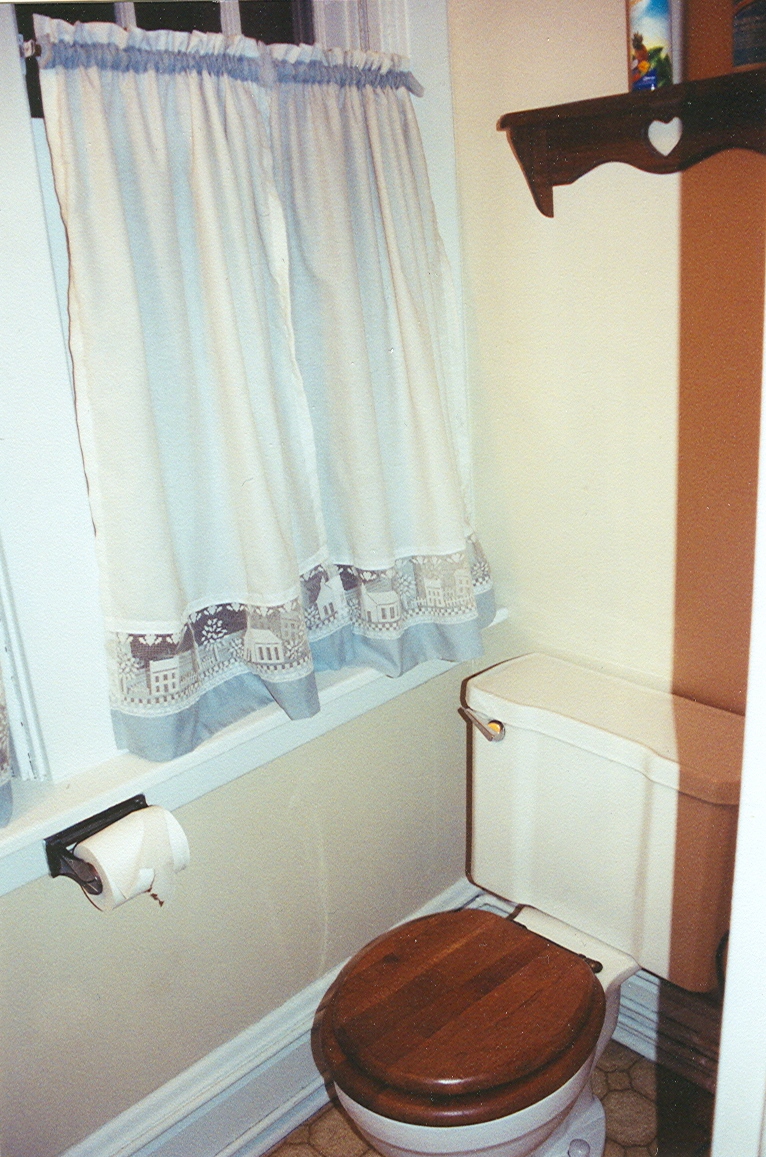 Also, I’ll never understand why they would have gone out and purchased a cheap, hollow-core door for this room when there were two five-panel doors, original to the house, in perfect condition, stashed away in the attic. Duh.
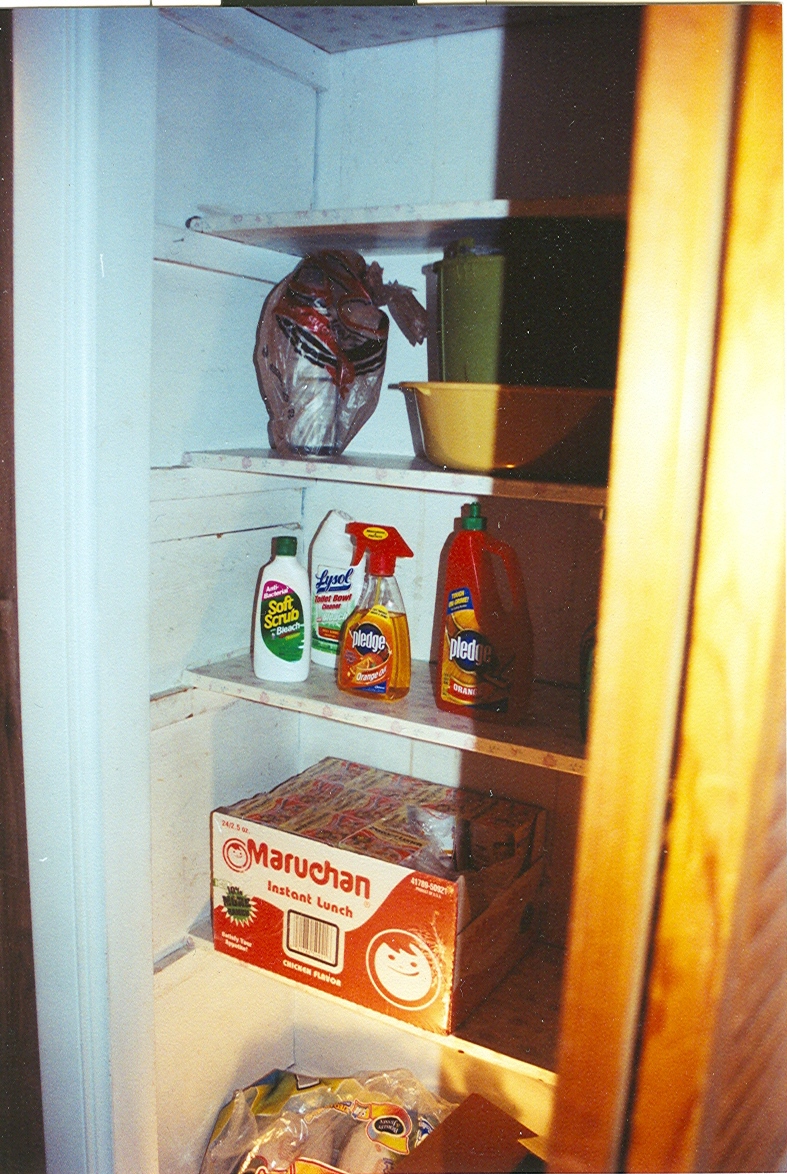
 This disgusting little pantry closet (part of the back hall) would become the spot for the shower. I really can’t believe they kept food there. It had no ceiling. It was just open at the top. Open to anything that might be living in those two feet above the drop ceiling. Ew.
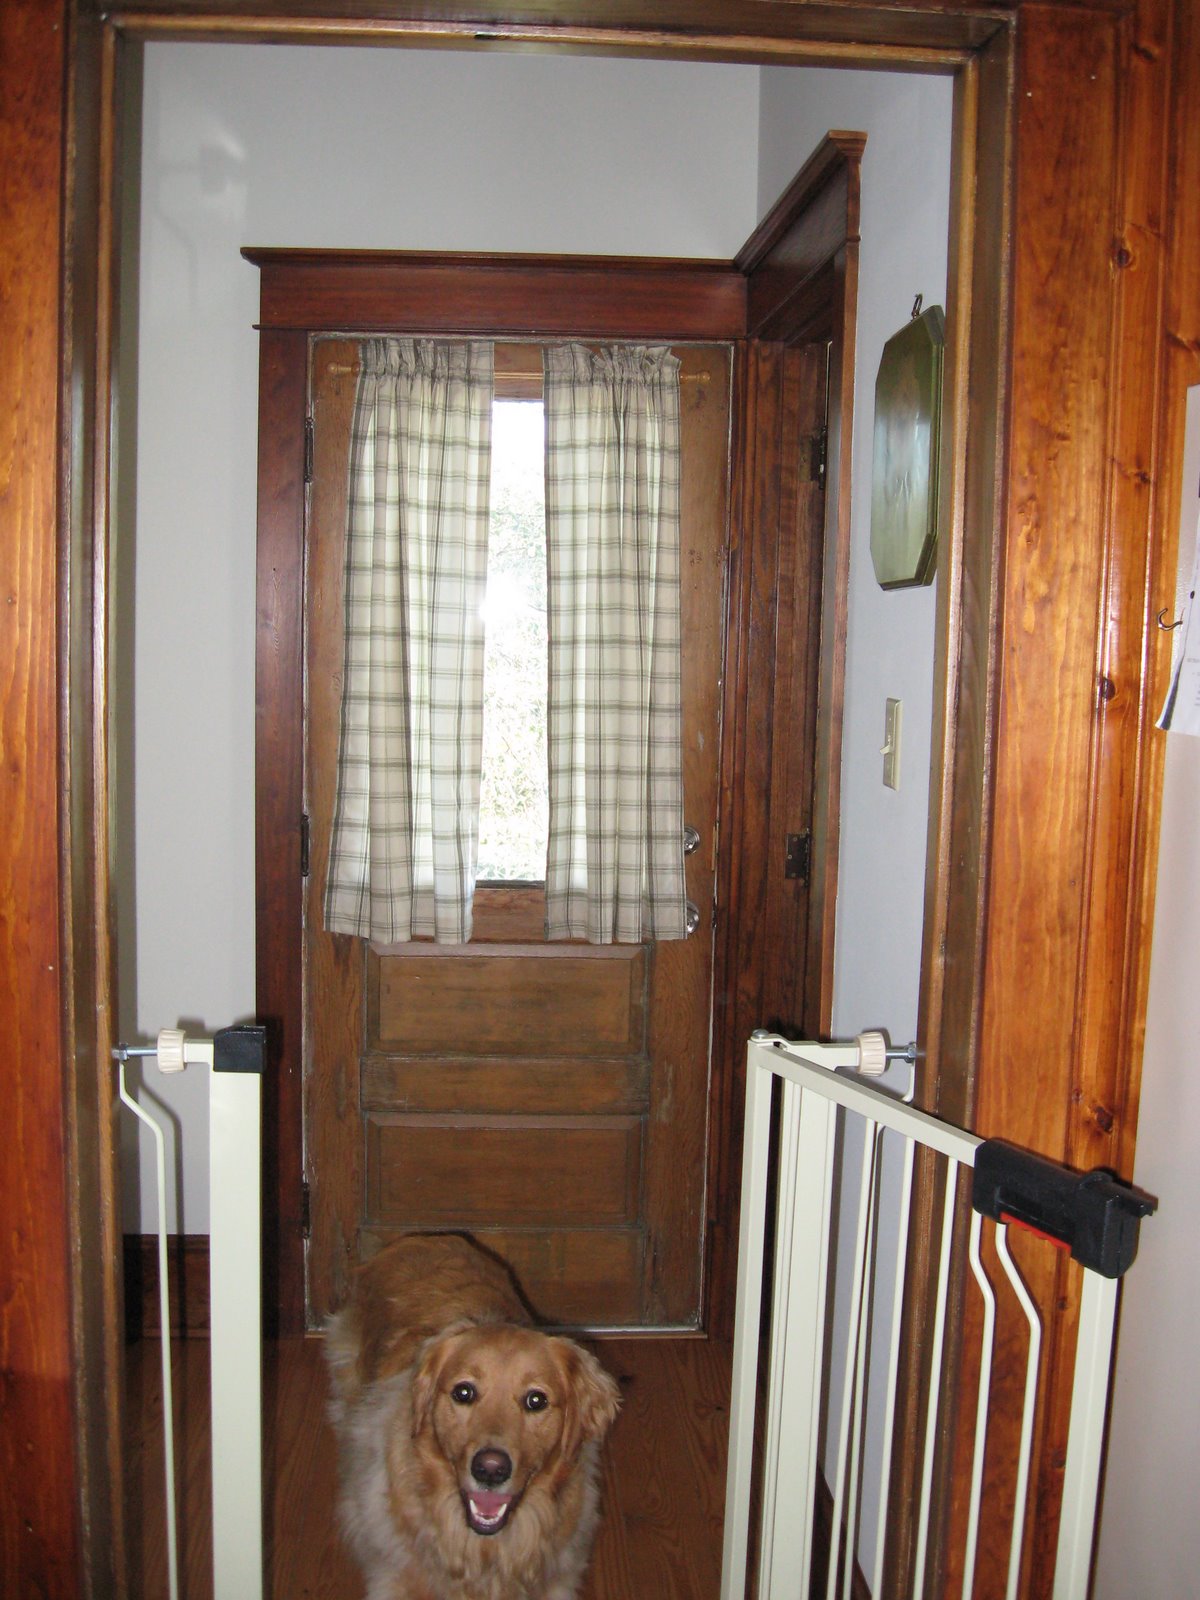
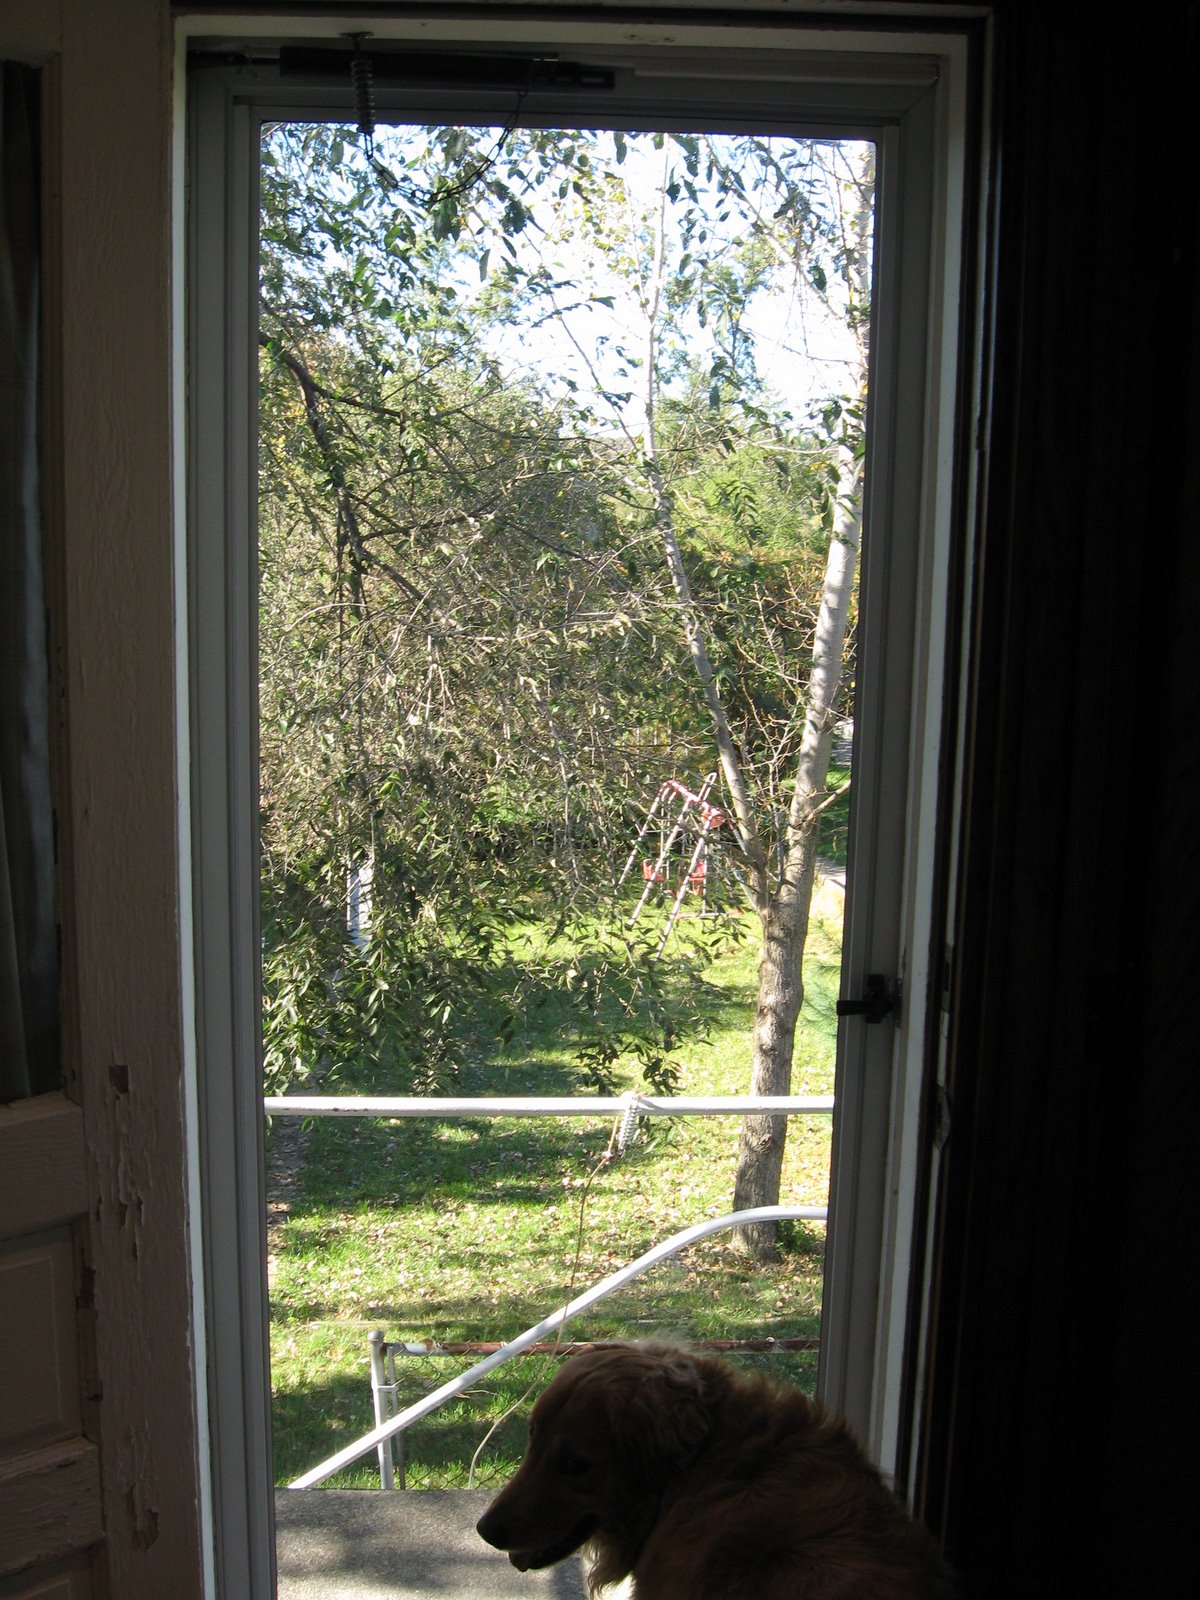
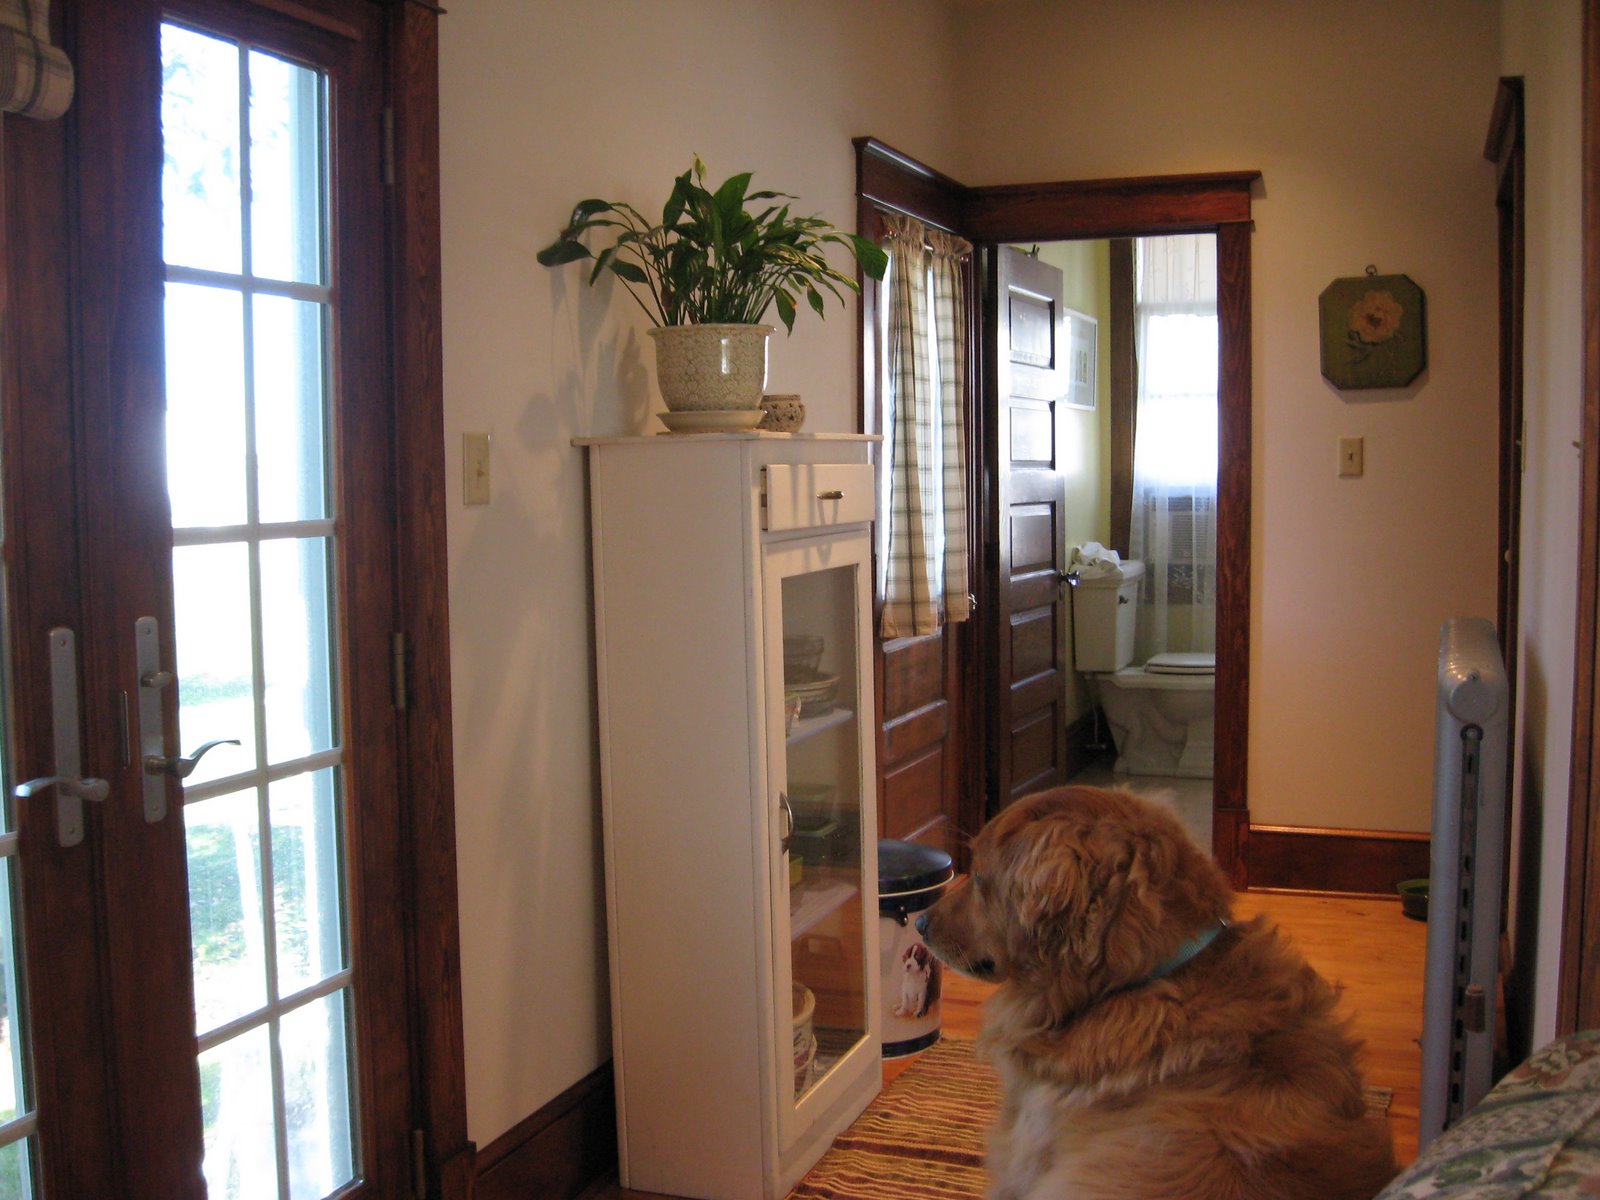
 You can see the radiator in the picture above, sporting its shiny new paint job.
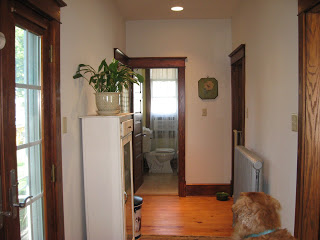 Now this space is light, bright, pretty, and gets great air-flow in the summer. Oli approves.

 When we tore the laminate off the walls we found several layers of wall covering. I’m not sure I even remember all of them, I think I’ve blocked it from my memory. My favourite was the genuine linoleum wall covering. I wish I had taken a picture, but later I recognized it in Jane Powell’s book
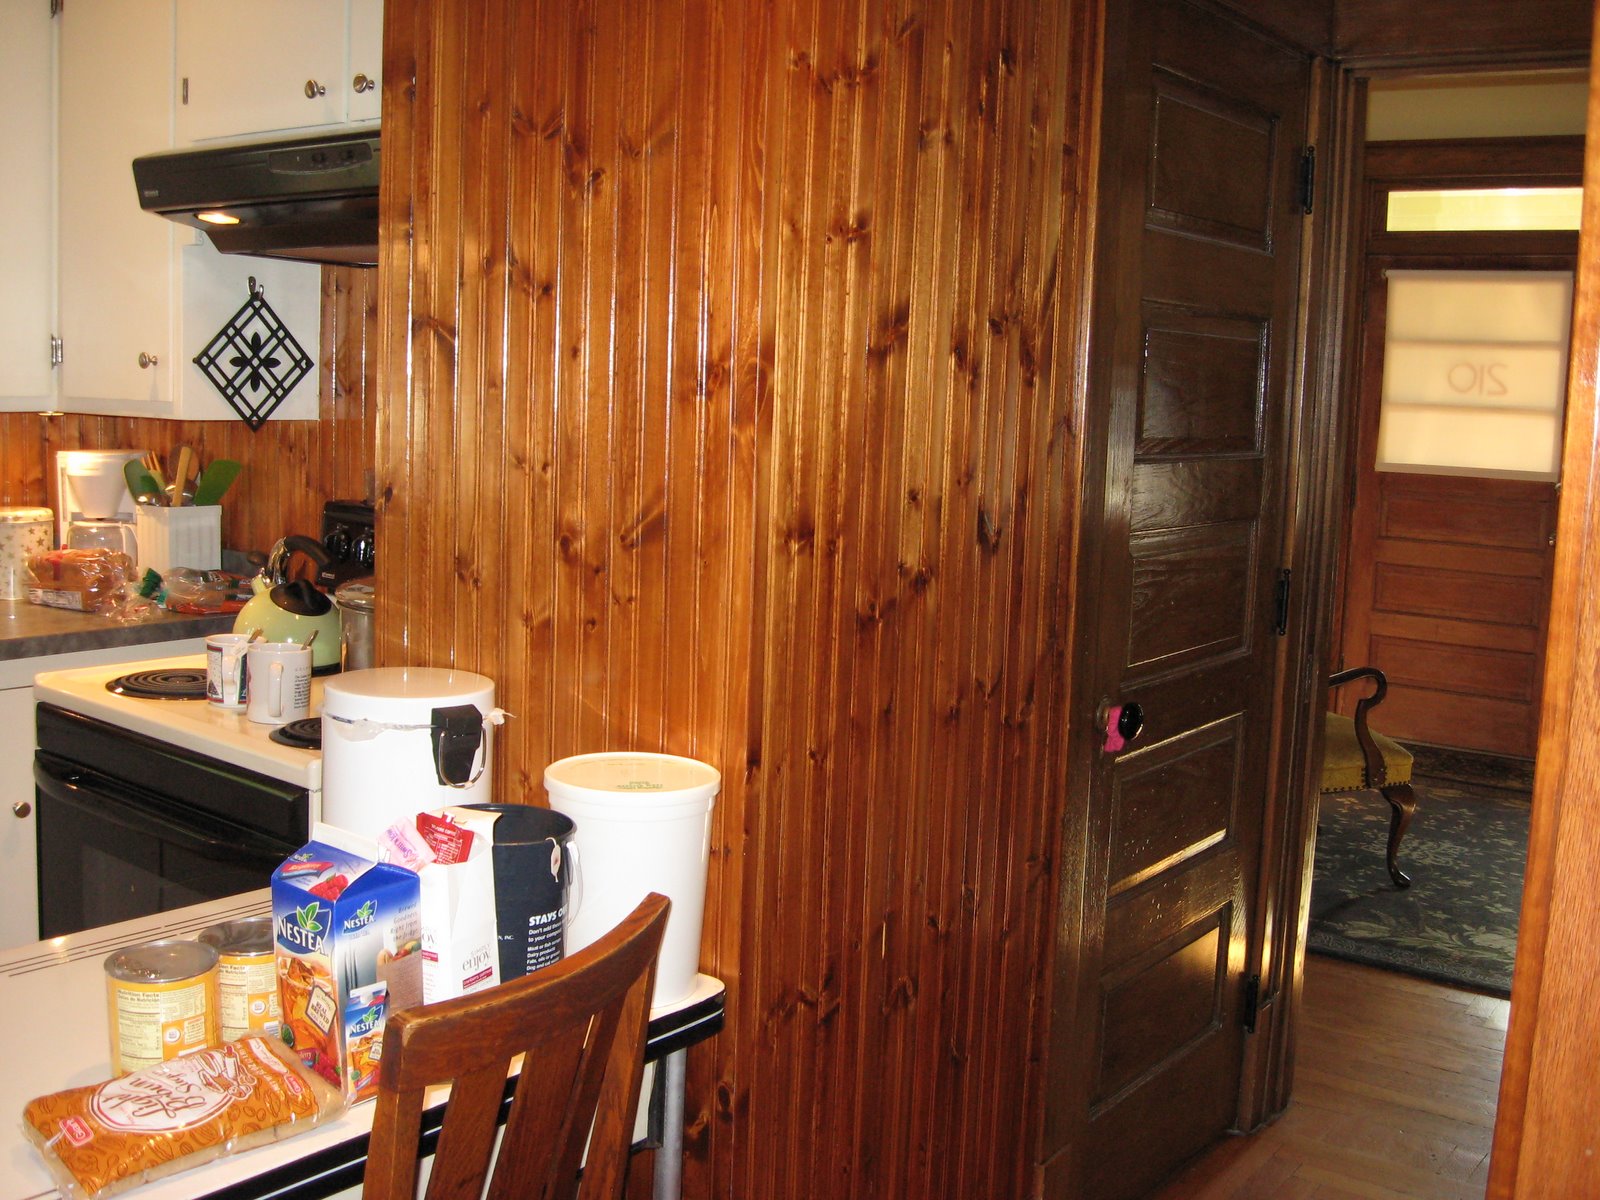
  I’ve got a nice piece of crown to top the beadboard, and a plate rail runs the length of the kitchen. I decided I wanted to have the crown at the same level as the crown piece on the doorways would be. Nearly all the wood trim in the kitchen had to be replicated, the original, if it was ever there in the first place, was long gone. We used all pine for the kitchen, and it was stained much more red than the rest of the house. I like the more red tone to the wood.
 The grey counter was chosen and ordered when I thought I was painting the beadboard walls green. I think it would look better now if I had chosen a green. Maybe someday. It is only laminate. I really wanted soapstone, but it just wasn’t in the budget.