And now, today, the upstairs hall looks like this: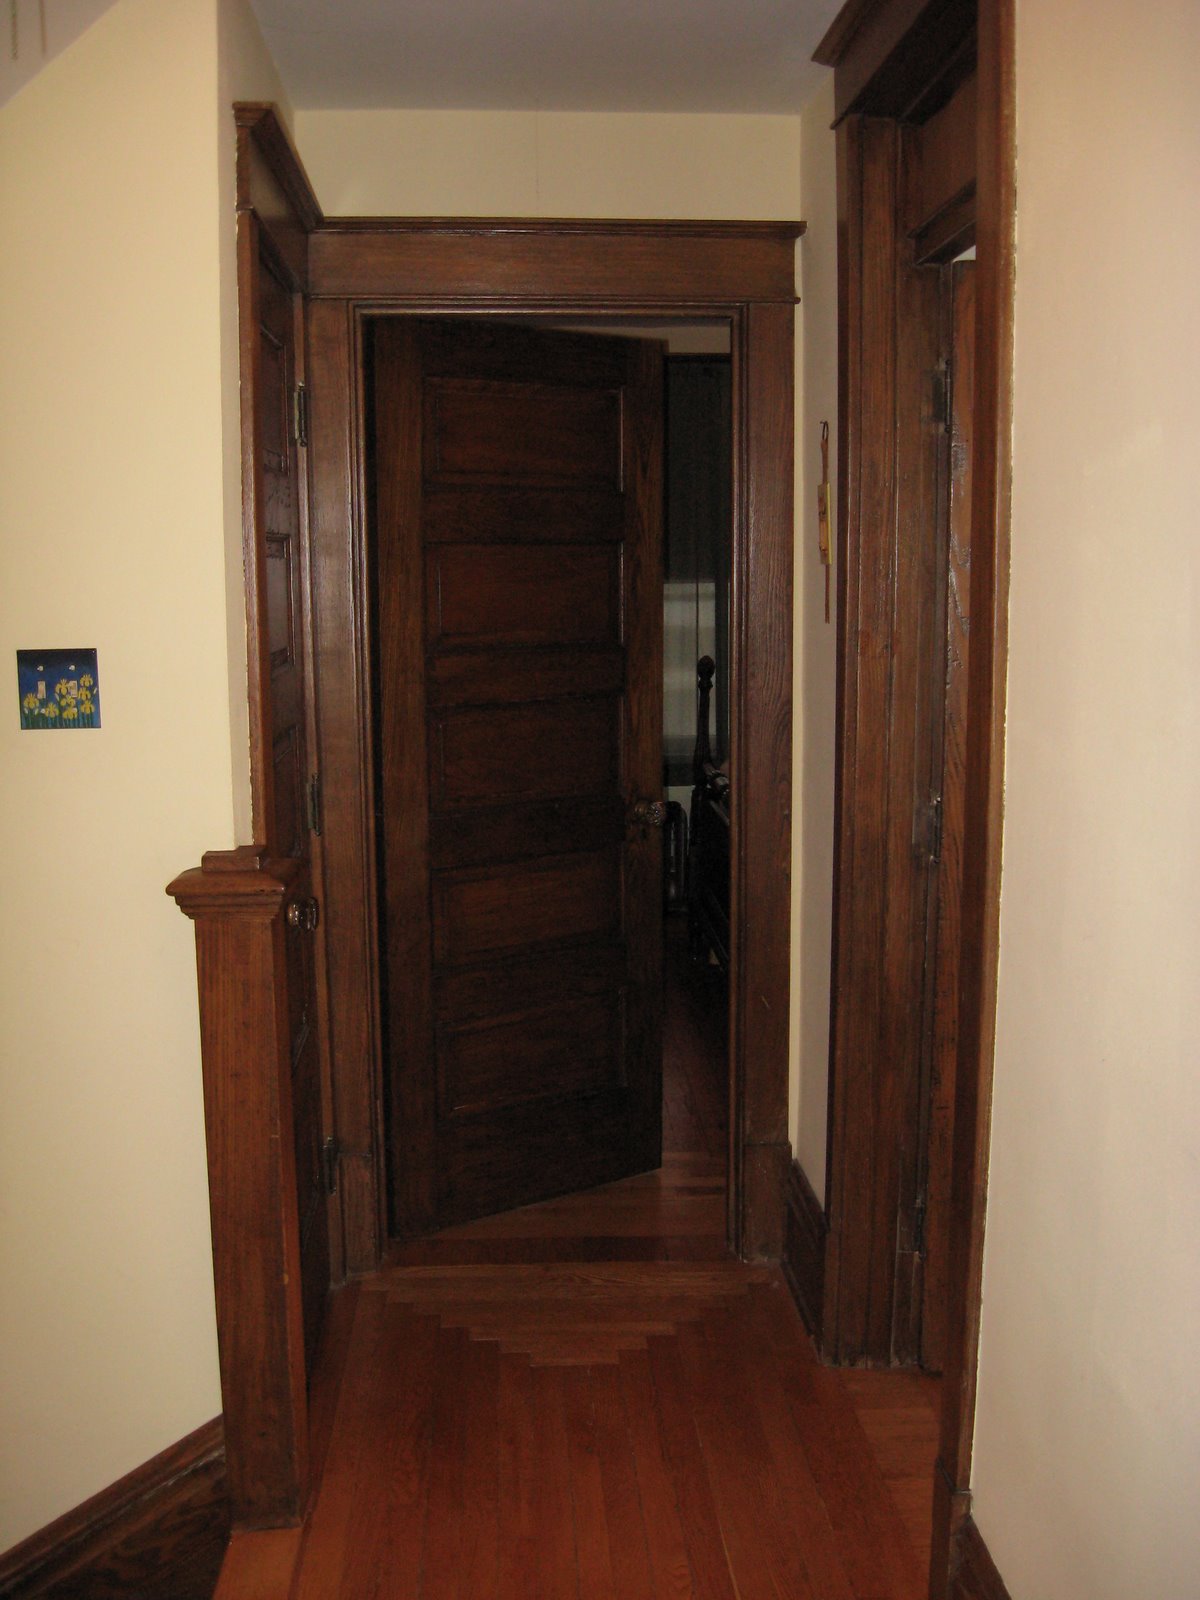 This is the view toward the front of the house. At the far left we have the staircase to the first floor, the door to the linen closet, the door to the front bedroom straight ahead, and the door to the side bedroom to the right.
No huge changes here, just repaired plaster walls, a new plaster ceiling, the carpet is gone, the wood floor is refinished, and all the trimwork has been stripped. You may notice there is a transom above the door to the side bedroom. I do have the window that goes there, but I need to purchase the hardware to make it operable before I can reinstall it. Right now the space is filled with cardboard (classy, I know). This is only temporary, and was put into place to keep that room cool this summer, because we only have window units right now.
Speaking of keeping things cool in the summer, we have installed a lovely whole-house fan. I love this thing. I do wish it weren’t plastic, but what can you do? I’m told this model is special because of the way it is made, none of the joists had to be cut, the center of the fan rests on one and the fan takes up the space between two joists. Anyway, I’m so glad we put this in because it really helps keep the house cool most warm days. It is only during the most sweltering part of the summer that we resort to the air conditioners.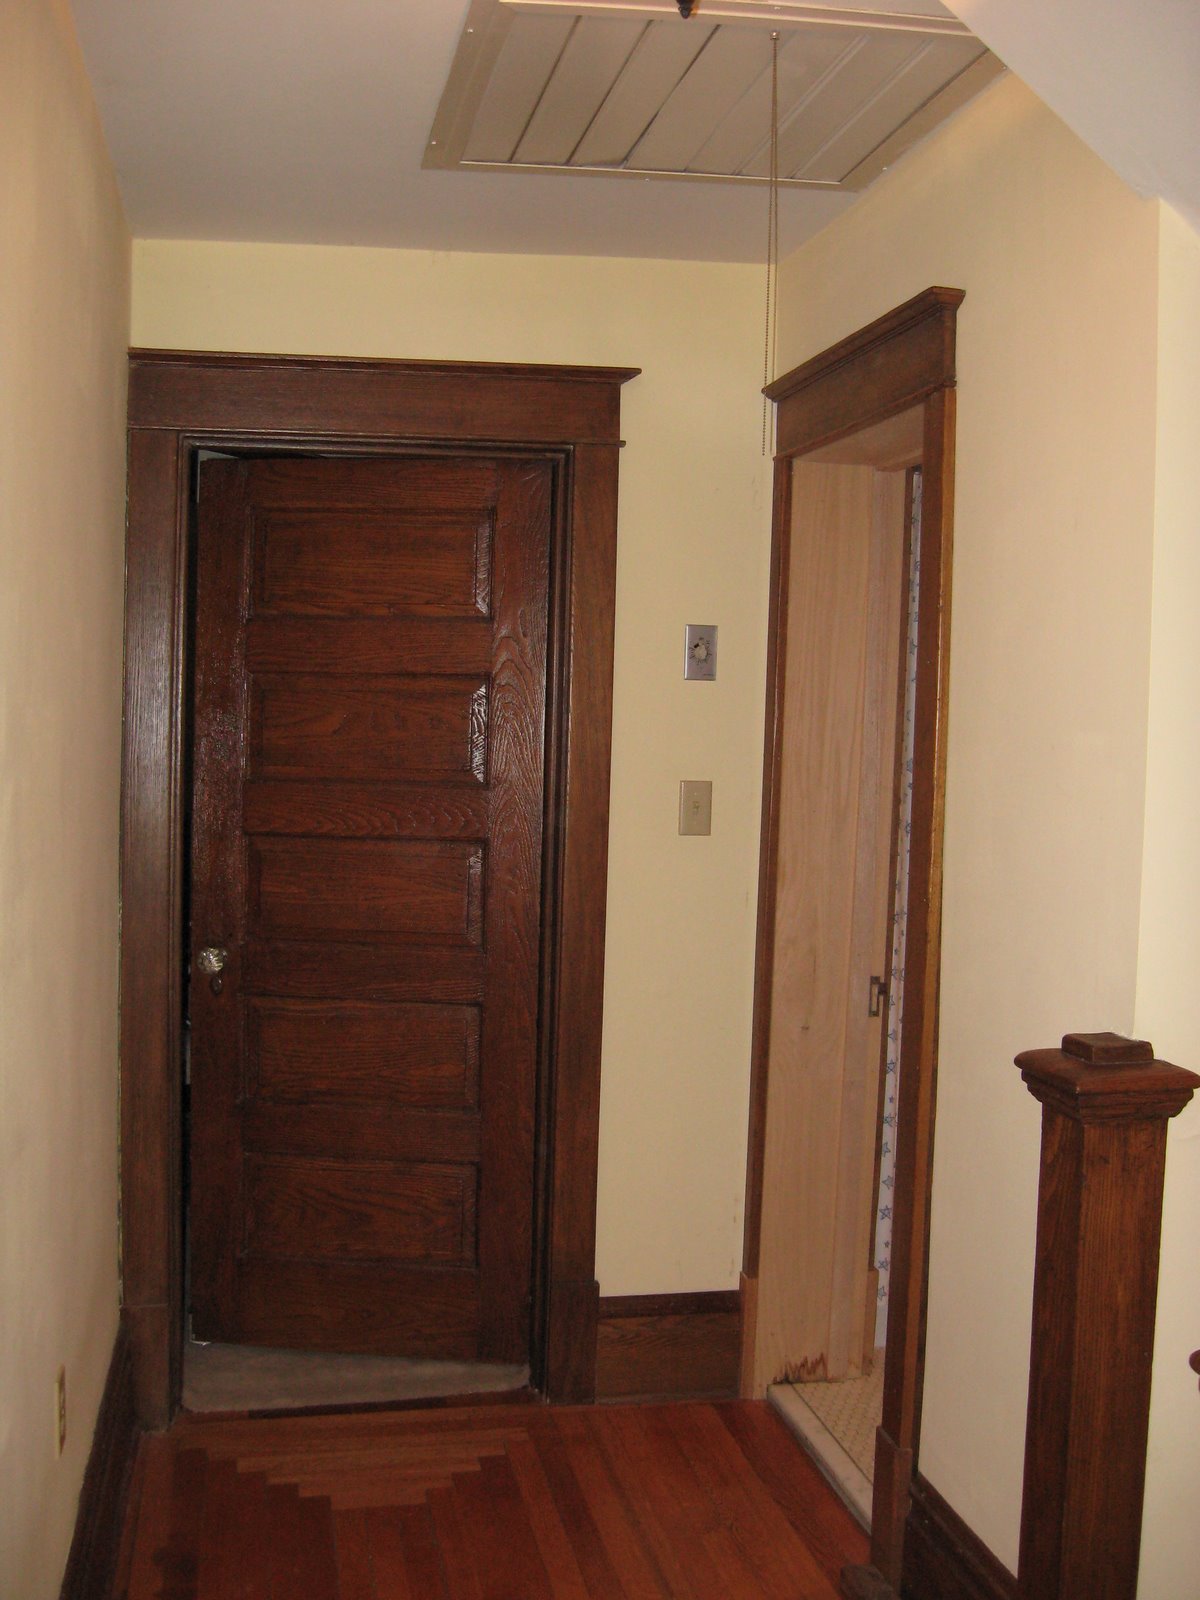 From this angle you can see the staircase to the first floor at the far right, the chimney stack, then the bathroom door (yeah, the jamb still needs some work), and straight ahead is the door to the back bedroom.
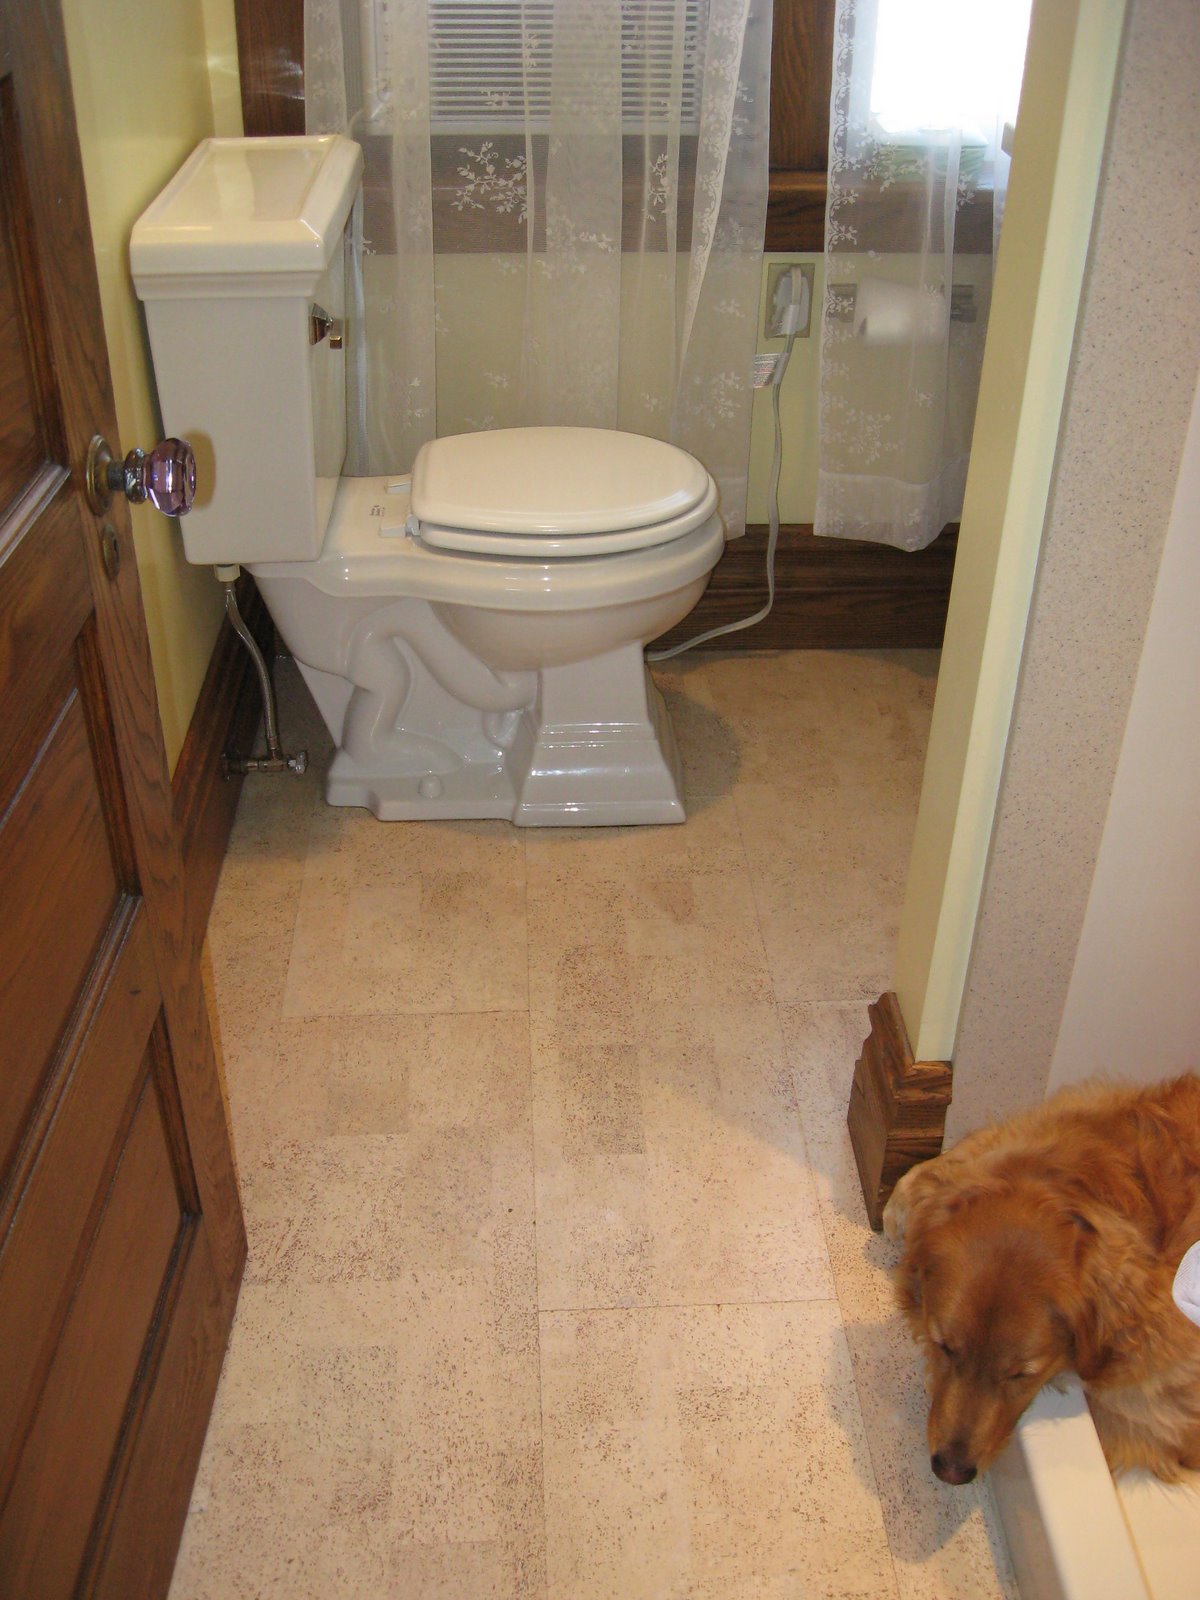
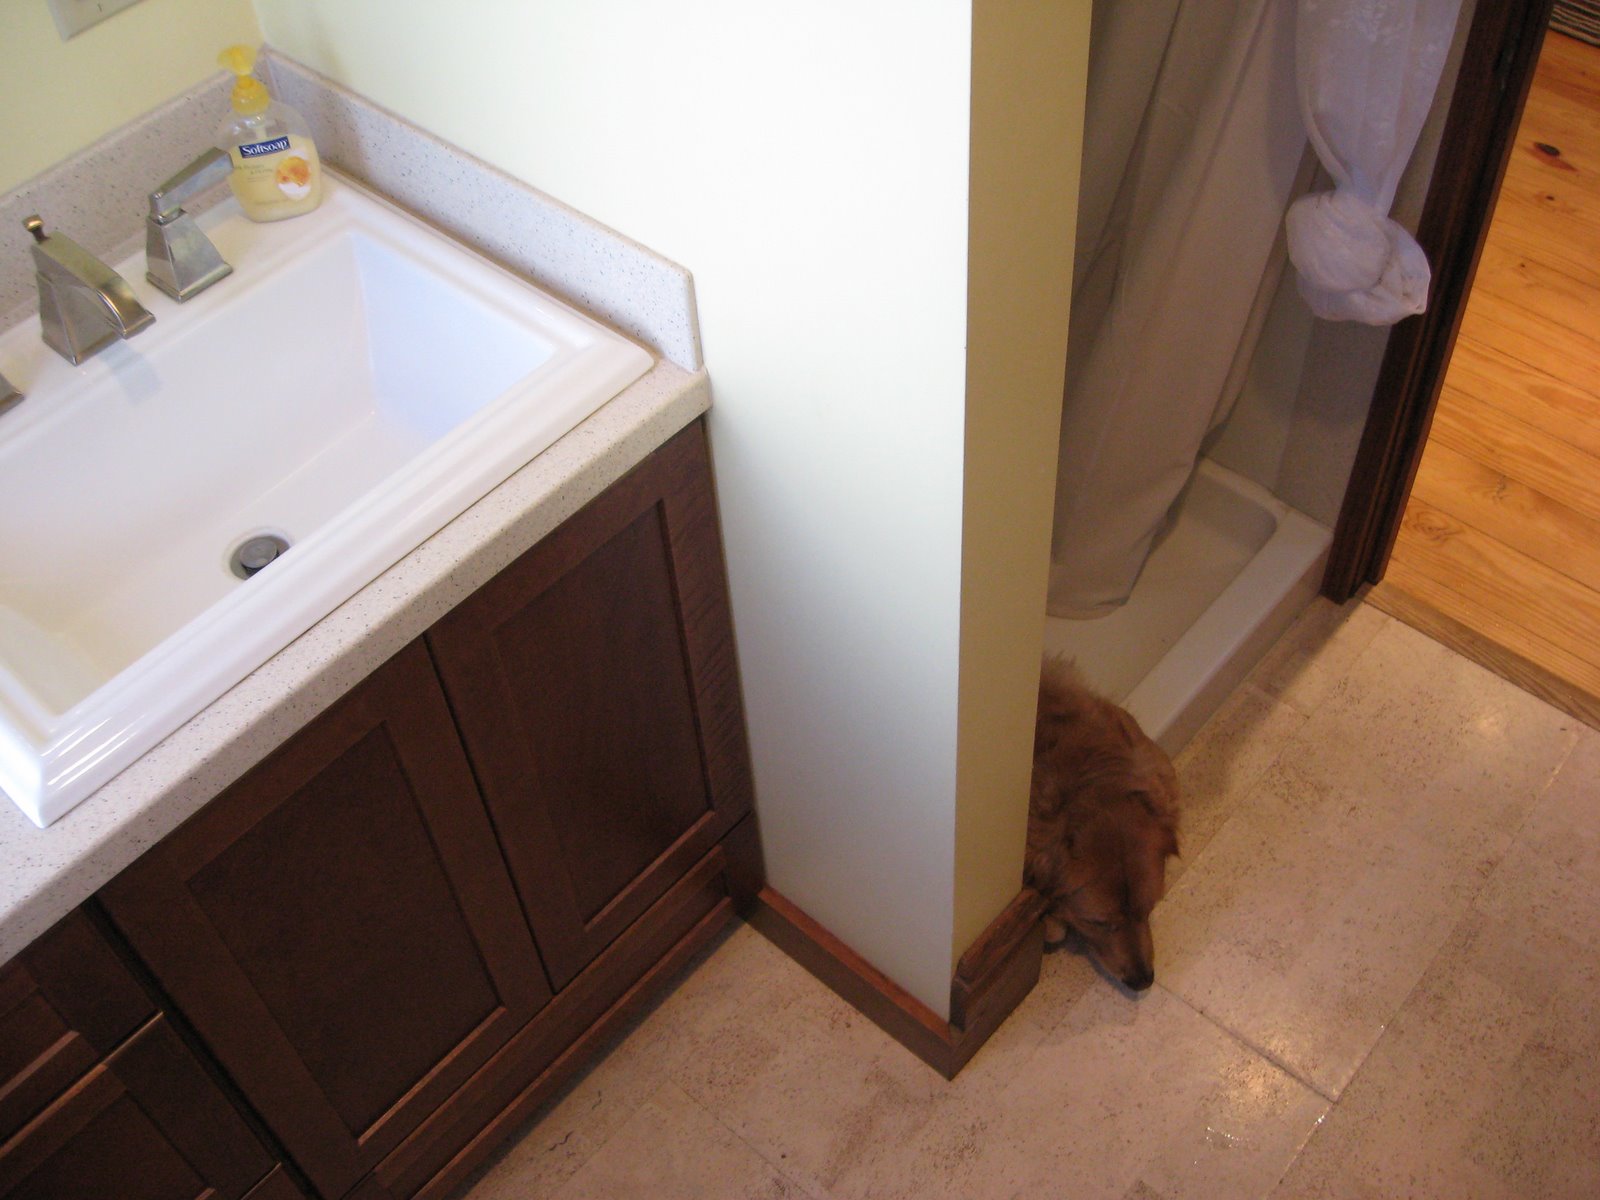
In order to enlarge the bathroom a bit, we bumped the bathroom doorway out into the hall a bit and changed the door so it swings inward. This looks totally natural because it is now flush with the chimney stack. Before there was this unnecessary inset for the bathroom door.
It should be noted, however, that moving this wall 18″ required a visit from a building inspector, and he is the reason for the new structural support beam in the kitchen. Which he suggested should have always been there. I was all too happy to have that beam put into place, I didn’t want to always wonder when the bathroom was going to come crashing down into the kitchen!

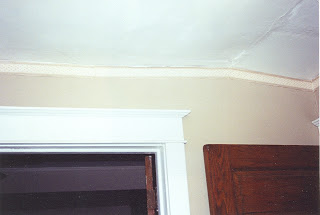 This is a good view of bad plaster patching. Don’t worry, that’s all fixed now. The open door on the left is to the back bedroom, and the open door on the right is to the bathroom. We made some major modifications to this area to enlarge the bathroom, but nothing you would notice today if I didn’t point it out. Which I will do. So keep this spot in mind when we get to the back bedroom and the upstairs bathroom.
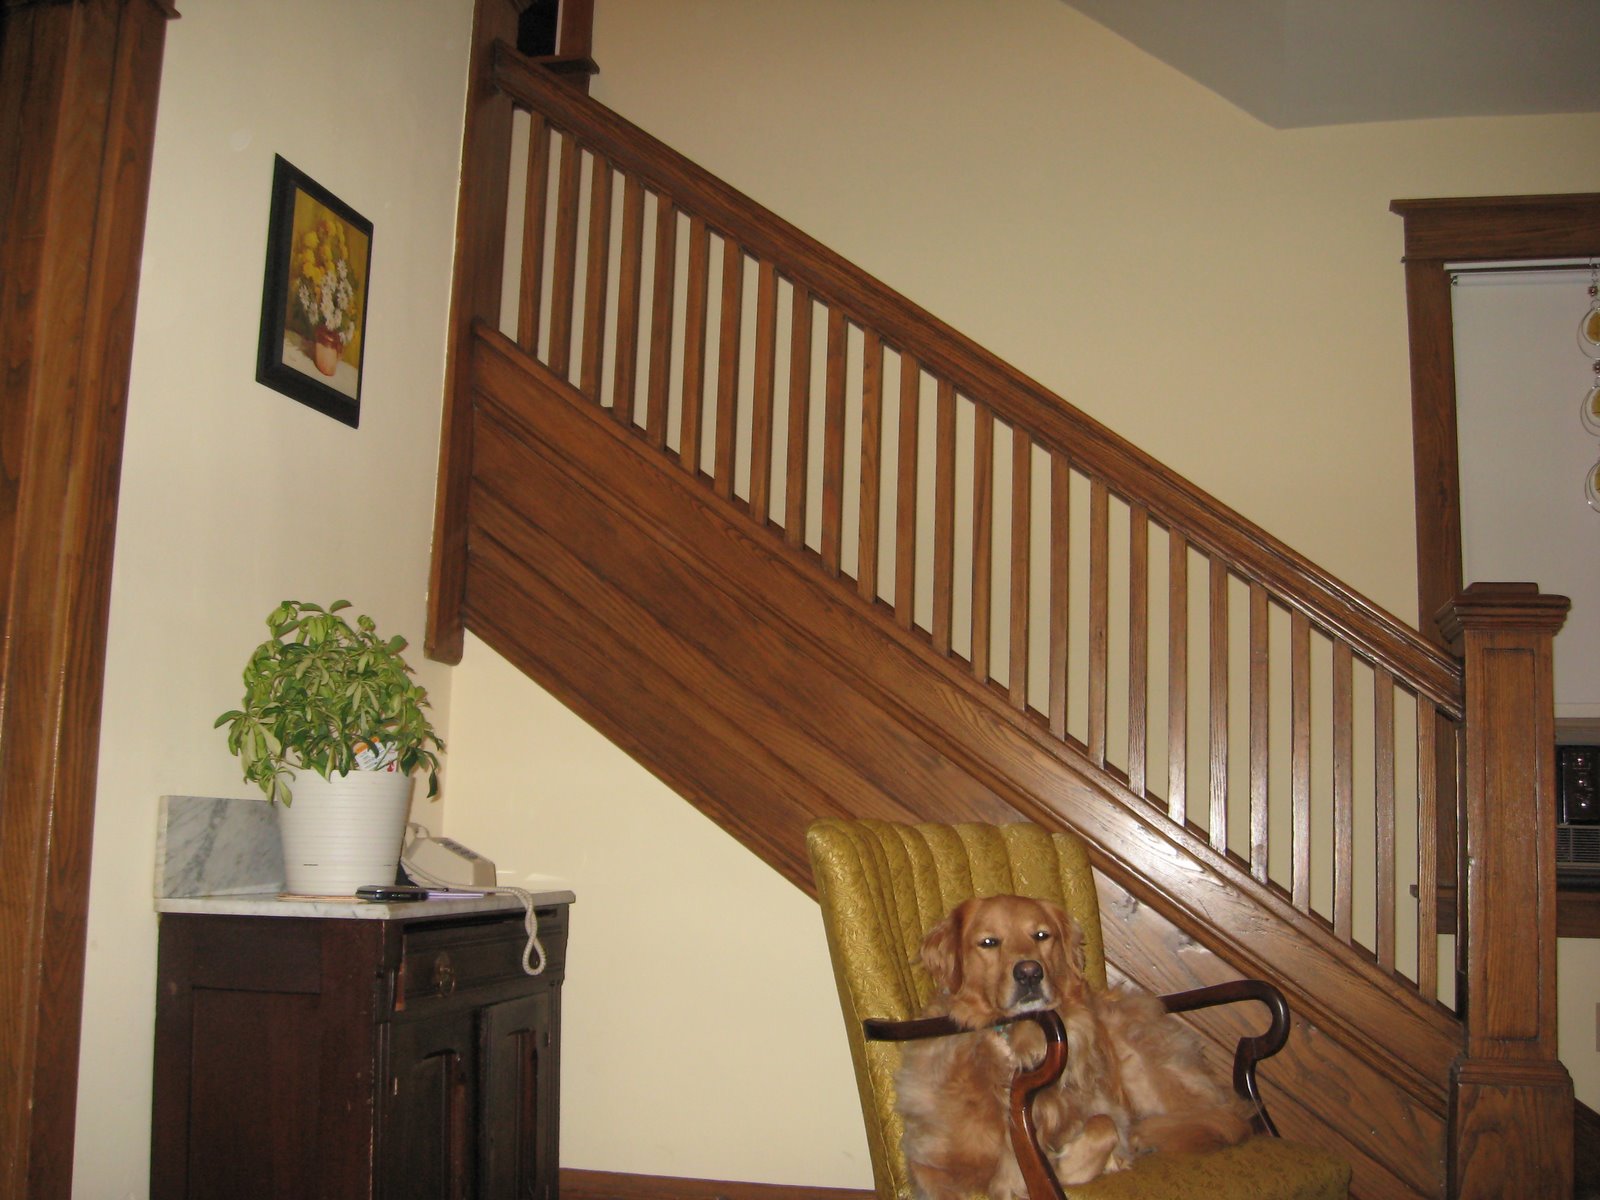
 Funny story about the stairs. When it came time to strip the baseboard trim on the staircase, they couldn’t get to all of it without taking the carpet out. Now, I wasn’t in love with the carpet, but until this point I hadn’t really thought about pulling it out. I mean, it was in okay condition, it wasn’t quality to begin with, but still… When it was all said and done, all the carpet in the house was torn out. It made a good drop cloth to protect the lovely original wood floors hiding beneath.
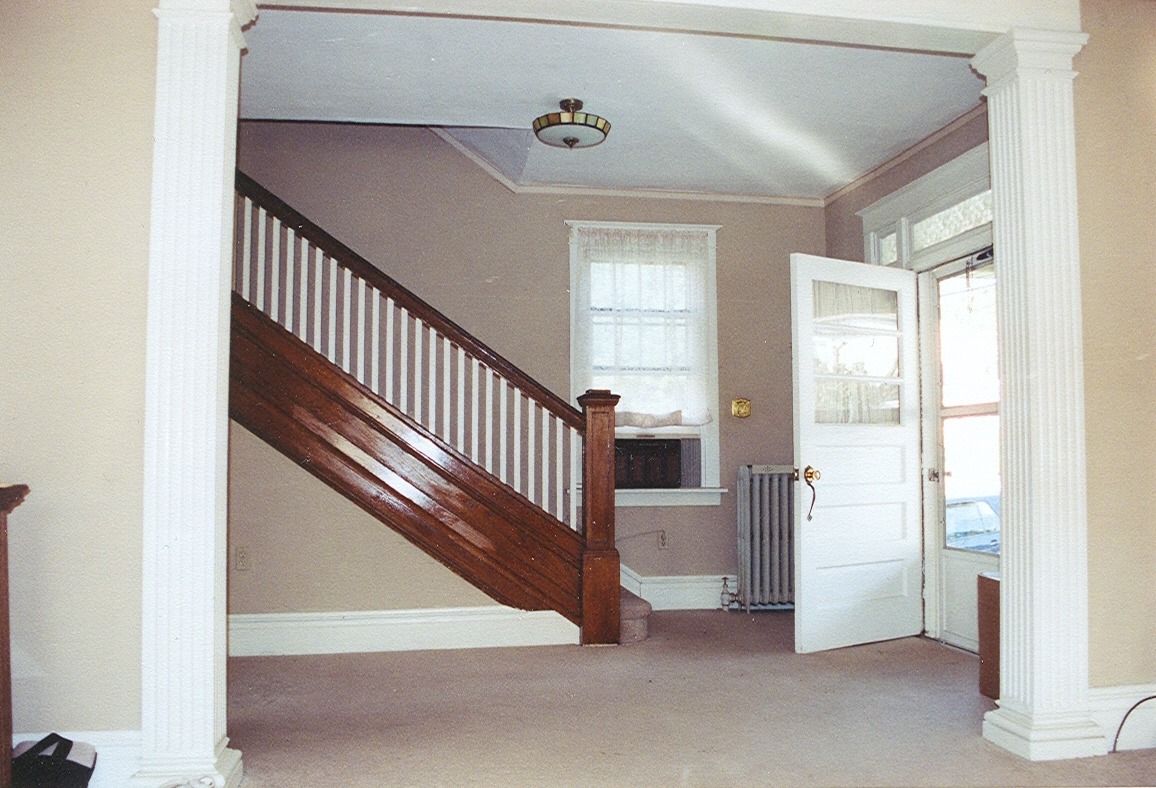
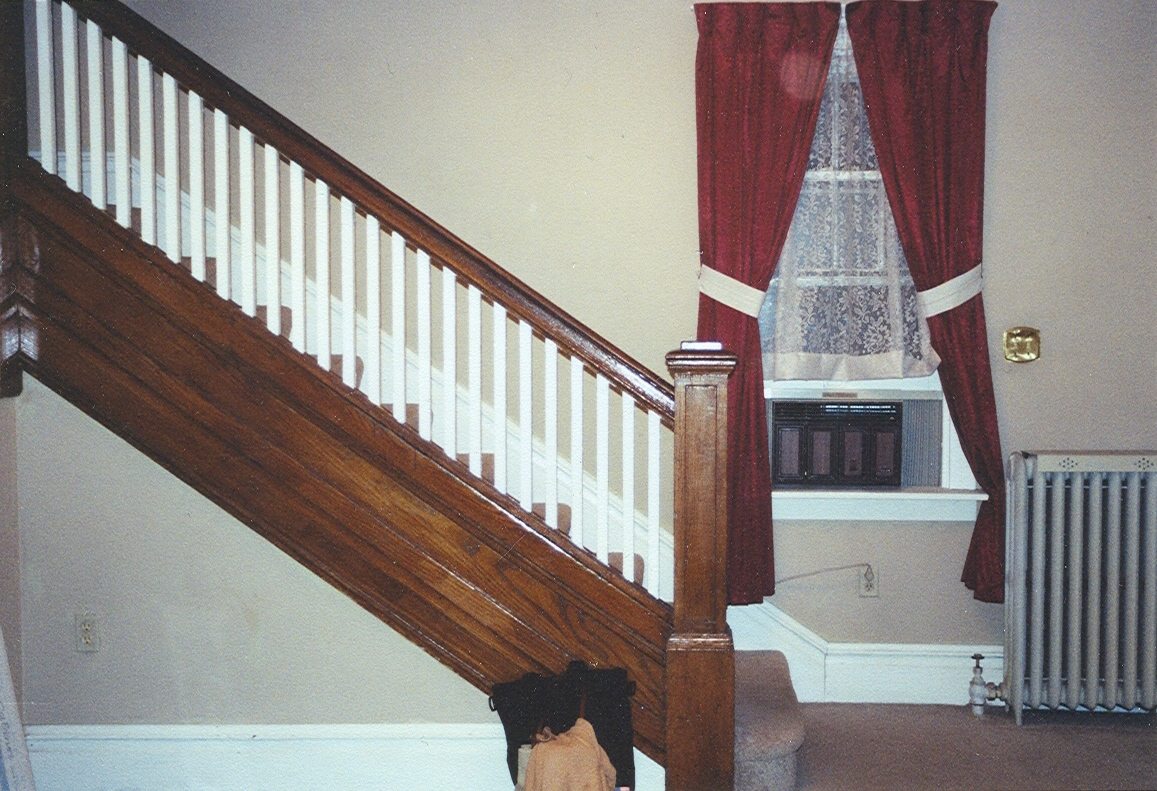
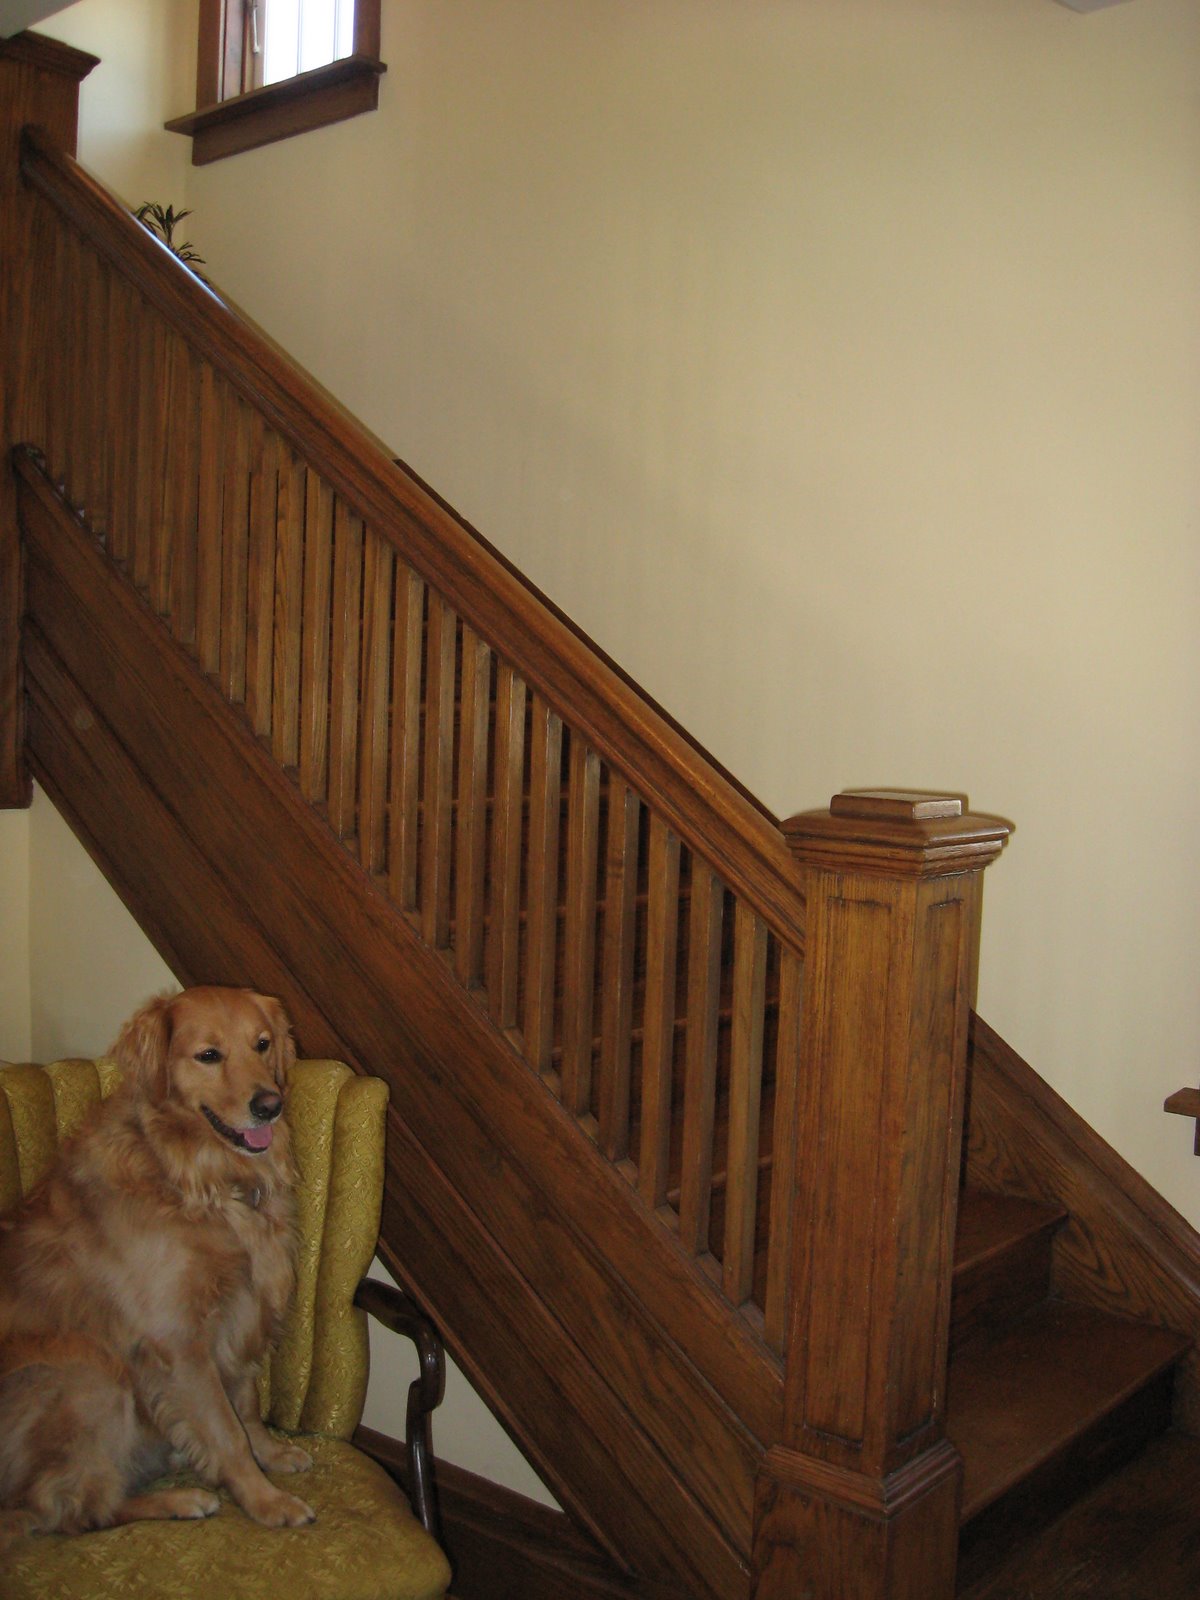
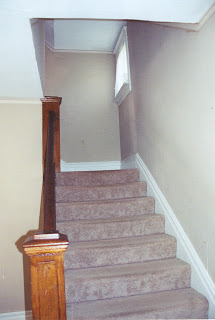 The view from the upstairs hall, showing the landing and its window. Nice curtains, huh? Gotta love that skinny wallpaper border, too. Really. The crooked, aged plaster ceiling is where you want to draw the eye, right?