Oh, my, folks. Here we are, nearly at the end of our house tour, and we find ourselves in the room where it all began. This is the back bedroom. It fills the back dormer of the bungalow. Once upon a time this was a rather small bedroom, with a sleeping porch. Somewhere along the line, a P.O. (a stupid P.O.) enclosed the sleeping porch to make a larger bedroom. Okay idea in theory. In practice, however…
Porch floors are meant to be sloped away from the house, so that rainwater will drain off the floor, much like a roof. Well, this particularly lazy P.O. couldn’t even be bothered to level the floor, or replace what were most likely already rotten floor boards. Nah, let’s just glue cheap office carpet over the whole shebang. And never mind the drop in ceiling height. Doesn’t that look ridiculous? Unfortunately, at this juncture, there is nothing reasonable that I can do to fix this. It would cost an arm and a leg to do what I’d really like to do: recreate the roof over this section so that it blends seamlessly with the rest of the house. Oh, well. Maybe if I win the lottery.
So this section of roof and ceiling is more problematic than just aesthetically displeasing. It had also been leaking for a very, very long time when I got the house. In fact, before Jeff the electrician had put one tiny hole in the wall, this ceiling came a-tumblin‘ down.
 I wasn’t even living at the bungalow yet, but stopped in daily to check on progress. One evening, late, I popped in just to see if Jeff had gotten started yet. As I was looking around the upstairs bathroom, I kept hearing this dripping sound. I followed it to the back bedroom, where a great sheet of drywall from the ceiling had come down from the center, almost like it was on a hinge. I couldn’t even comprehend what had happened at first.
As it turns out, my P.O.’s P.O.s had known the roof over this section was bad more than a decade before. My dad and grandfather actually submitted a bid to do the repairs, but when the owners saw the price tag, the balked. Apparently they decided no action was the route to take.
Fast forward to November of 2003. So I see this huge section of drywall hanging onto the ceiling by nothing more than drywall tape at one end, and I hear the sound of dripping water, the carpet is saturated. Then I look up. The insulation is all wet, dripping. And dark. Really dark. Oh my God. Black with mold. Panic. Frantic call to mom, cutting up large trash bags to cover the floor, as if that would protect it. Little did I know, that floor was way beyond saving.
Over the following few weeks, all the rotten and moldy stuff was torn out by Bill, who then replaced the rotten floor with one that is solid and mostly level. It is an old house after all, and while Bill is great, there is only so much one can do in some situations. Bill also tore out all the wet drywall and moldy insulation, swabbed the remaining structure down with Clorox, allowed it to dry, then replaced the insulation and installed blueboard. Many months later the plaster guys gave that blueboard a nice skim coat.
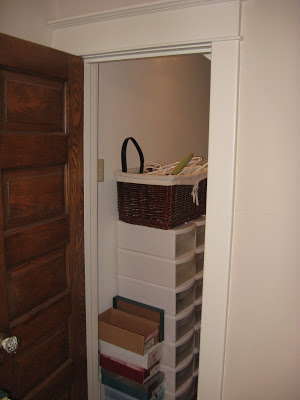
 Notice that little door there? Well that leads to a storage cubby under the eaves. The other three eaves are utilized by bedroom closets, but this one is next to the bathroom. It is a pretty cool feature, kids seem to think it is cool, and Oli always insists on following me in there, even though it is a small space.
 Take note of that dead space behind the door. When we get to the after pictures, you’ll notice a change.
 And of course, another giant closet, complete with loose, real linoleum.

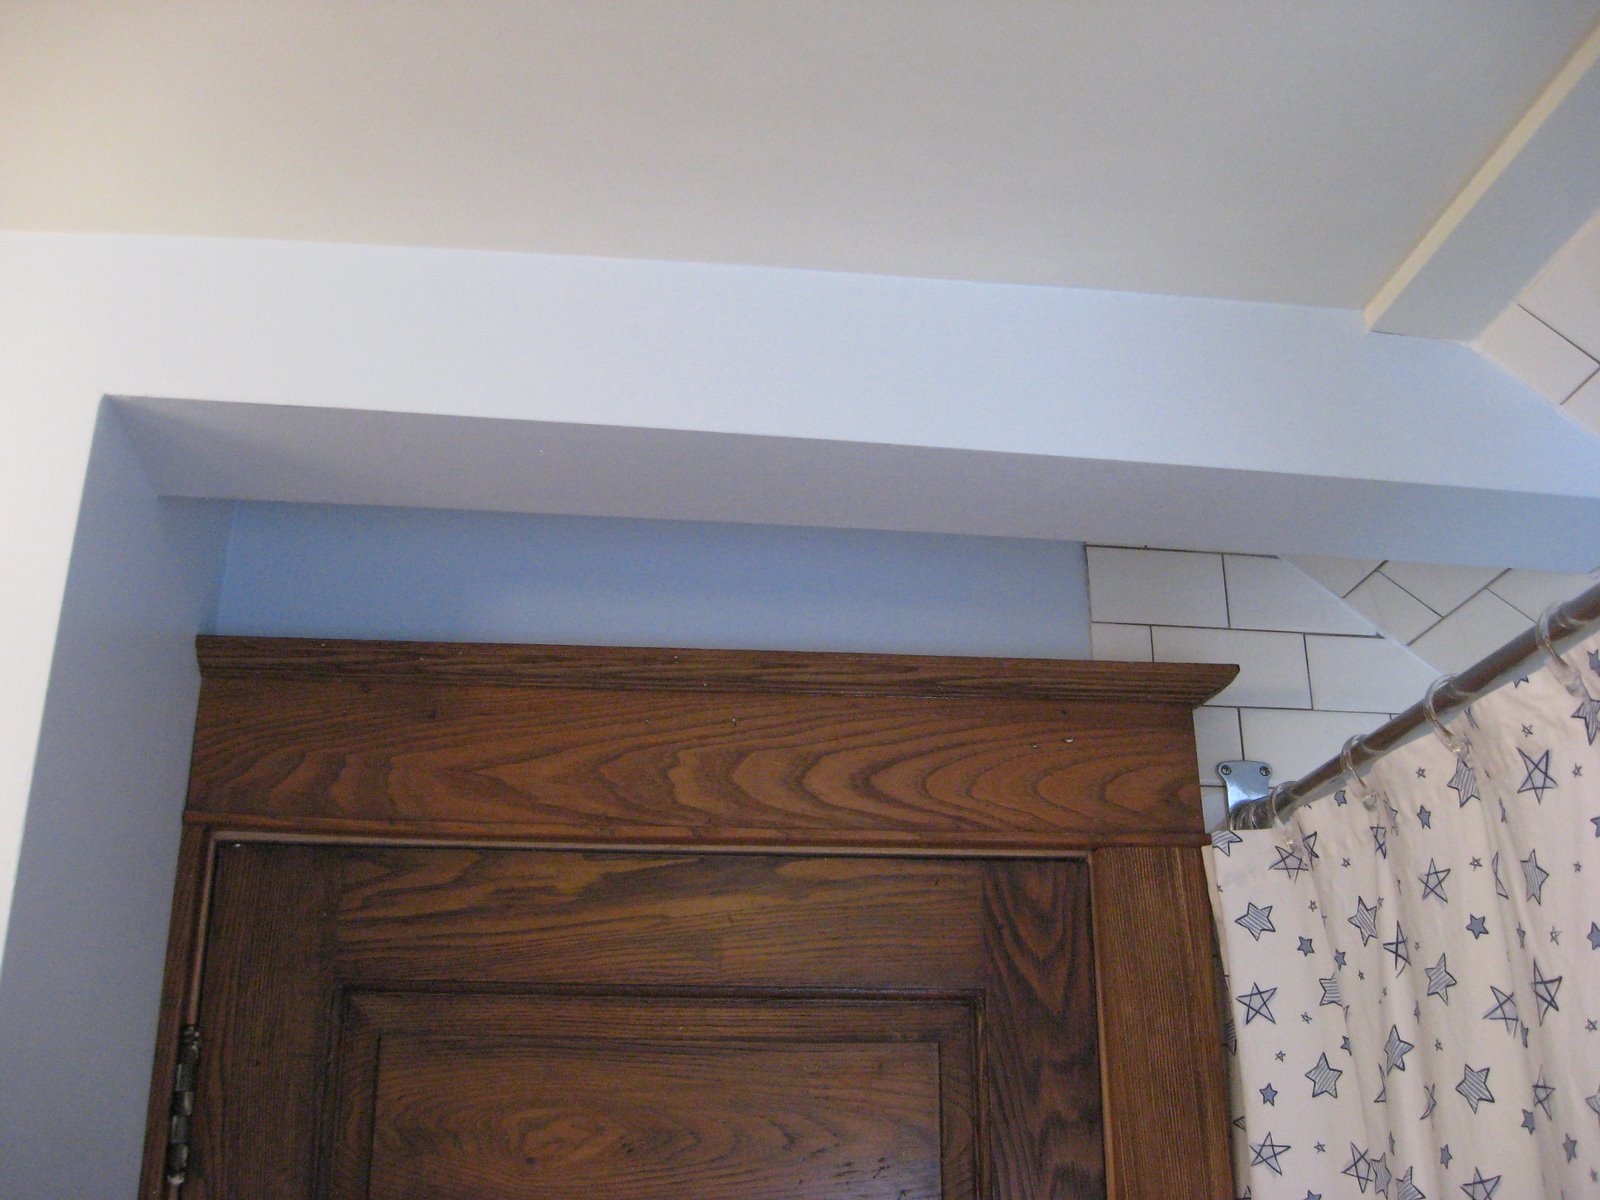 That nice structural beam had to stay, but I don’t think it looks out of place. Or, maybe I’m just telling myself that so I feel better.
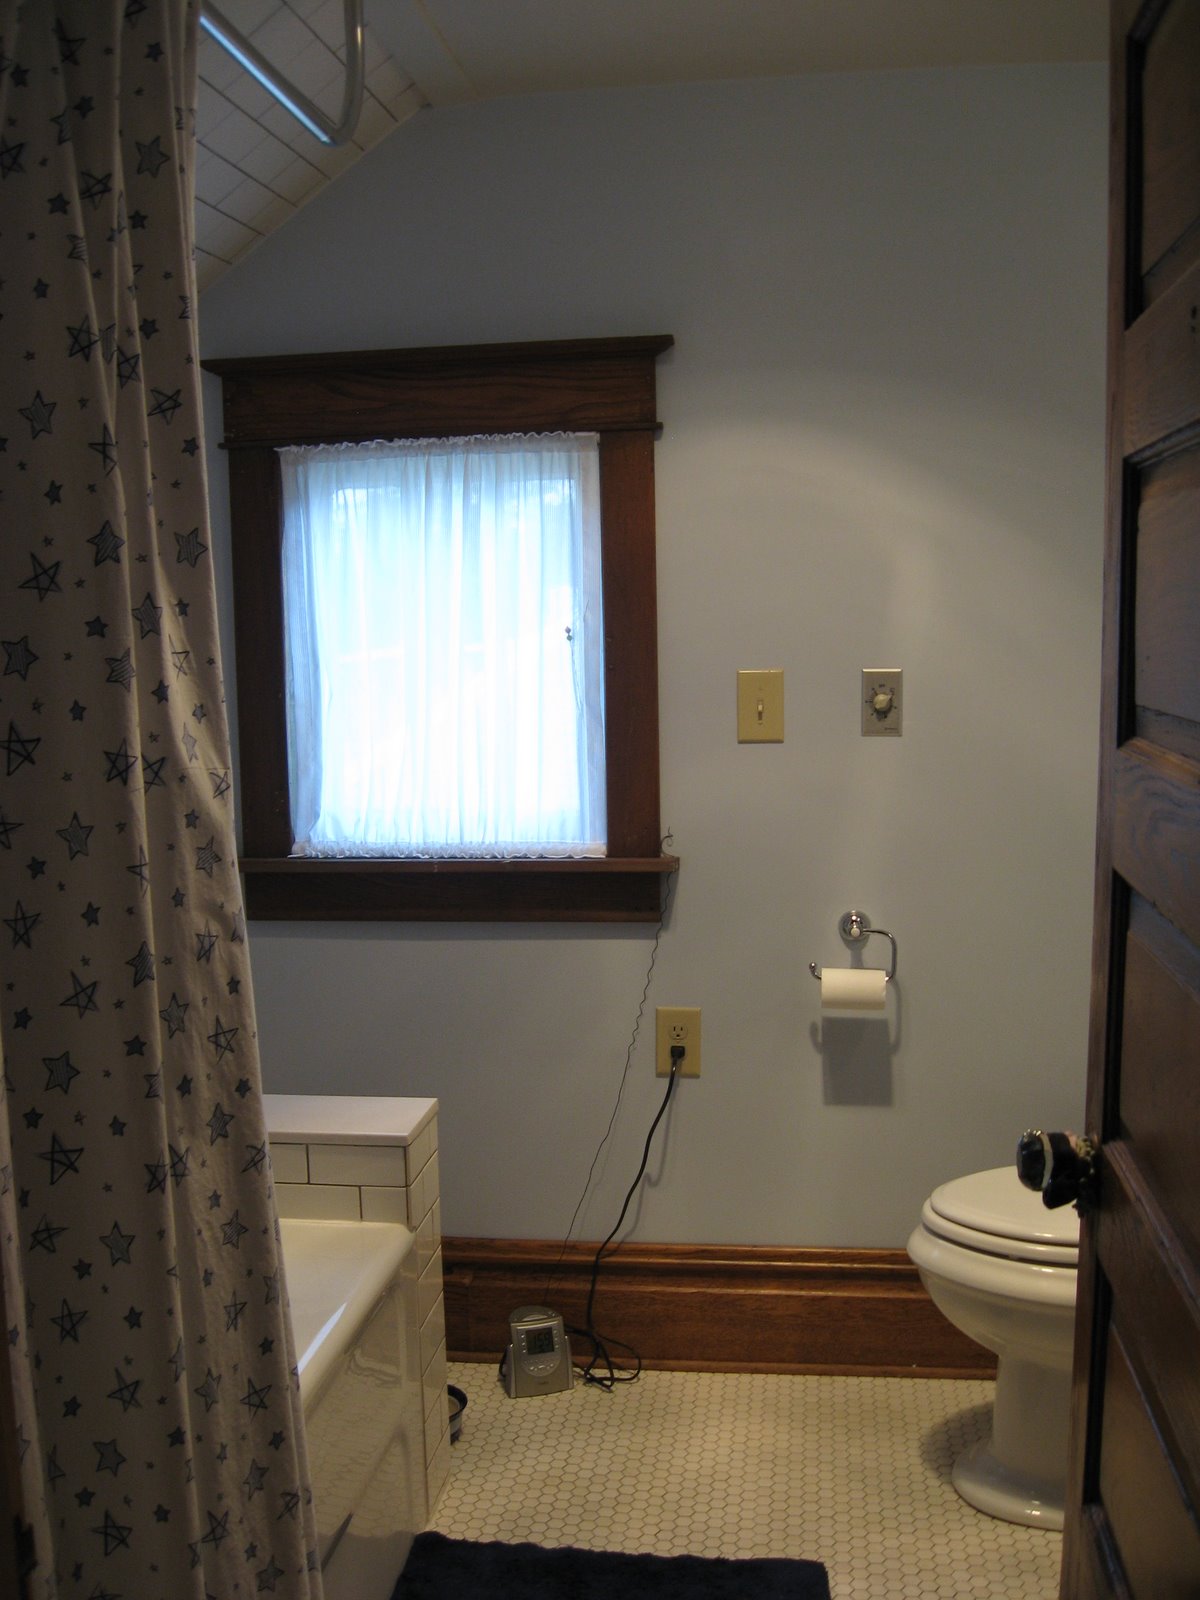
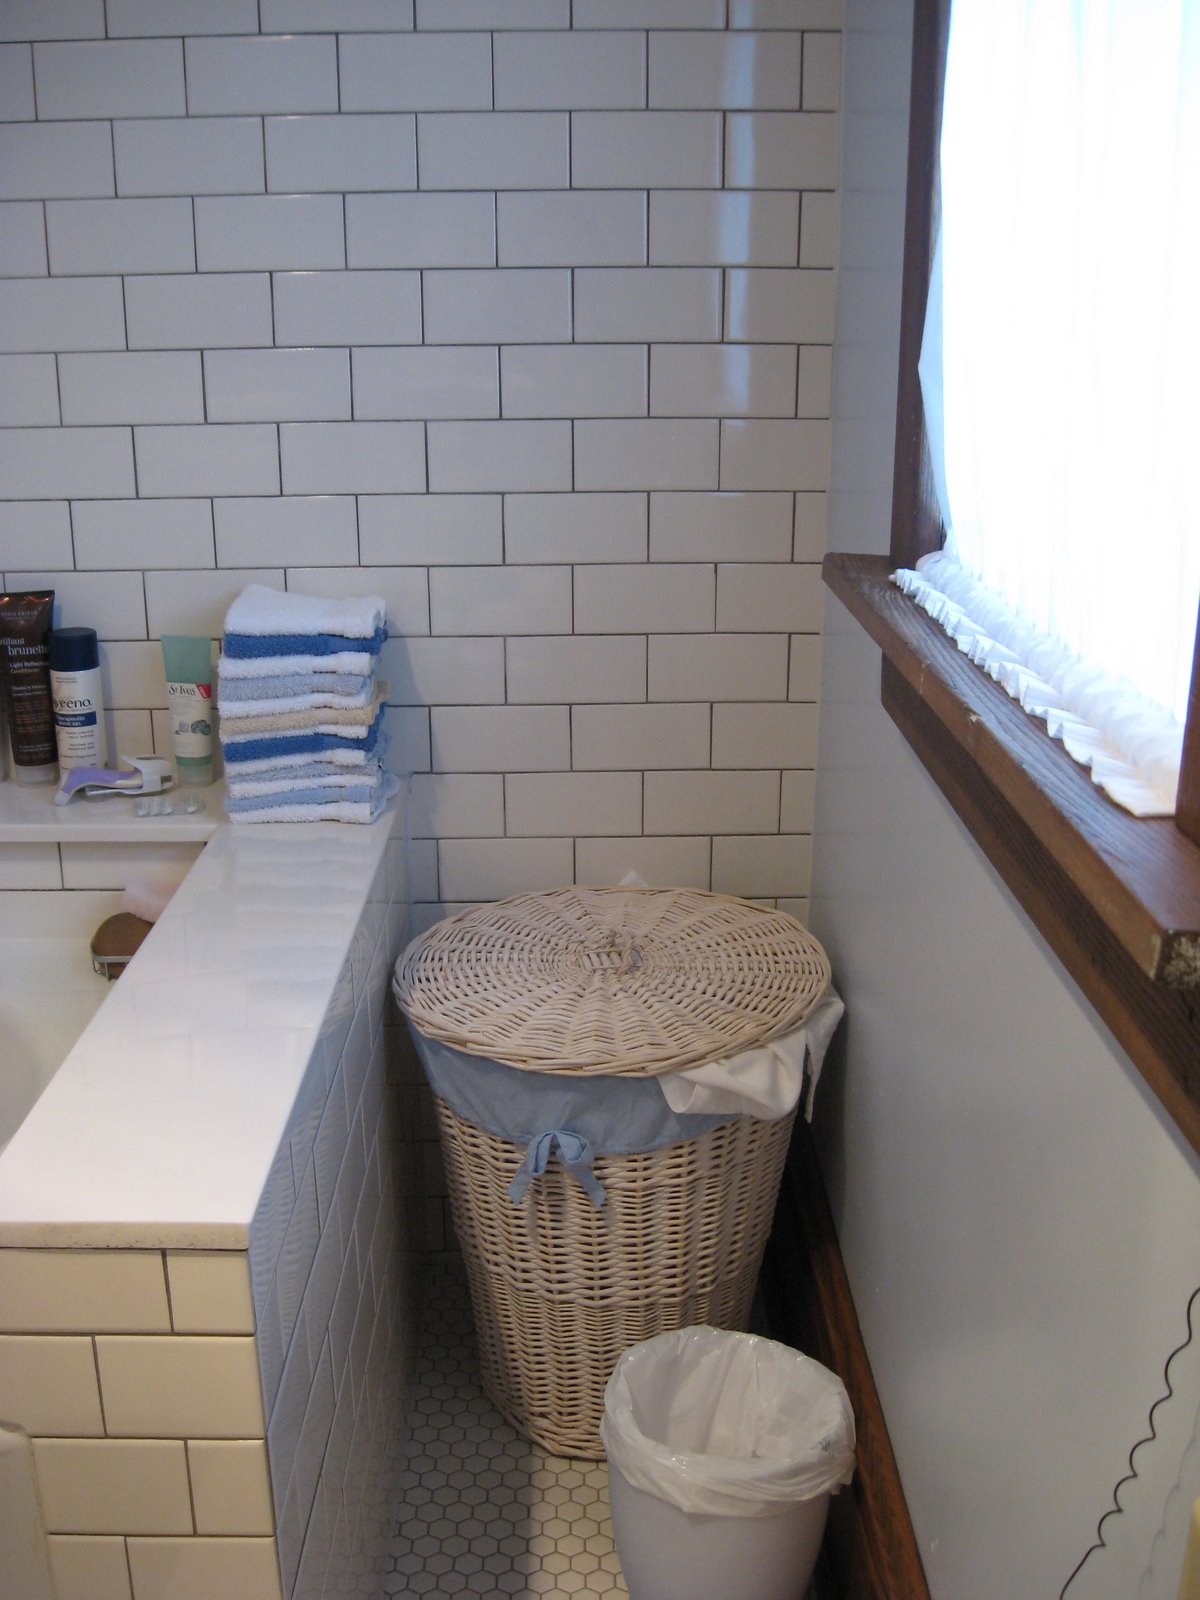
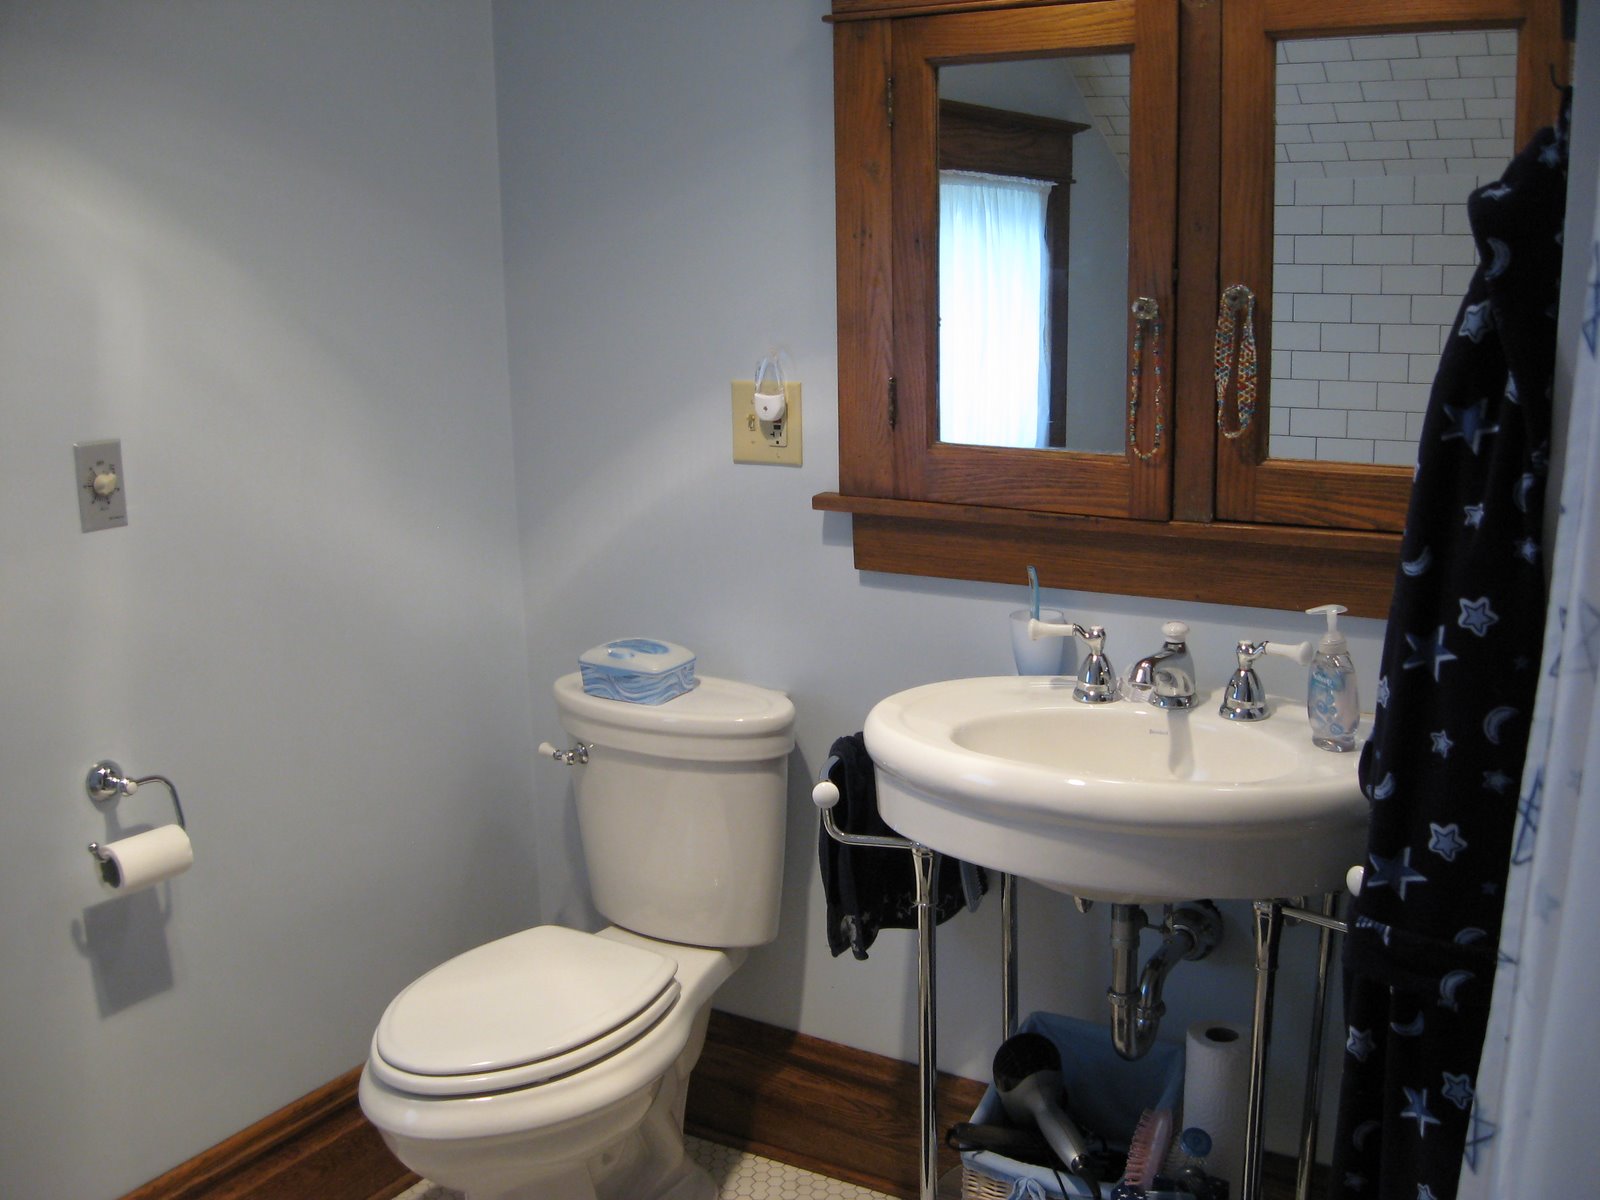


 The toilet also leaked. Alot. We woke up one morning to water dripping from the ceiling right onto the kitchen counter! I would have been a whole lot more disgusted if we had actually been using the kitchen at the time. Anyway, the downstairs bathroom wasn’t yet completed, so my dad’s solution was to turn the water off to the toilet (luckily it was the ingoing water that was leaking, not the, erm, outgoing). This did not render the bathroom unusable, however, because all we had to do was collect water dripping from the tub faucet into a bucket, and voila! Instant use of wasted water. The tub faucet was leaking about a gallon of water every two hours. Daddy intended to fix it, but he said the whole thing had to be replaced, he couldn’t reach the plumbing, and we were going to gut this room in less than a year, so…
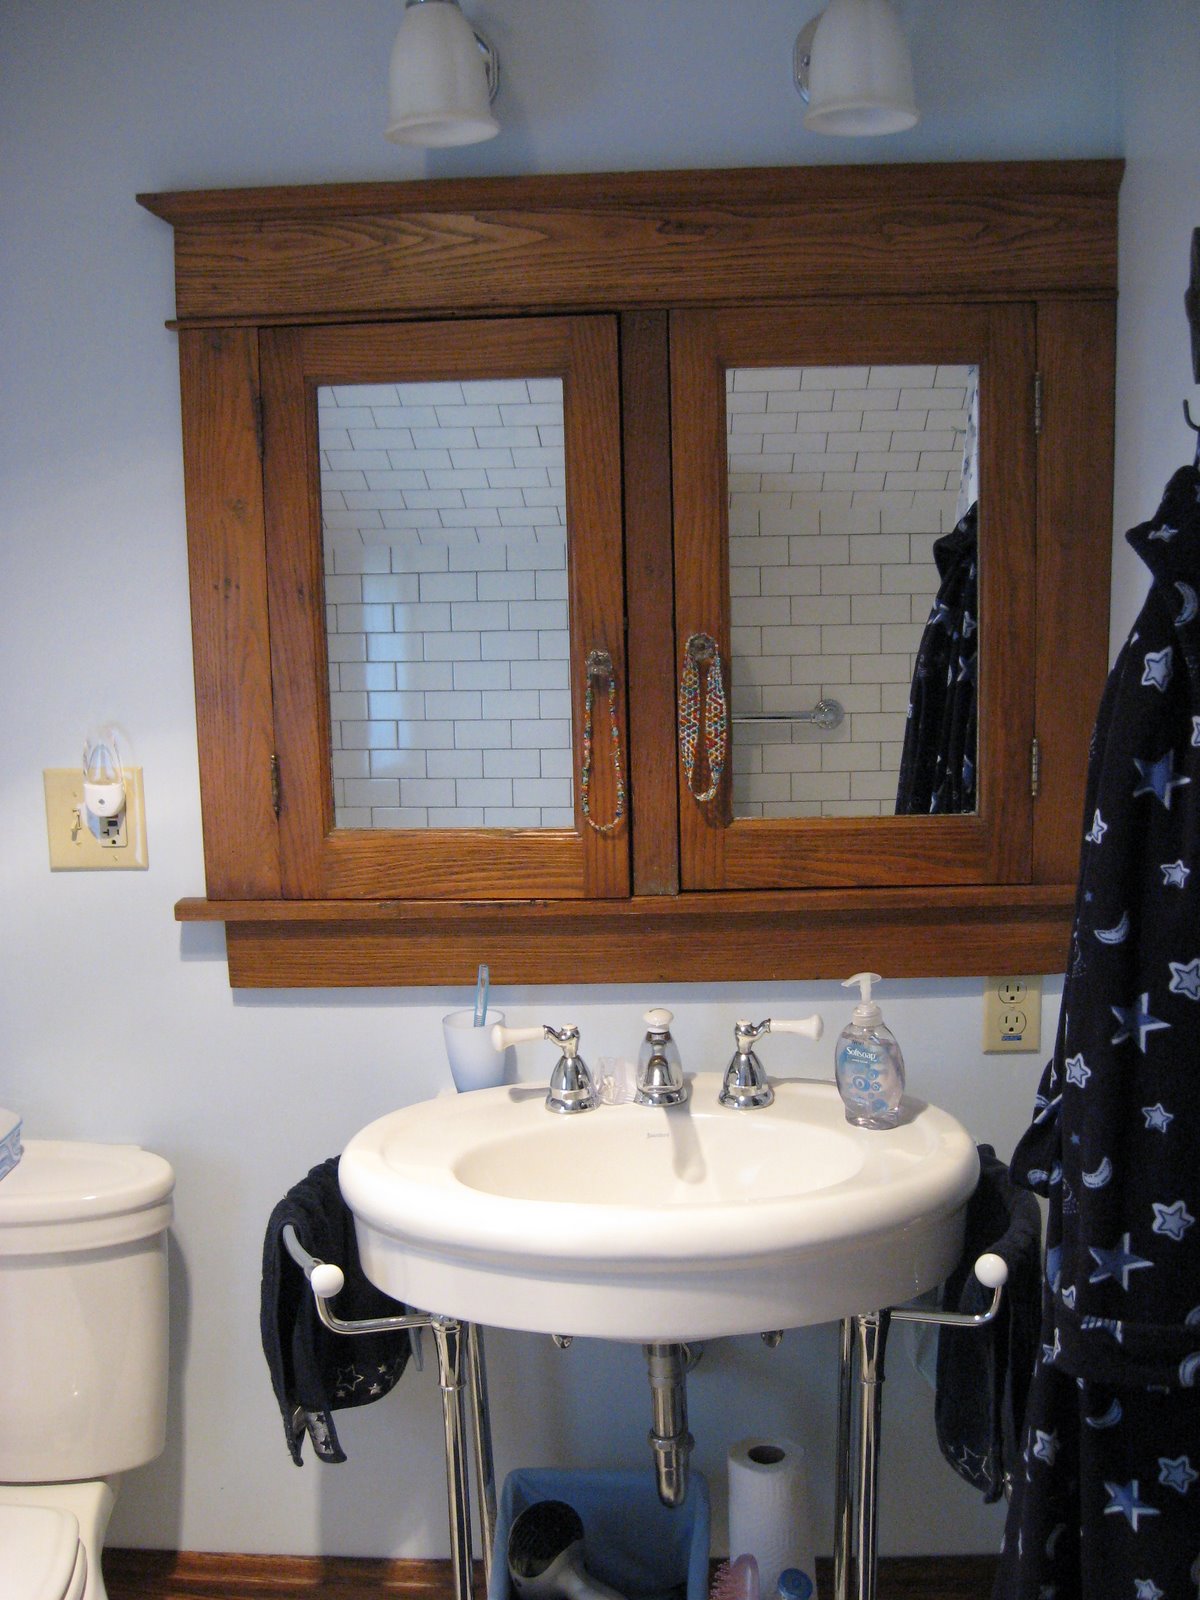
 Check out the gold vein on that counter surface. Not matching, but coordinating.
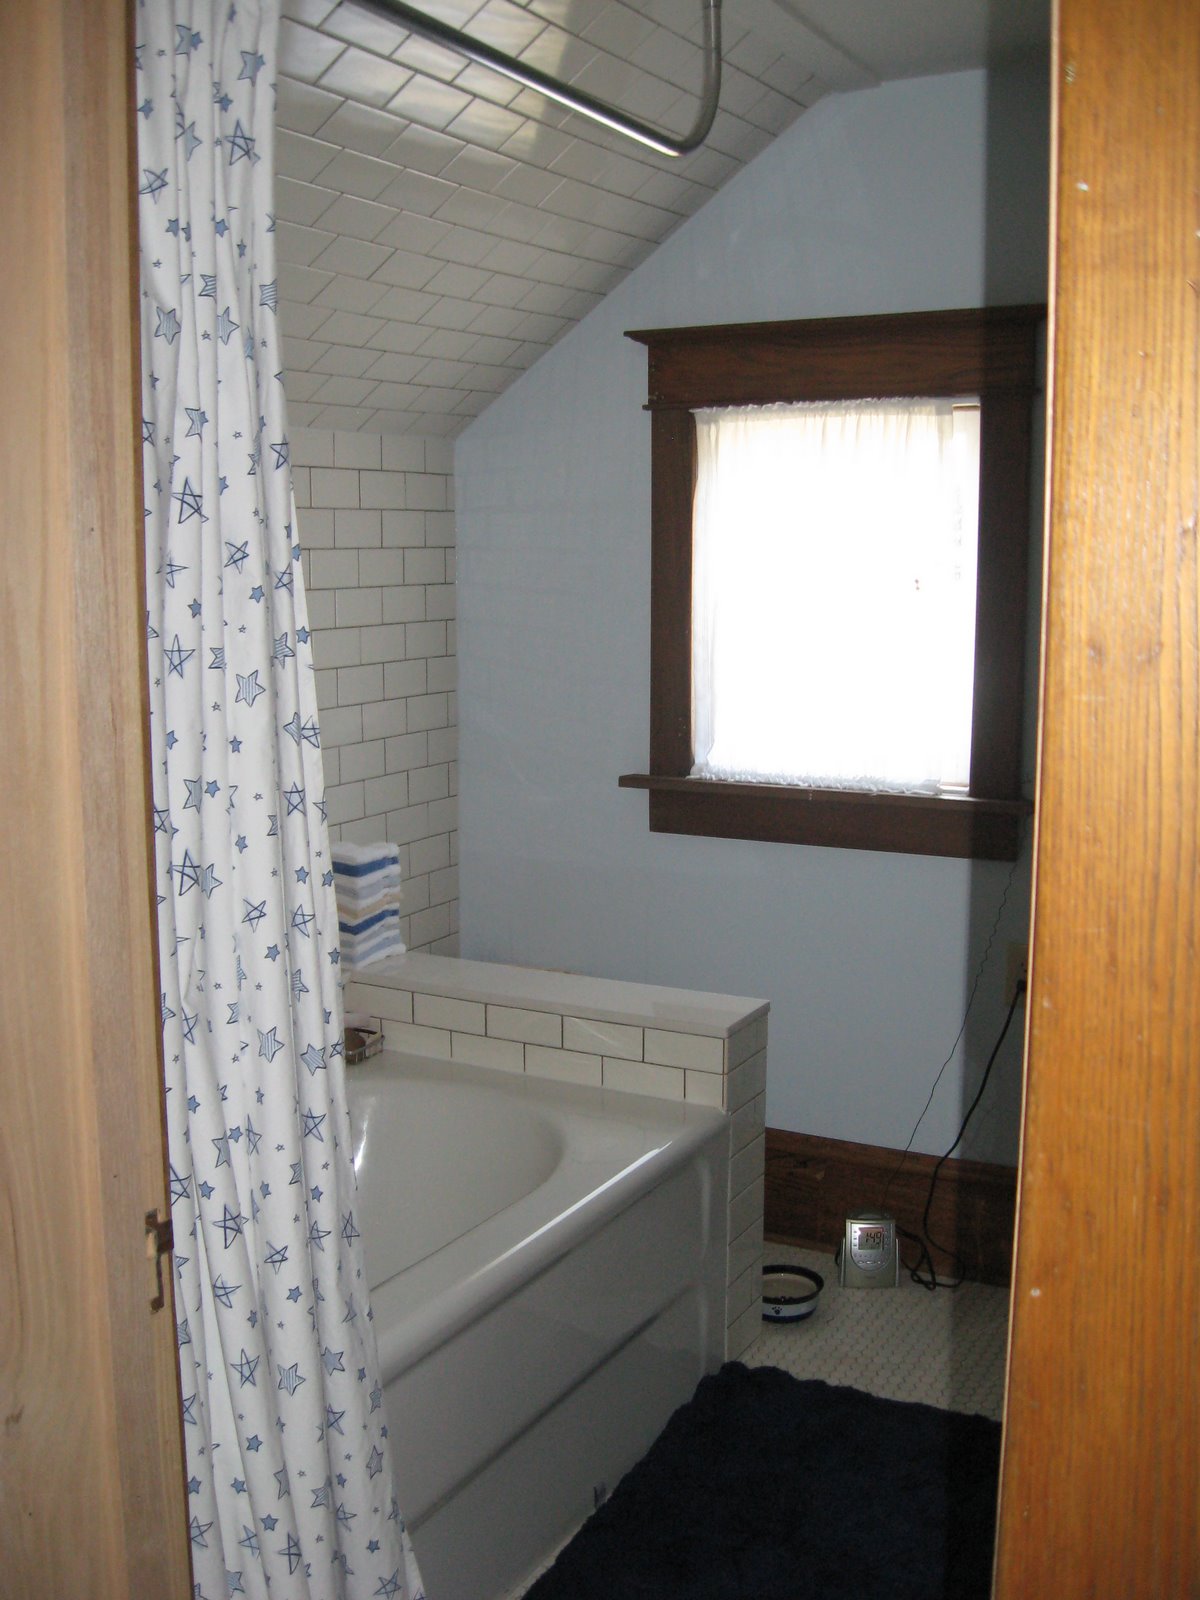
 Just wait till you see all we did to this room. You may not recognise it. Once we realized how bad the water damage was, this room had to be torn down to the studs. And then some of those even had to be sistered. We bumped two walls out, raised the ceiling, leveled the floor, well, you’ll see…
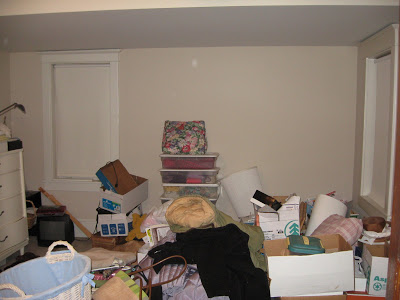
 …do I at least get points for that?
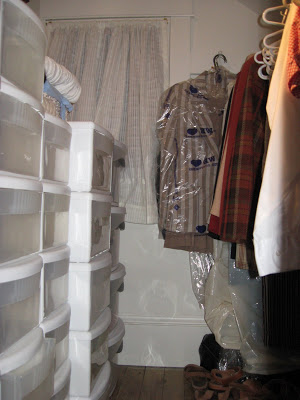
 That second “cubby” door was built by Bill, and it leads to the plumbing access. That bump out? Well, that is just small space lost in a large room, a small price to pay for much gained elbow room in the bathroom…


