Wow. It has been so long since I posted that blogger has changed!
Well, I thought I’d get caught up a bit. We’ve been pretty preoccupied with family issues the past few months, but I think things are going to get back to normal soon.
I have been working hard behind the scenes, doing some major clear out and de-cluttering. I feel very good about this. When I’m done, I can reward myself by redecorating the side bedroom. Very much looking forward to that!
We are also going to start working on a few new big projects around the house. Sometime this spring there will be new siding and insulation, a few new windows, hopefully a new sofa, and finally a fence for Oliver. I can’t wait to see him romp around his yard!

Currently, I’m interested in the James Hardie siding products. I’ll most likely go with the greens as pictured above. I am waiting for a couple more color samples that caught my interest before I make my final decision. It will be a color. I’ve always been happy with the green siding, crisp white trim and black accents.
We will not be installing any stone, though, because damage to non-structural stone or brick is not covered under my earthquake insurance. Those areas will probably get a fresh coat of stucco, but I’m not sure yet. There could be other options out there that I’m not aware of.
While we have the house torn up outside, the plan is to install insulation from the outside in. At some time, several decades ago, someone had fluffy blown-in insulation installed. We found out when we were restoring the interior that fluffy stuff settles down to about knee level! Well, if we had walls open, Bill put insulation in, but there were plenty of places we didn’t get to. At the time we had no idea just how much of a mistake that would be.
I’ve always joked that I didn’t ever want to see my house in one of those infrared photos, because it would just be a big, glowing blob of red. You may have heard me refer to the house as a sieve? Many of you old house owners know just what I’m talking about. Those mysterious breezes you feel on your ankles in the winter? Yeah. Good times.
Anyway, I’ll tell you more about the windows when I have more details. In the meantime, I’m open to comments or suggestions about siding.
 Snow shoveling is great fun. Puppy gets to bark and “dig” the snow from the shovel.
 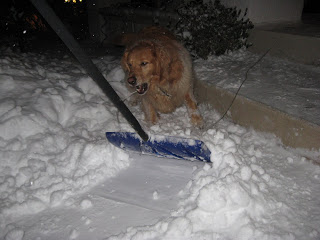 All that hard work wears a doggie out. Poor guy can hardly keep his eyes open.
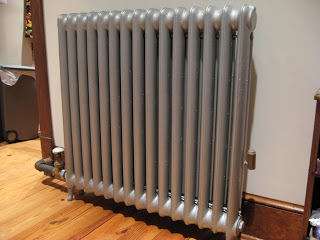
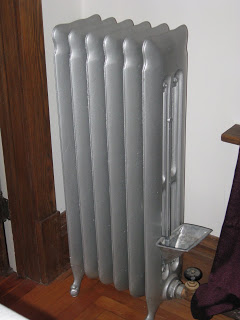
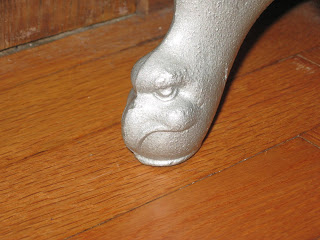
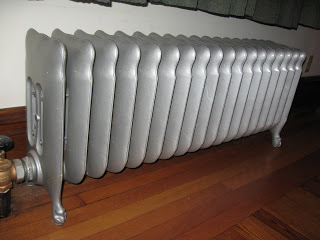 We knew that the sandblasting was risky, because if there are any weak spots it can create holes, and then it is all over, folks. But we decided it was worth it. New radiators for the second floor were out of the question. I’m so glad we took the chance.
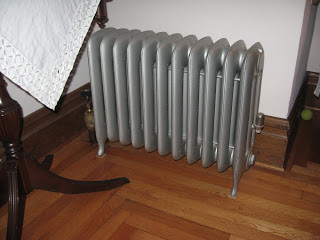 I sincerely hope this paint job will last for years, decades even. About a year after the radiators were finished, I saw pictures (I’m sorry, I don’t remember where) of someone else who had done the same thing, only they had their radiators painted a dark metallic bronze. They were really gorgeous. Now I have bronze envy. I briefly wished we had thought of the dark bronze, but I am very happy with the engine silver anyway. Maybe we will go bronze if it ever needs done again.
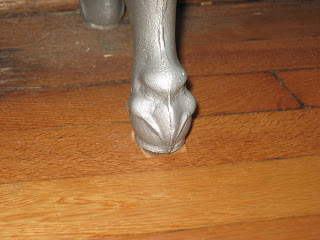
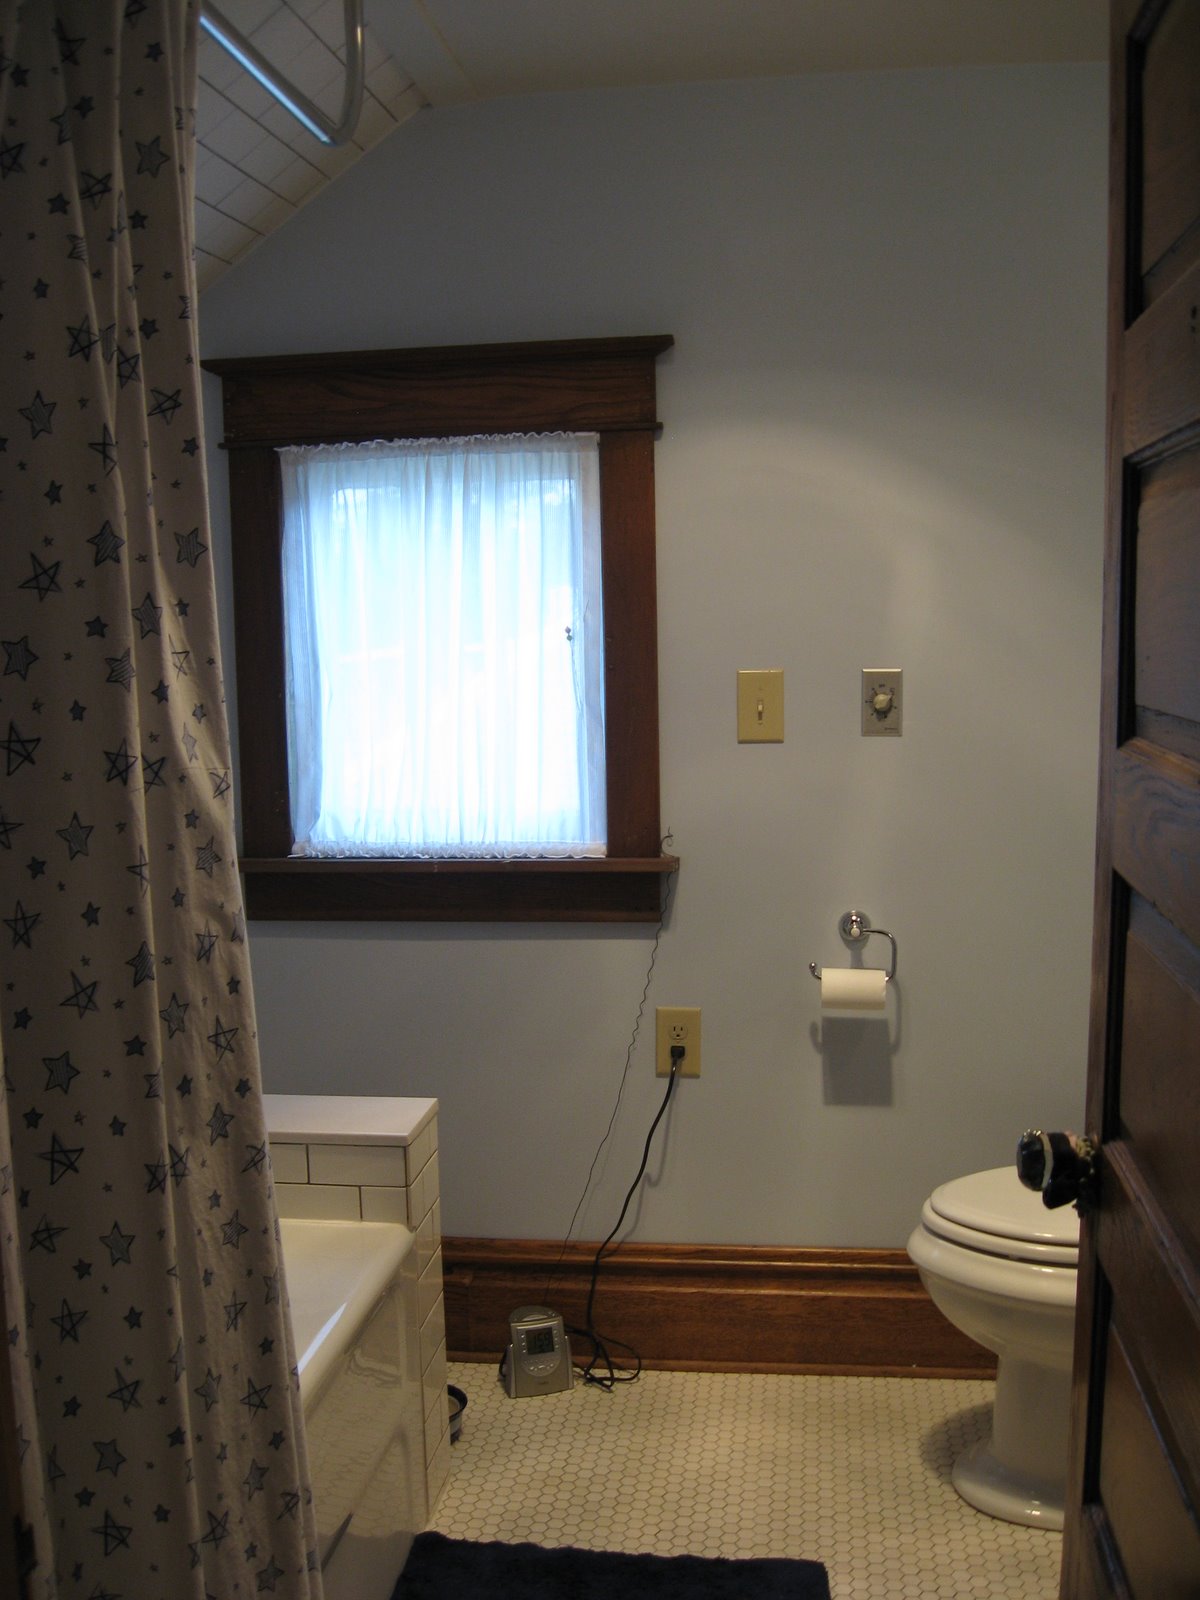
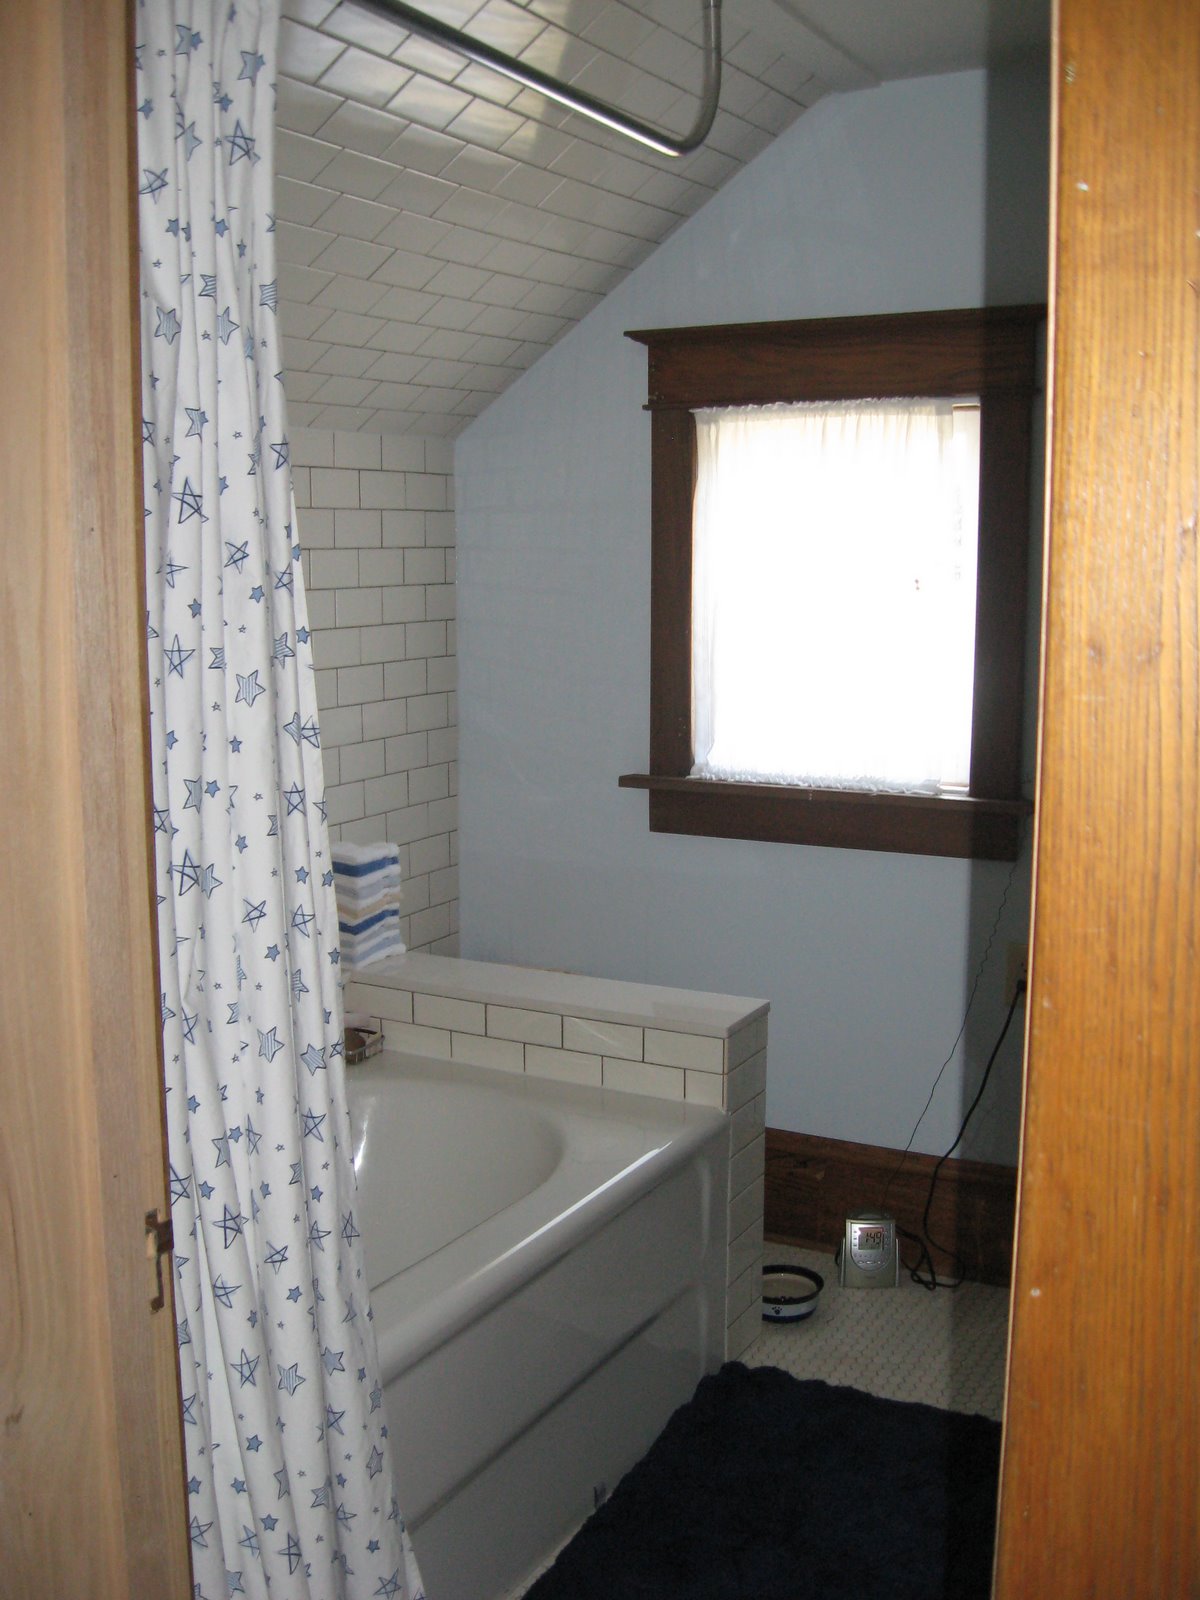
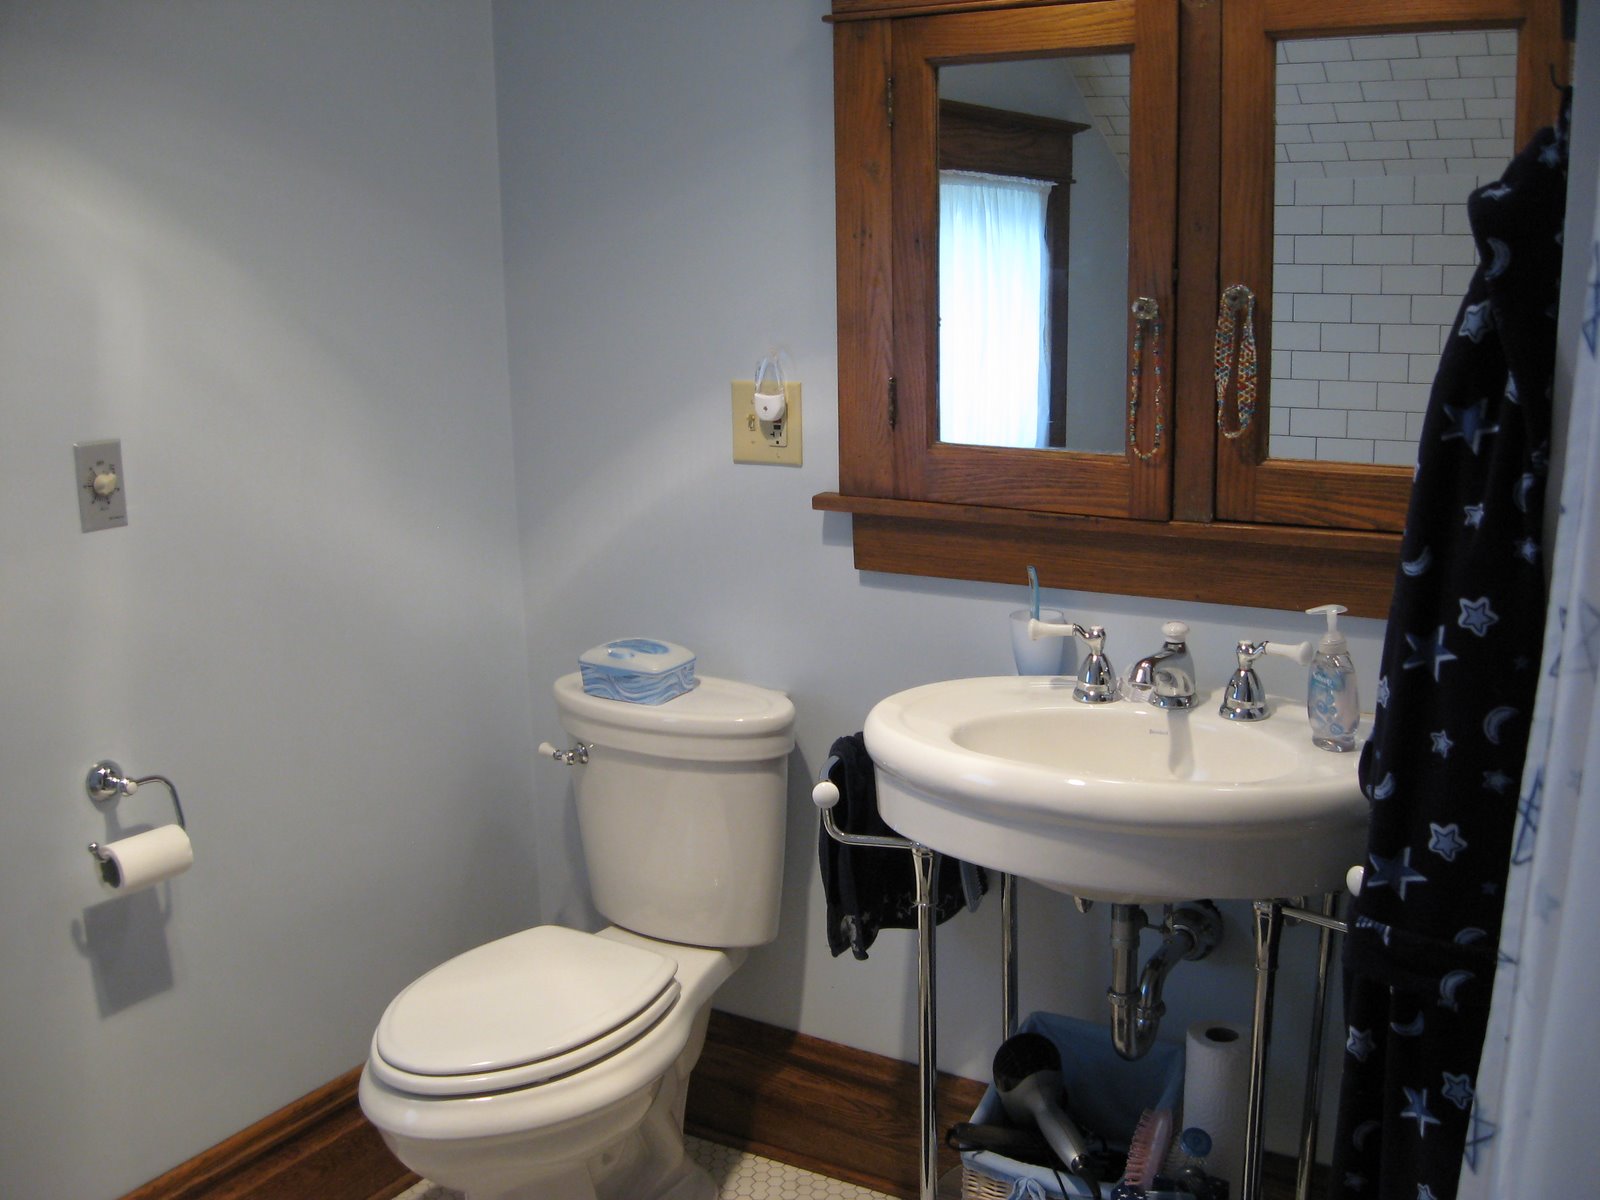


 The toilet also leaked. Alot. We woke up one morning to water dripping from the ceiling right onto the kitchen counter! I would have been a whole lot more disgusted if we had actually been using the kitchen at the time. Anyway, the downstairs bathroom wasn’t yet completed, so my dad’s solution was to turn the water off to the toilet (luckily it was the ingoing water that was leaking, not the, erm, outgoing). This did not render the bathroom unusable, however, because all we had to do was collect water dripping from the tub faucet into a bucket, and voila! Instant use of wasted water. The tub faucet was leaking about a gallon of water every two hours. Daddy intended to fix it, but he said the whole thing had to be replaced, he couldn’t reach the plumbing, and we were going to gut this room in less than a year, so…
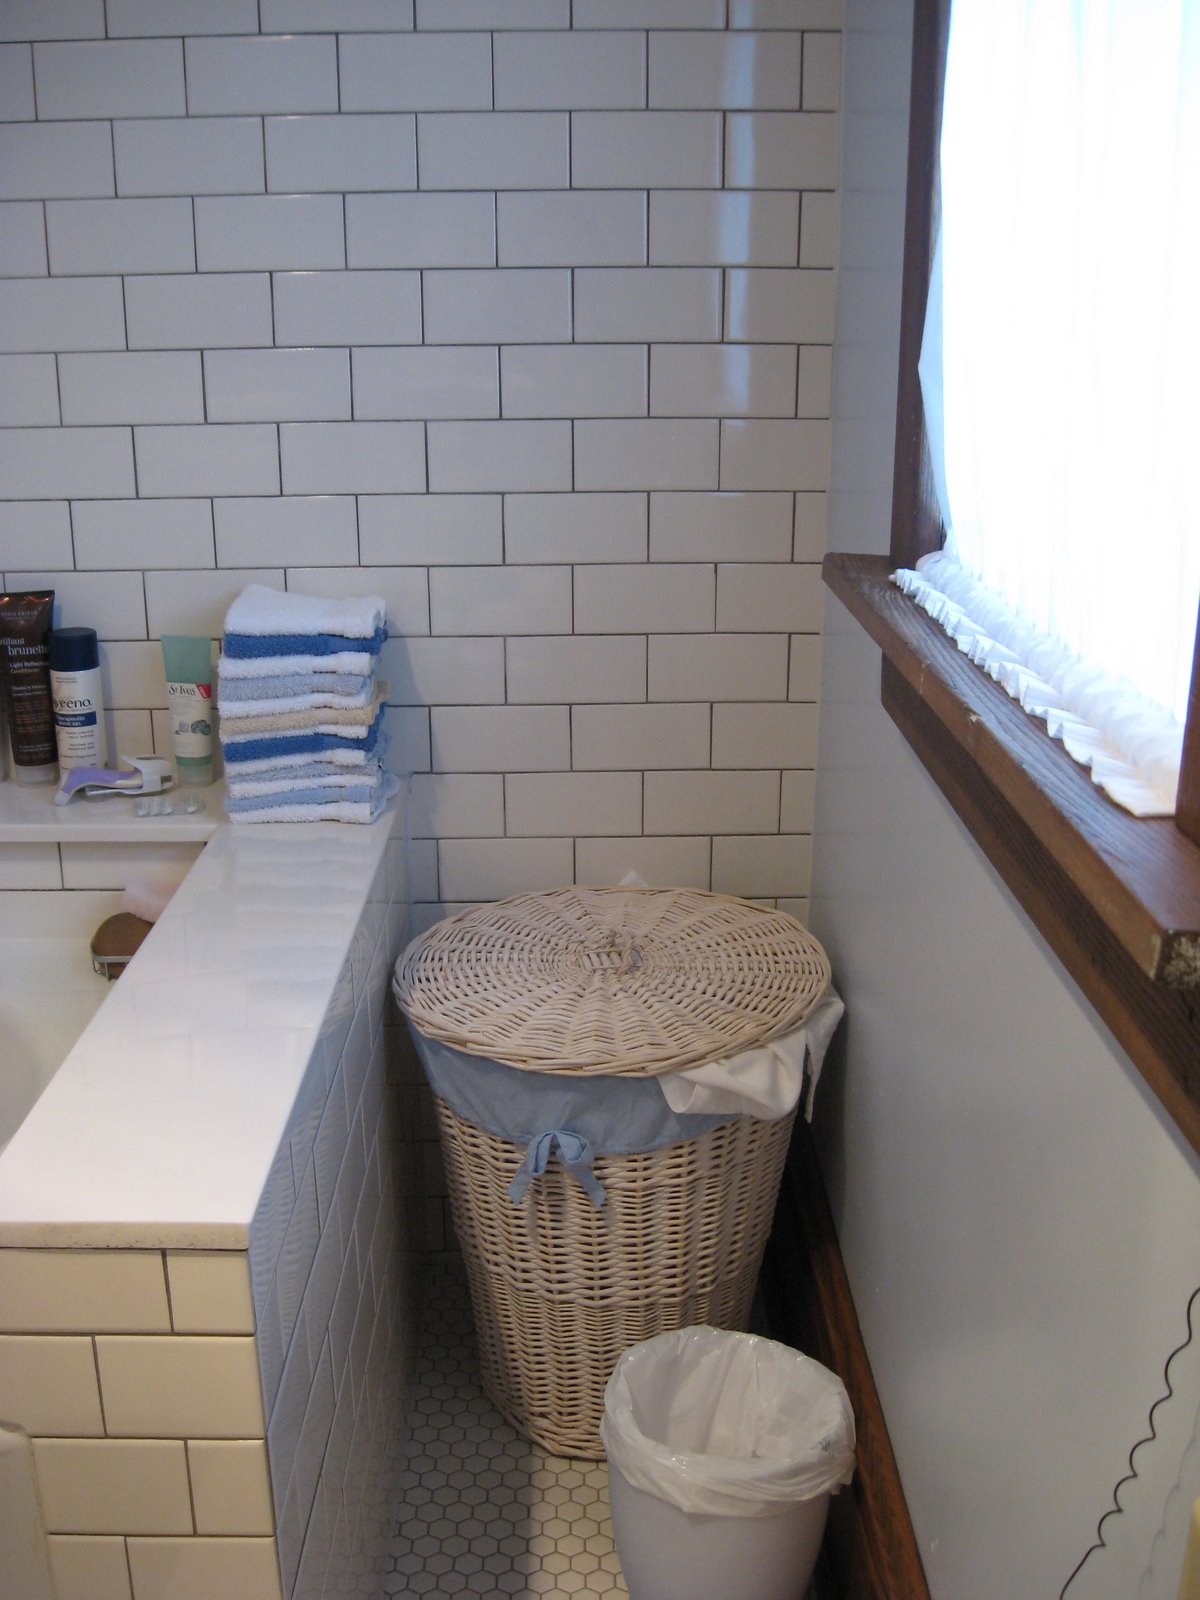
 Check out the gold vein on that counter surface. Not matching, but coordinating.
 Just wait till you see all we did to this room. You may not recognise it. Once we realized how bad the water damage was, this room had to be torn down to the studs. And then some of those even had to be sistered. We bumped two walls out, raised the ceiling, leveled the floor, well, you’ll see…