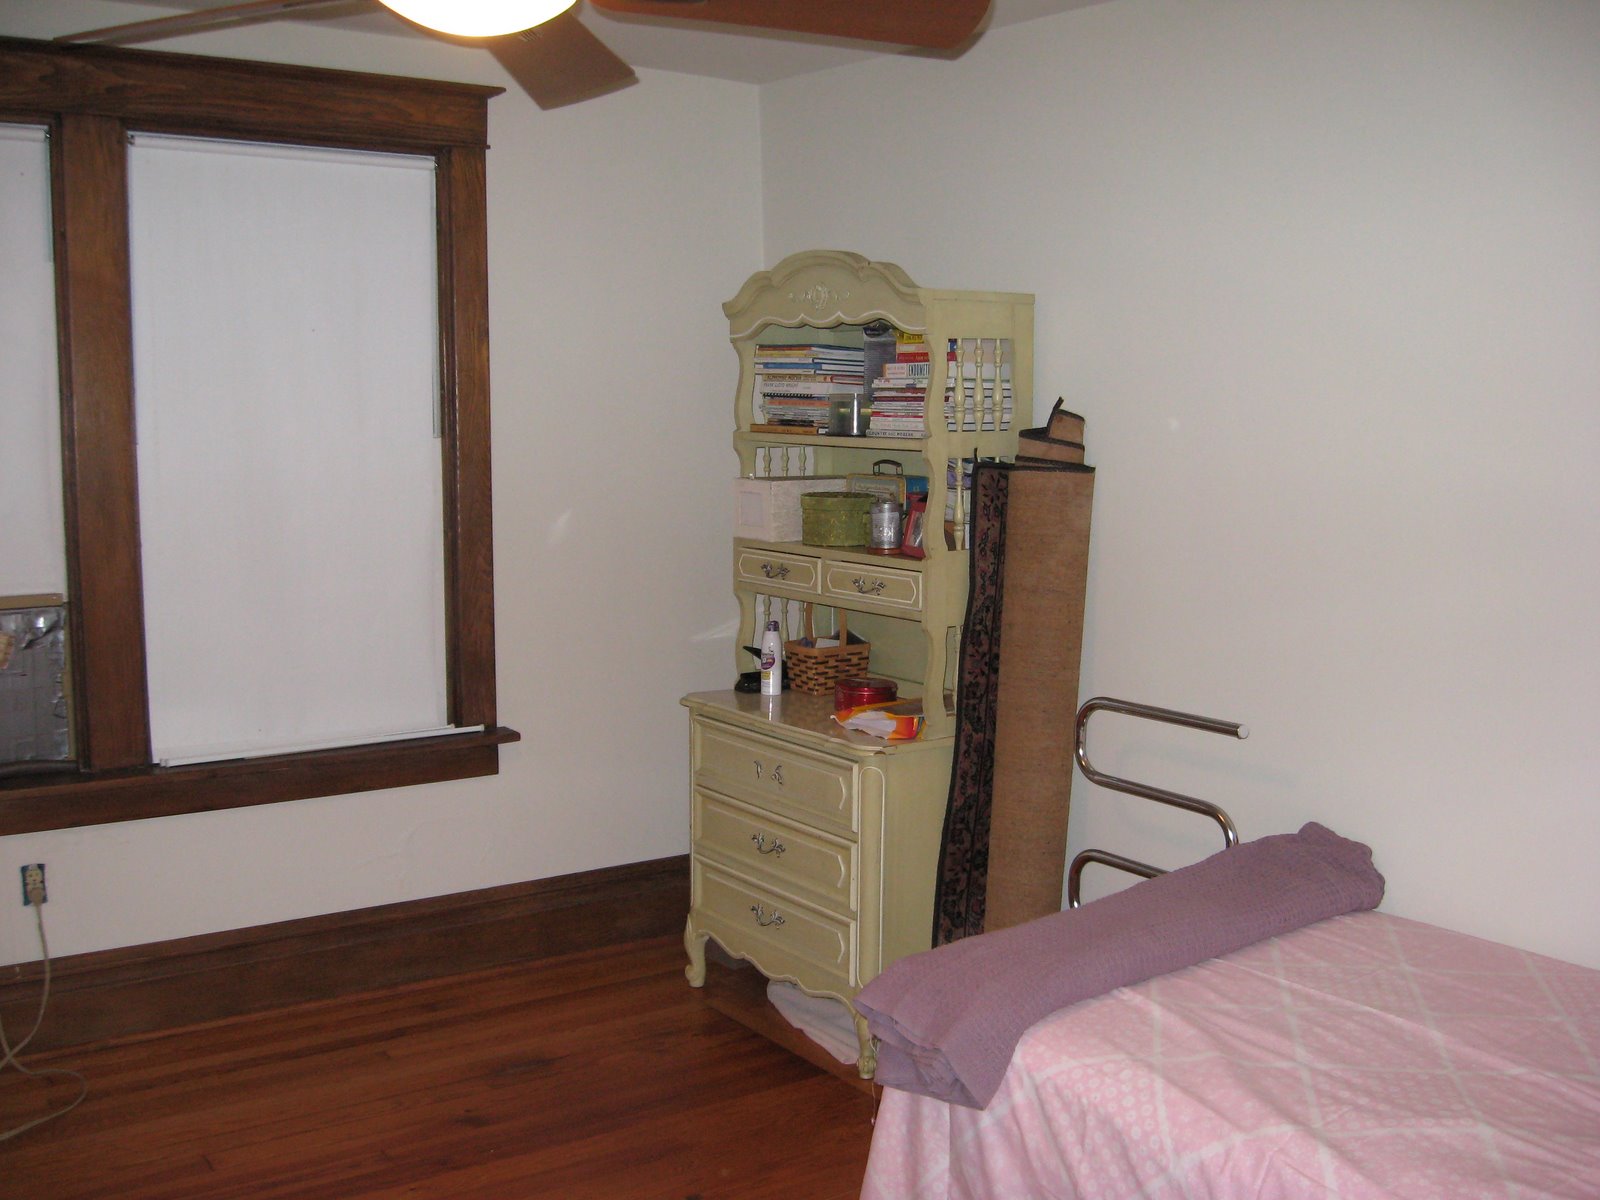
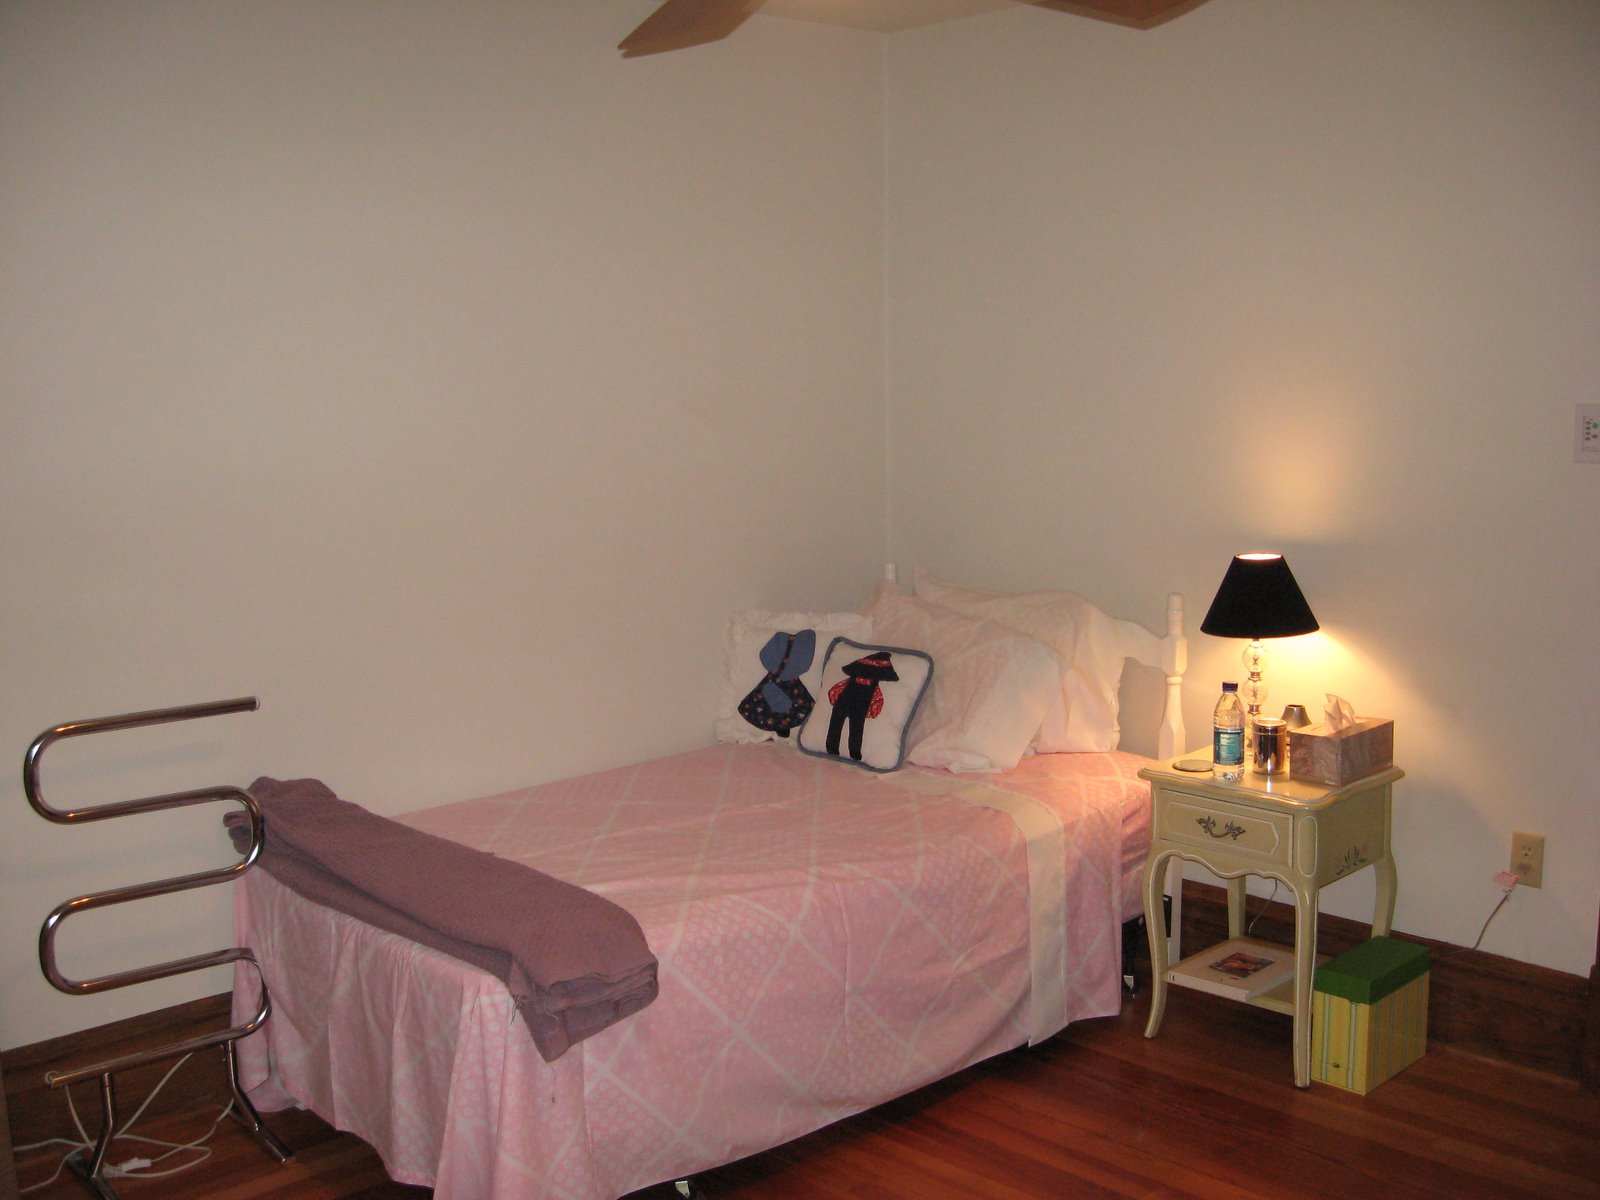
Oh, boy. I am embarrassed to show you all this room. It is baaaaad. But everyone has a junk room, right? Right? Someday I’ll get this organized. Really, I will. If you can believe it, there was twice as much stuff in here about a year ago, so that’s progress. And there is a wide path from the door to the closet on the left, both dressers are accessible, as well as the window on the left. Can’t quite get to the window on the right just now, even though there is a large empty space in front of it. You just can’t get there.
And if you can imagine it, three years ago, pretty much the whole house was in this state. Or worse. So if you look at it like that, we’ve made progress. We’ve just stalled here. This was the landing spot for everything we didn’t know what to do with.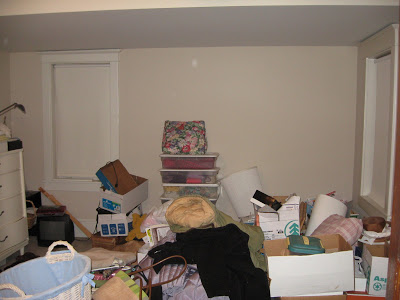
You may notice that this room is slightly less peach than before, but it was supposed to be a lovely light mushroom color. But our less-than-fab painter, who shall go unnamed, decided he’s a one-coat-Joe. So, some day we’ll need to paint in here again. The color isn’t as deep as I had wanted, and because walls are not perfectly smooth, peach paint shows through where the roller skipped over the concave spots. Idiot.
Also, the this is the only room in the house with painted trim. I’m happy with it, I think it looks nice painted a nice white. Really, it was the only way to go here because both windows were later additions, as well as most of the baseboard, so they weren’t chestnut, and it was all already painted, so… I don’t feel bad.
Carpet is another only-in-this-room. Some stupid P.O. had glued carpet down to the floor at some point, and while, maybe, maybe the glue may have come up, it would have cost a fortune and been very labor intensive. Besides, only half of the room had hardwood floor, the other half now has new plywood that replaced the rotten sleeping porch floor.
Another someday we’ll get the walls painted to match the carpet. It’ll look nice with the white trim. The doors themselves were refinished, though, in keeping with the rest of the house.
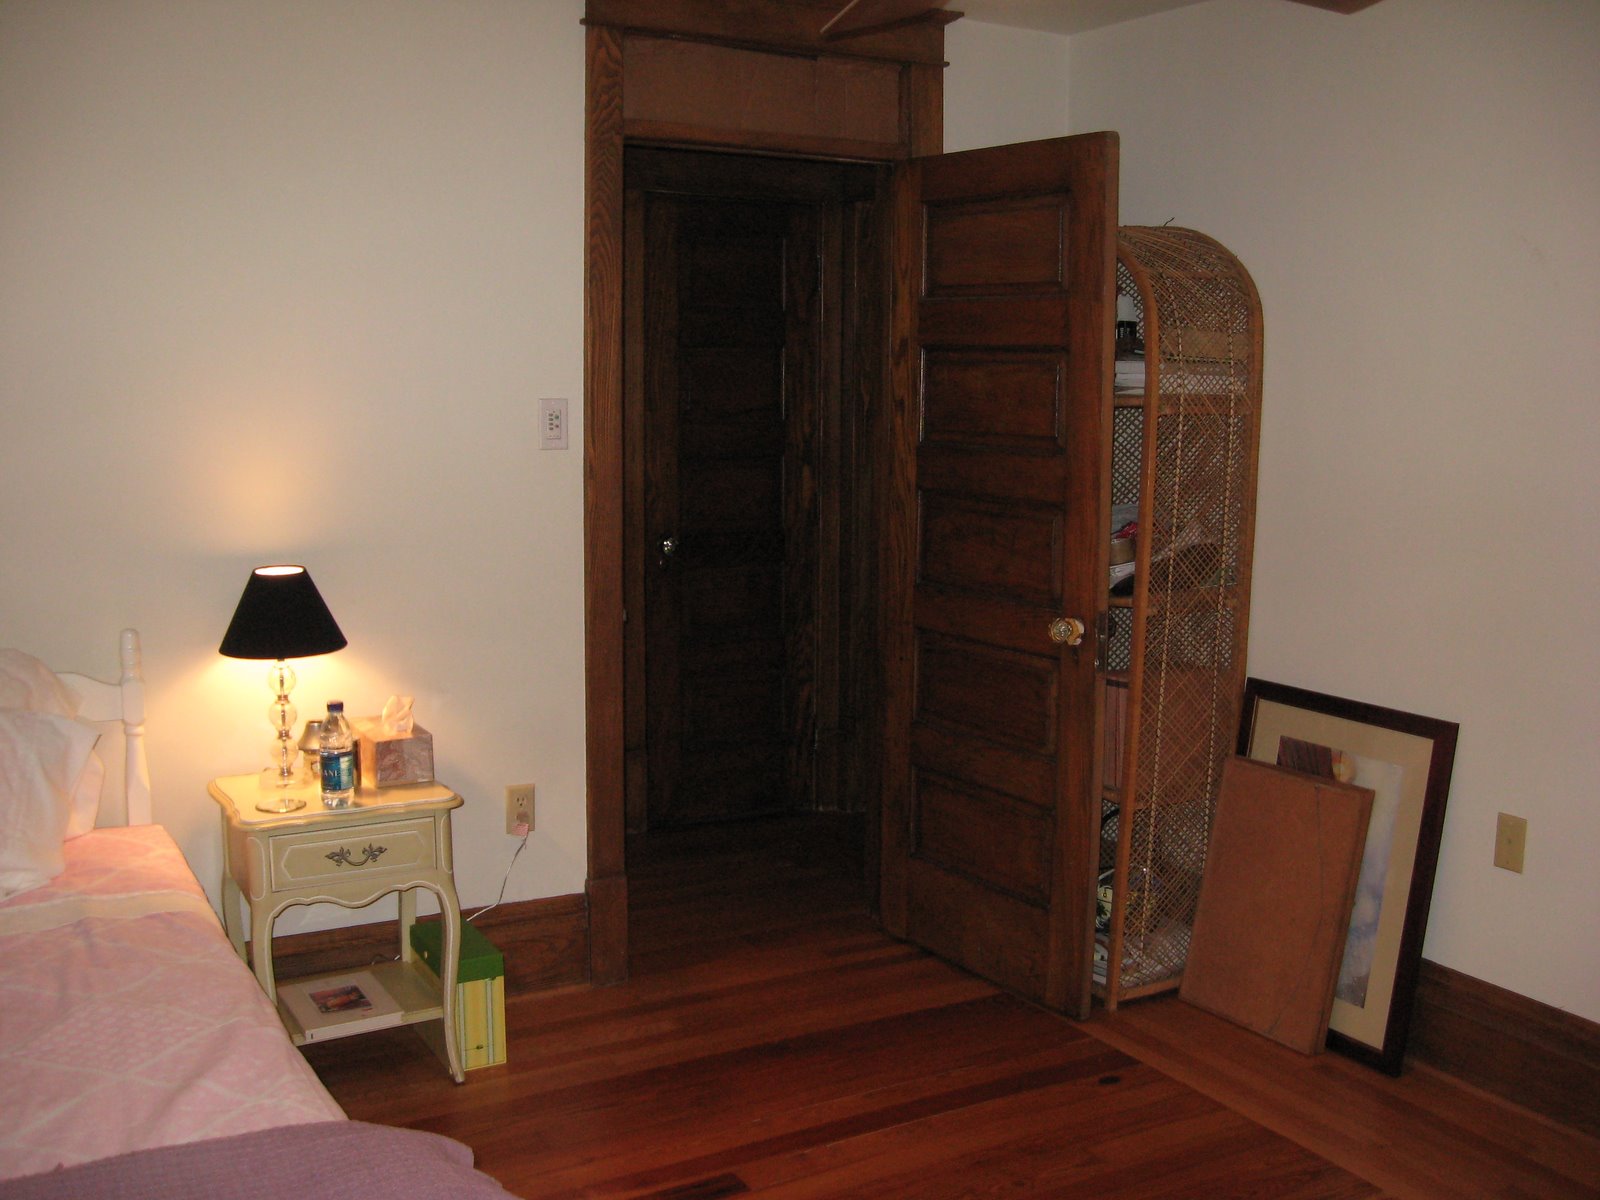
The closet is reasonably organized…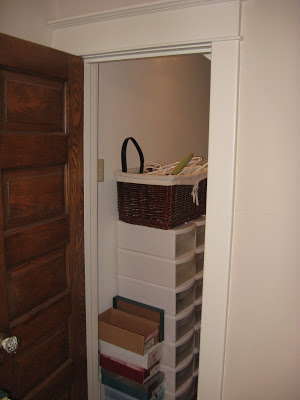 …do I at least get points for that?
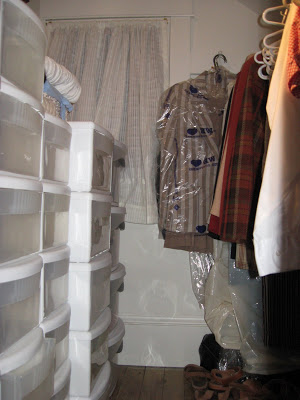
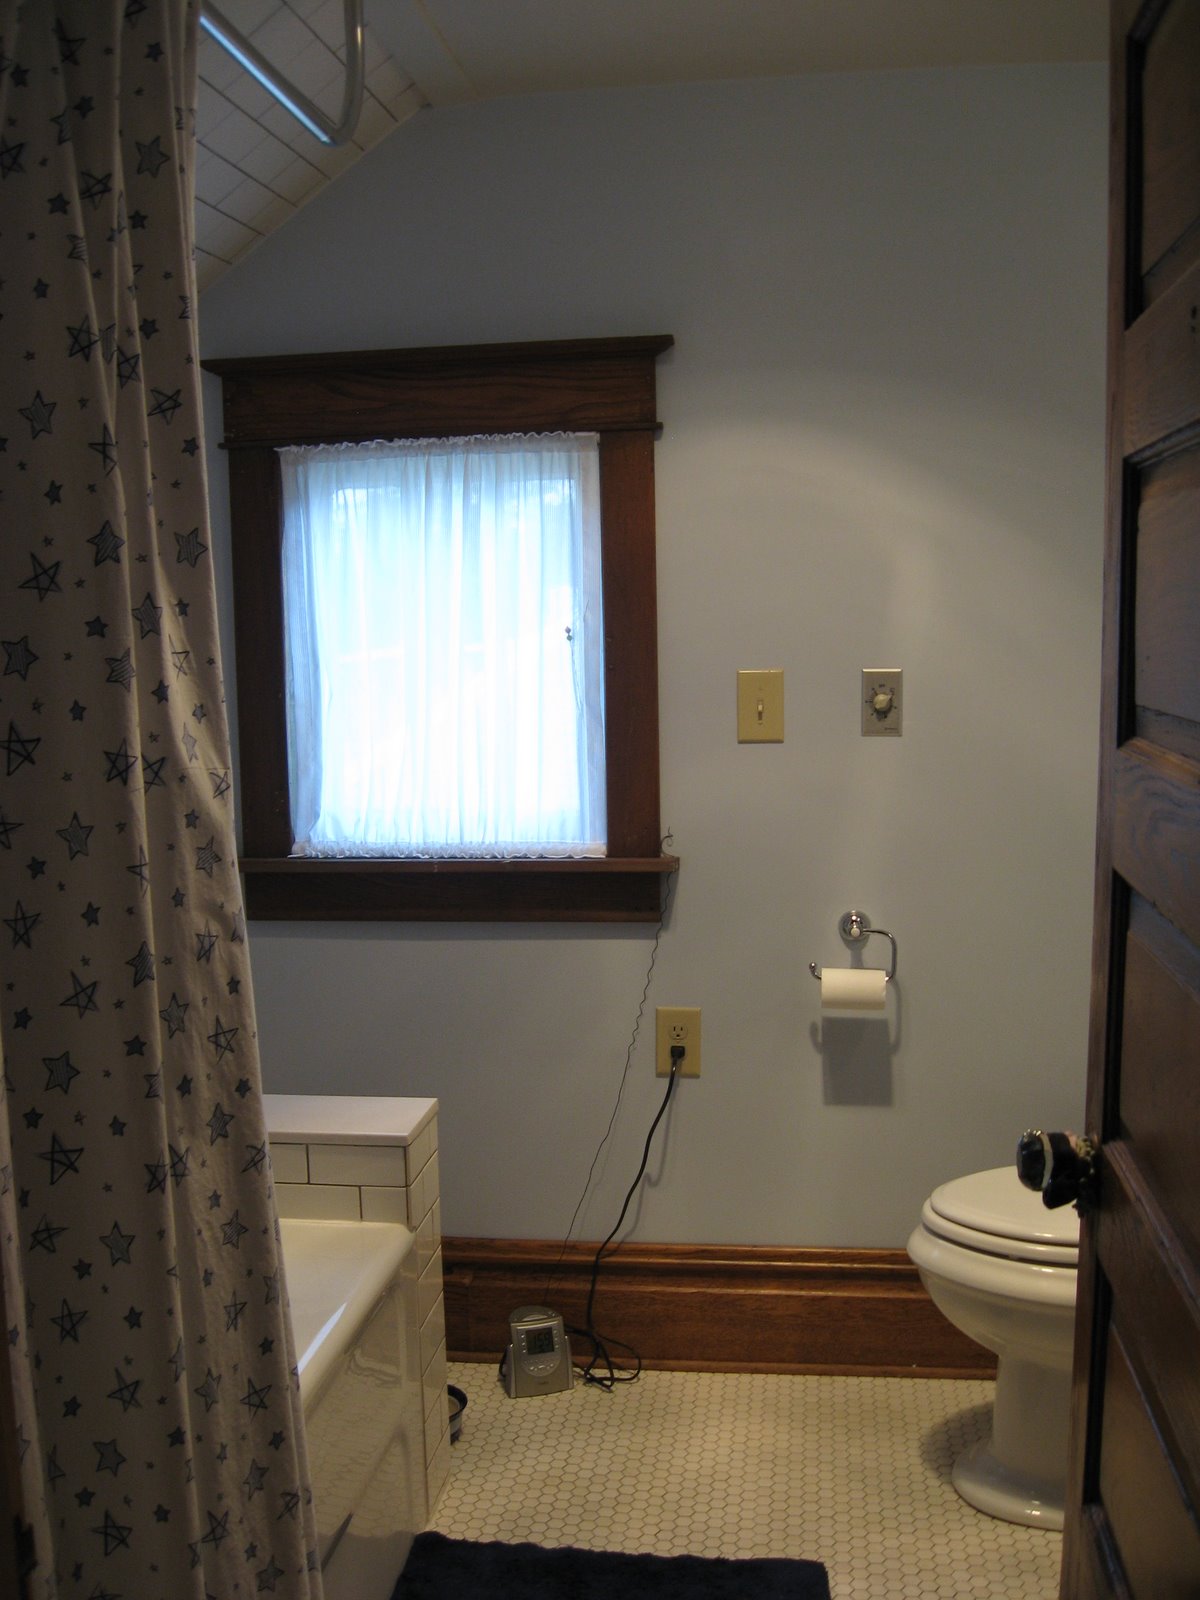
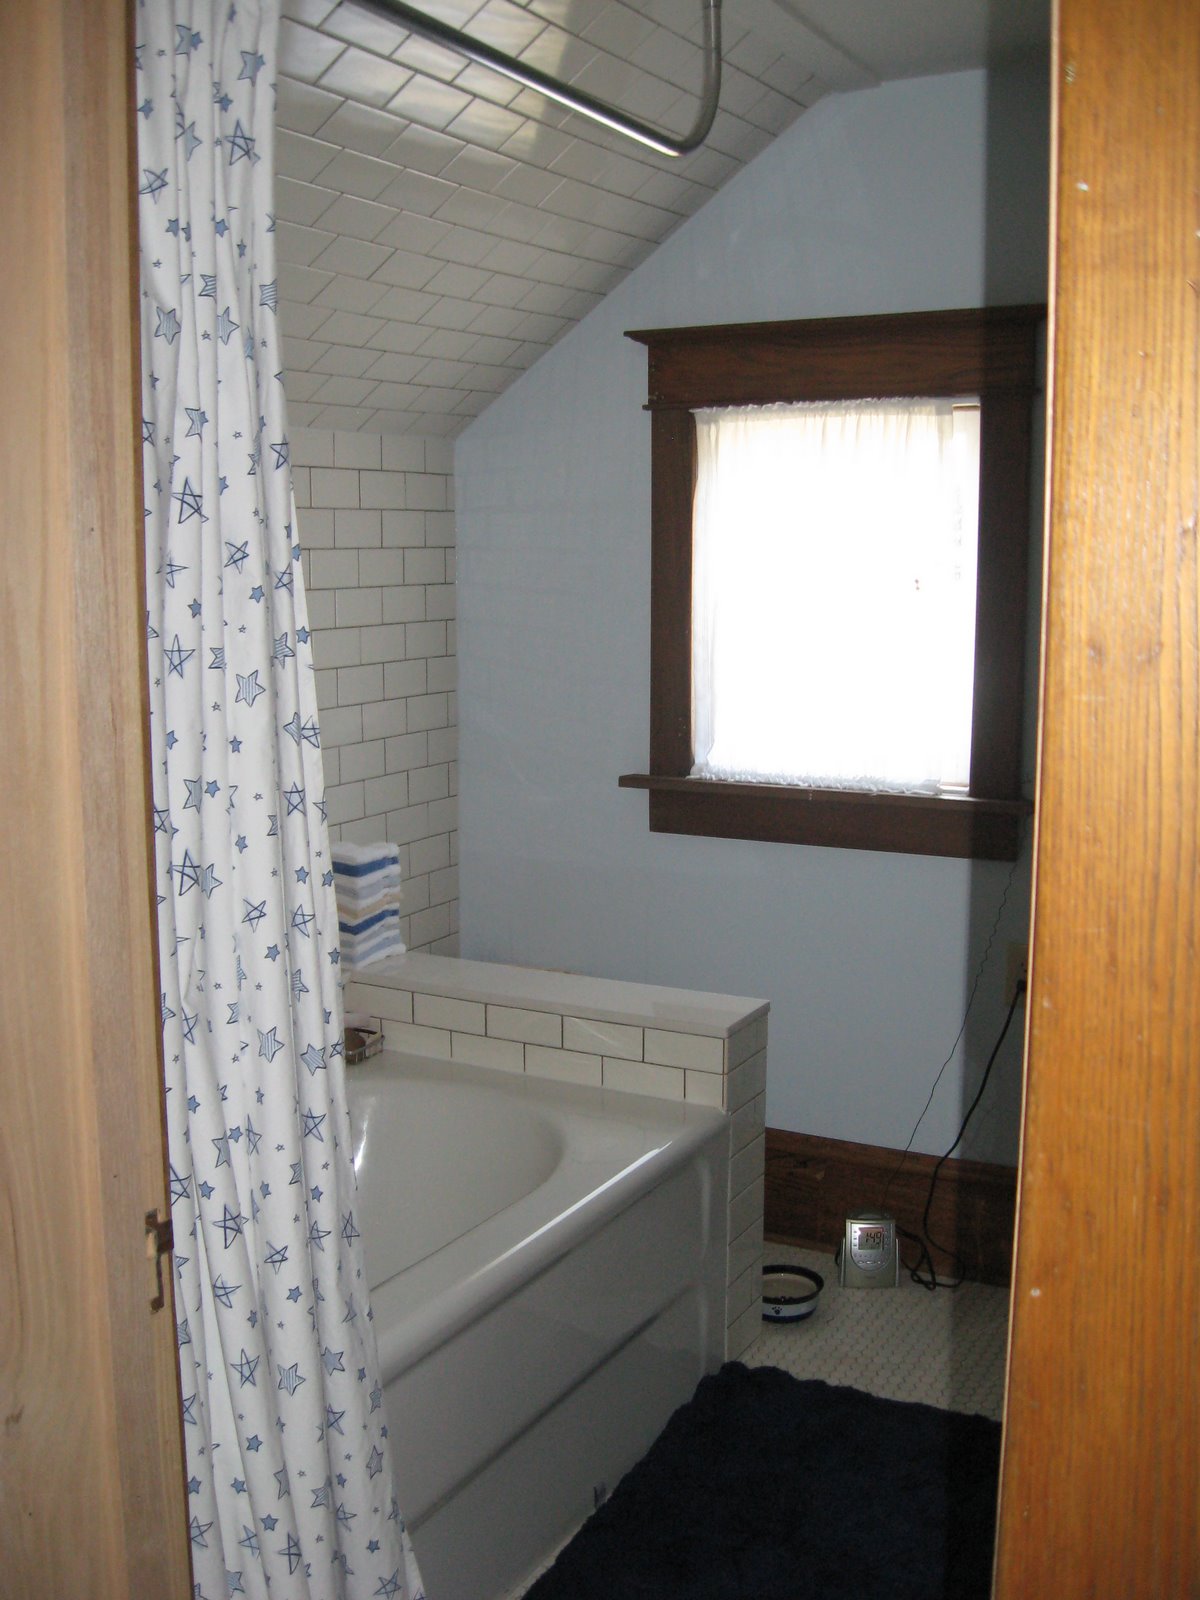
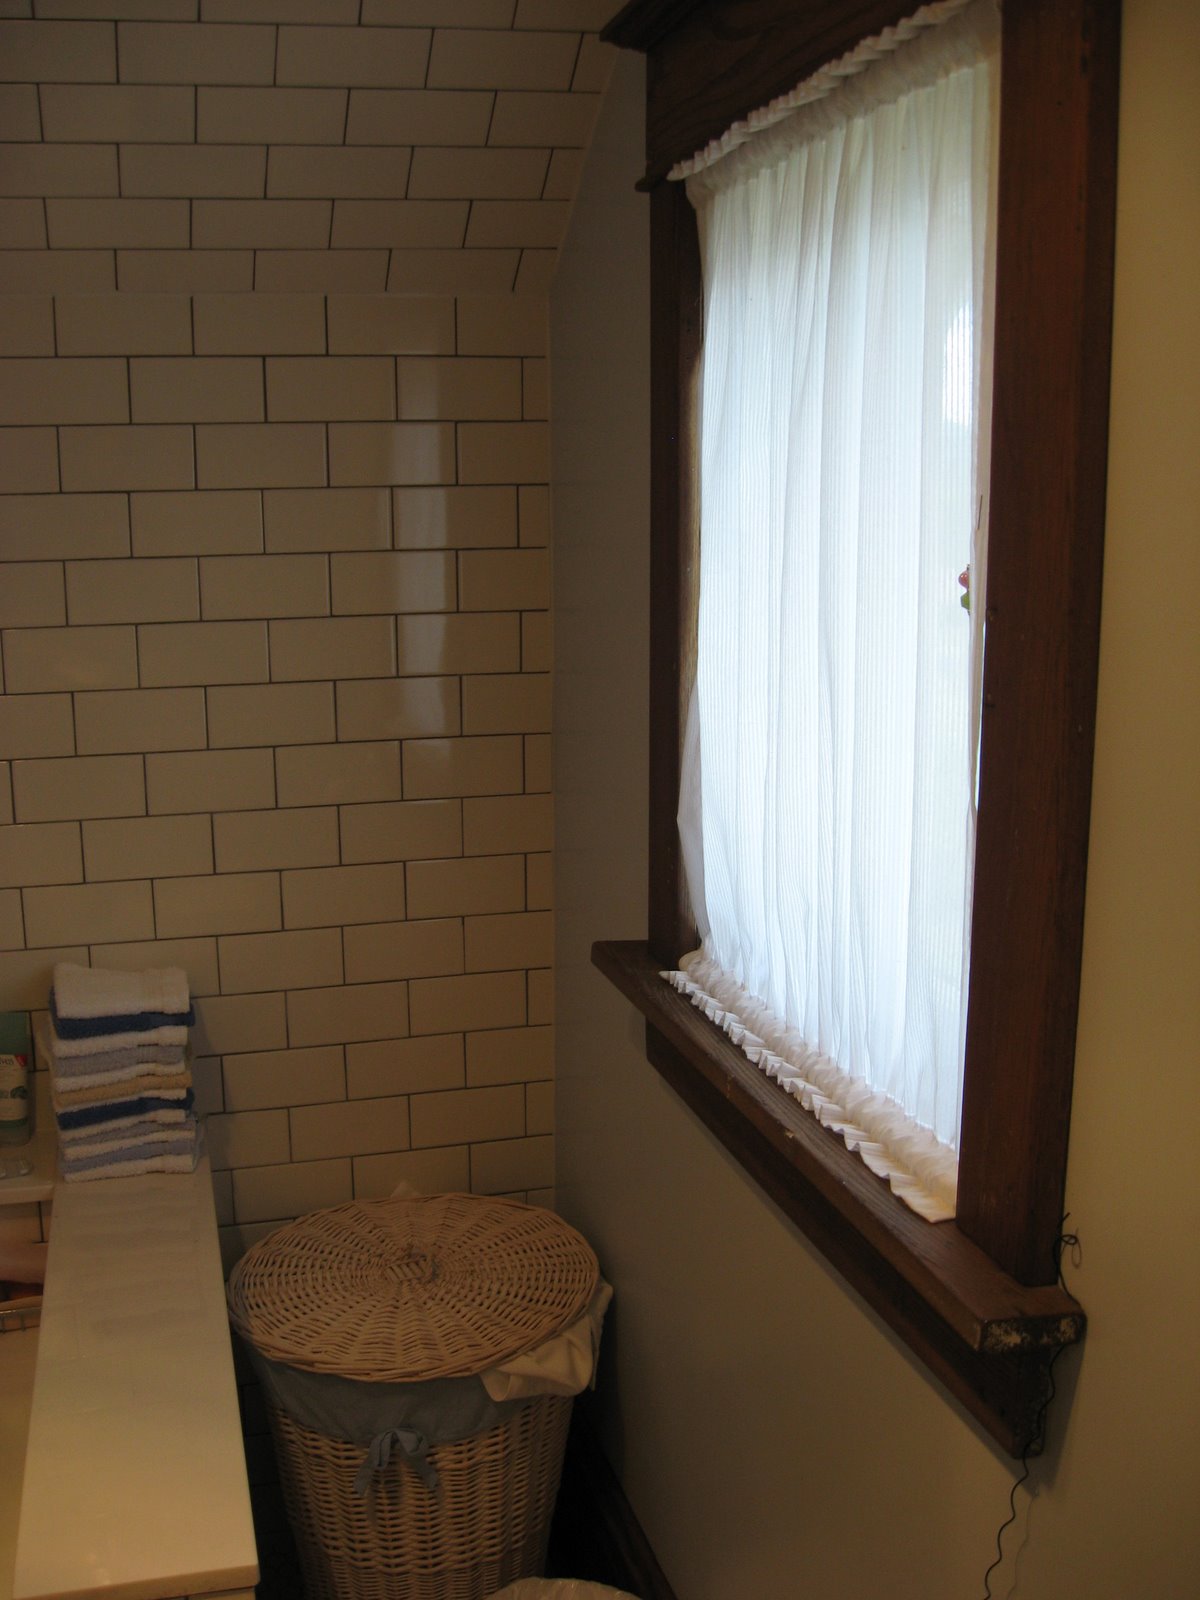
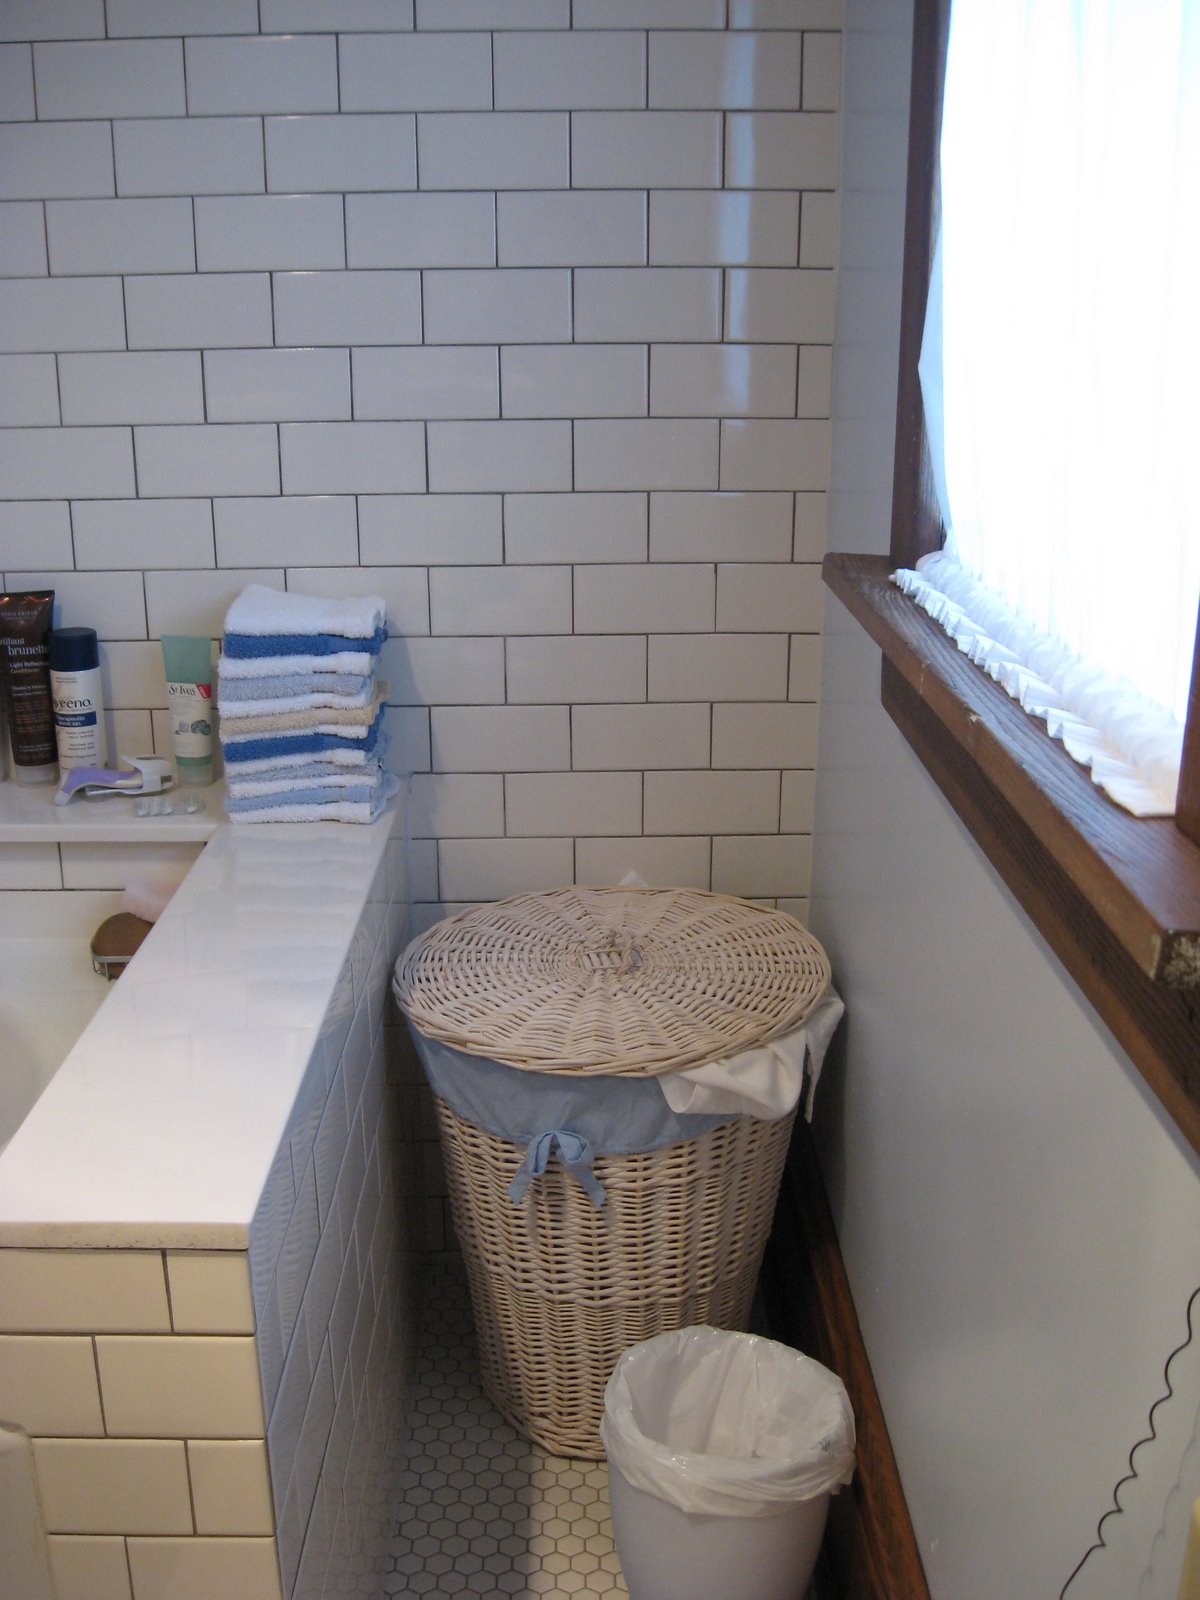
Okay, so, remember that space behind the door I told you to make note of in the before pictures? Well, here is the final result: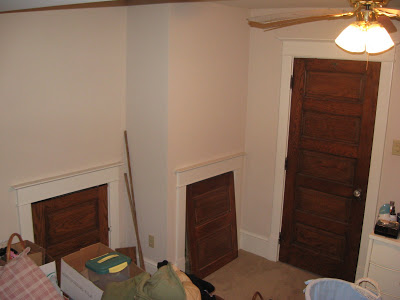 That second “cubby” door was built by Bill, and it leads to the plumbing access. That bump out? Well, that is just small space lost in a large room, a small price to pay for much gained elbow room in the bathroom…
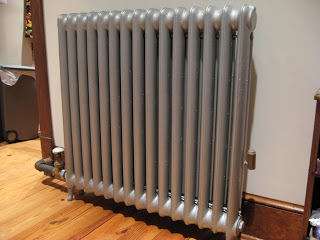
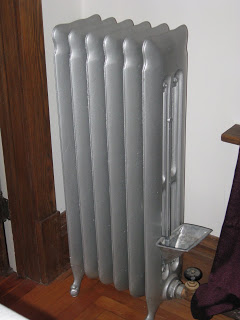
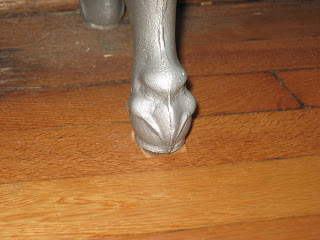
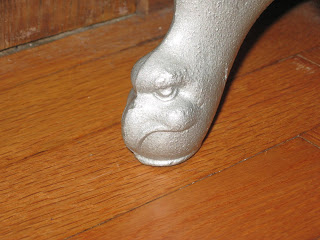
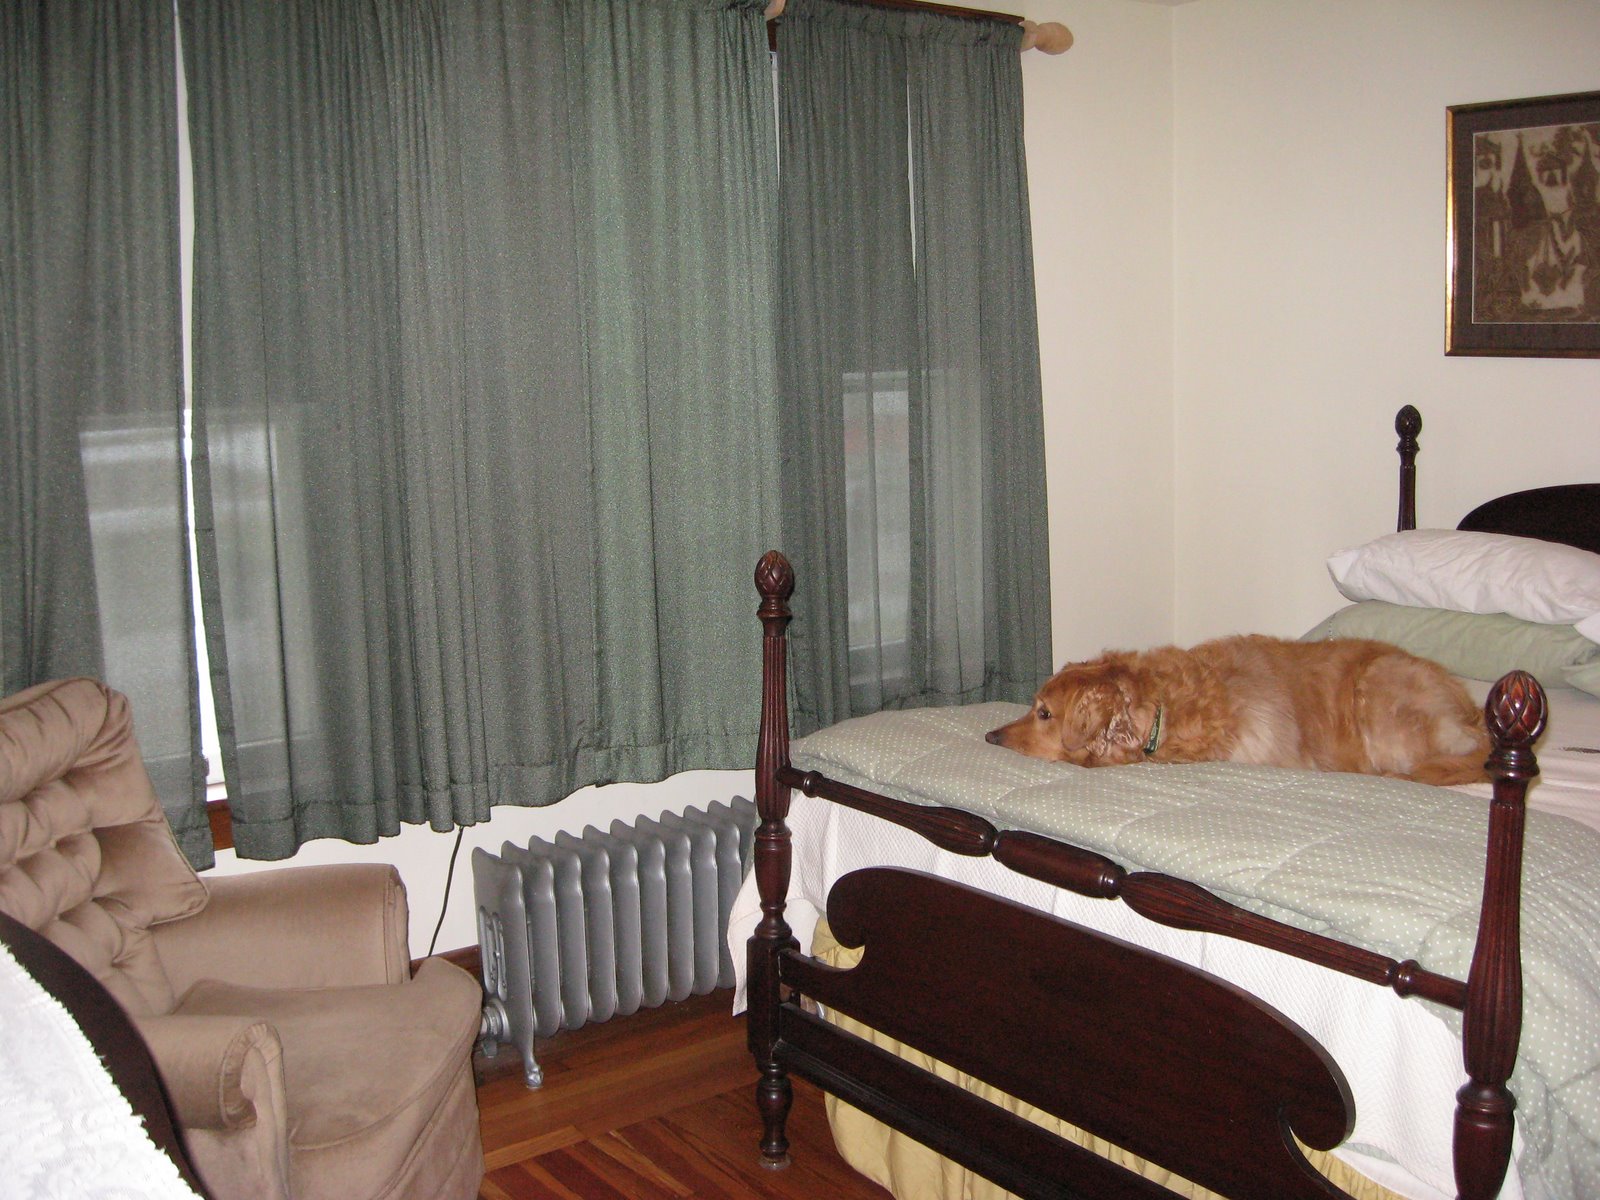
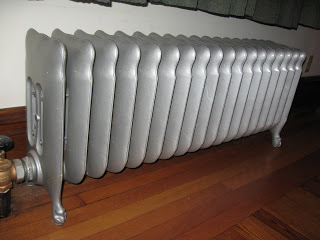 We knew that the sandblasting was risky, because if there are any weak spots it can create holes, and then it is all over, folks. But we decided it was worth it. New radiators for the second floor were out of the question. I’m so glad we took the chance.
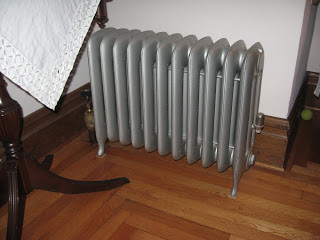 I sincerely hope this paint job will last for years, decades even. About a year after the radiators were finished, I saw pictures (I’m sorry, I don’t remember where) of someone else who had done the same thing, only they had their radiators painted a dark metallic bronze. They were really gorgeous. Now I have bronze envy. I briefly wished we had thought of the dark bronze, but I am very happy with the engine silver anyway. Maybe we will go bronze if it ever needs done again.