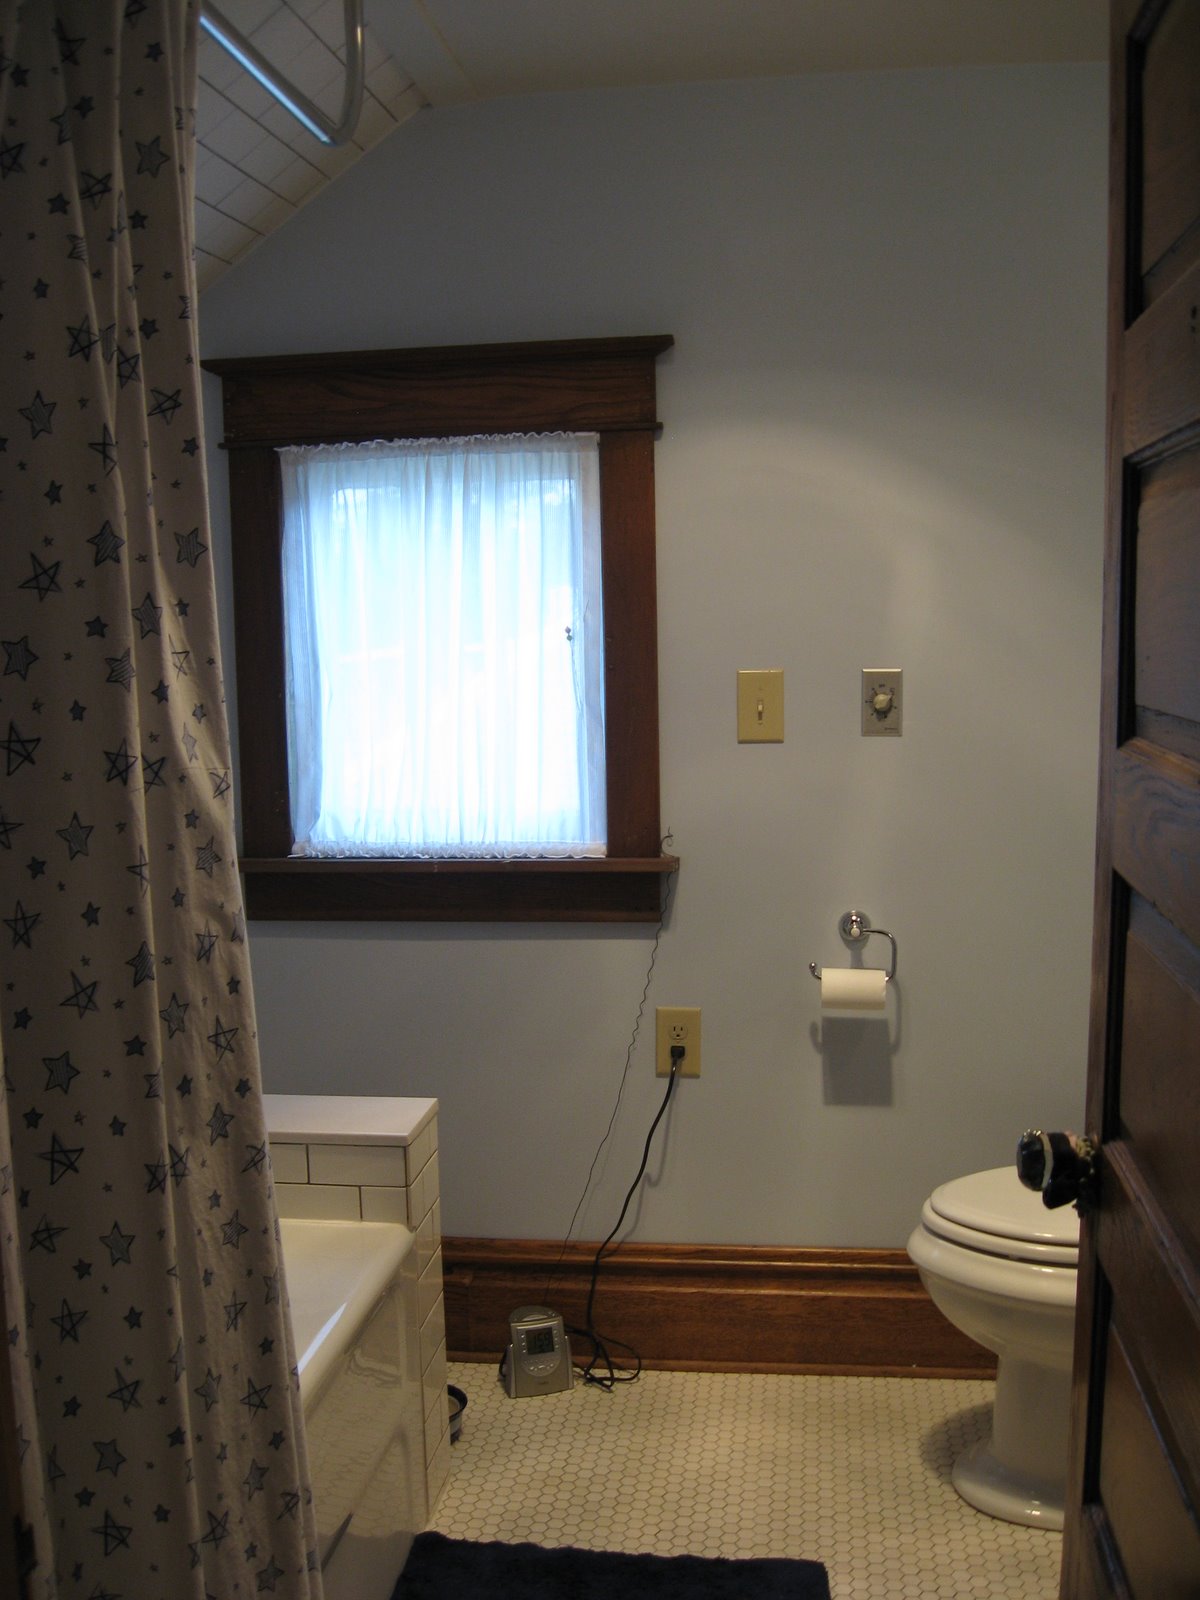
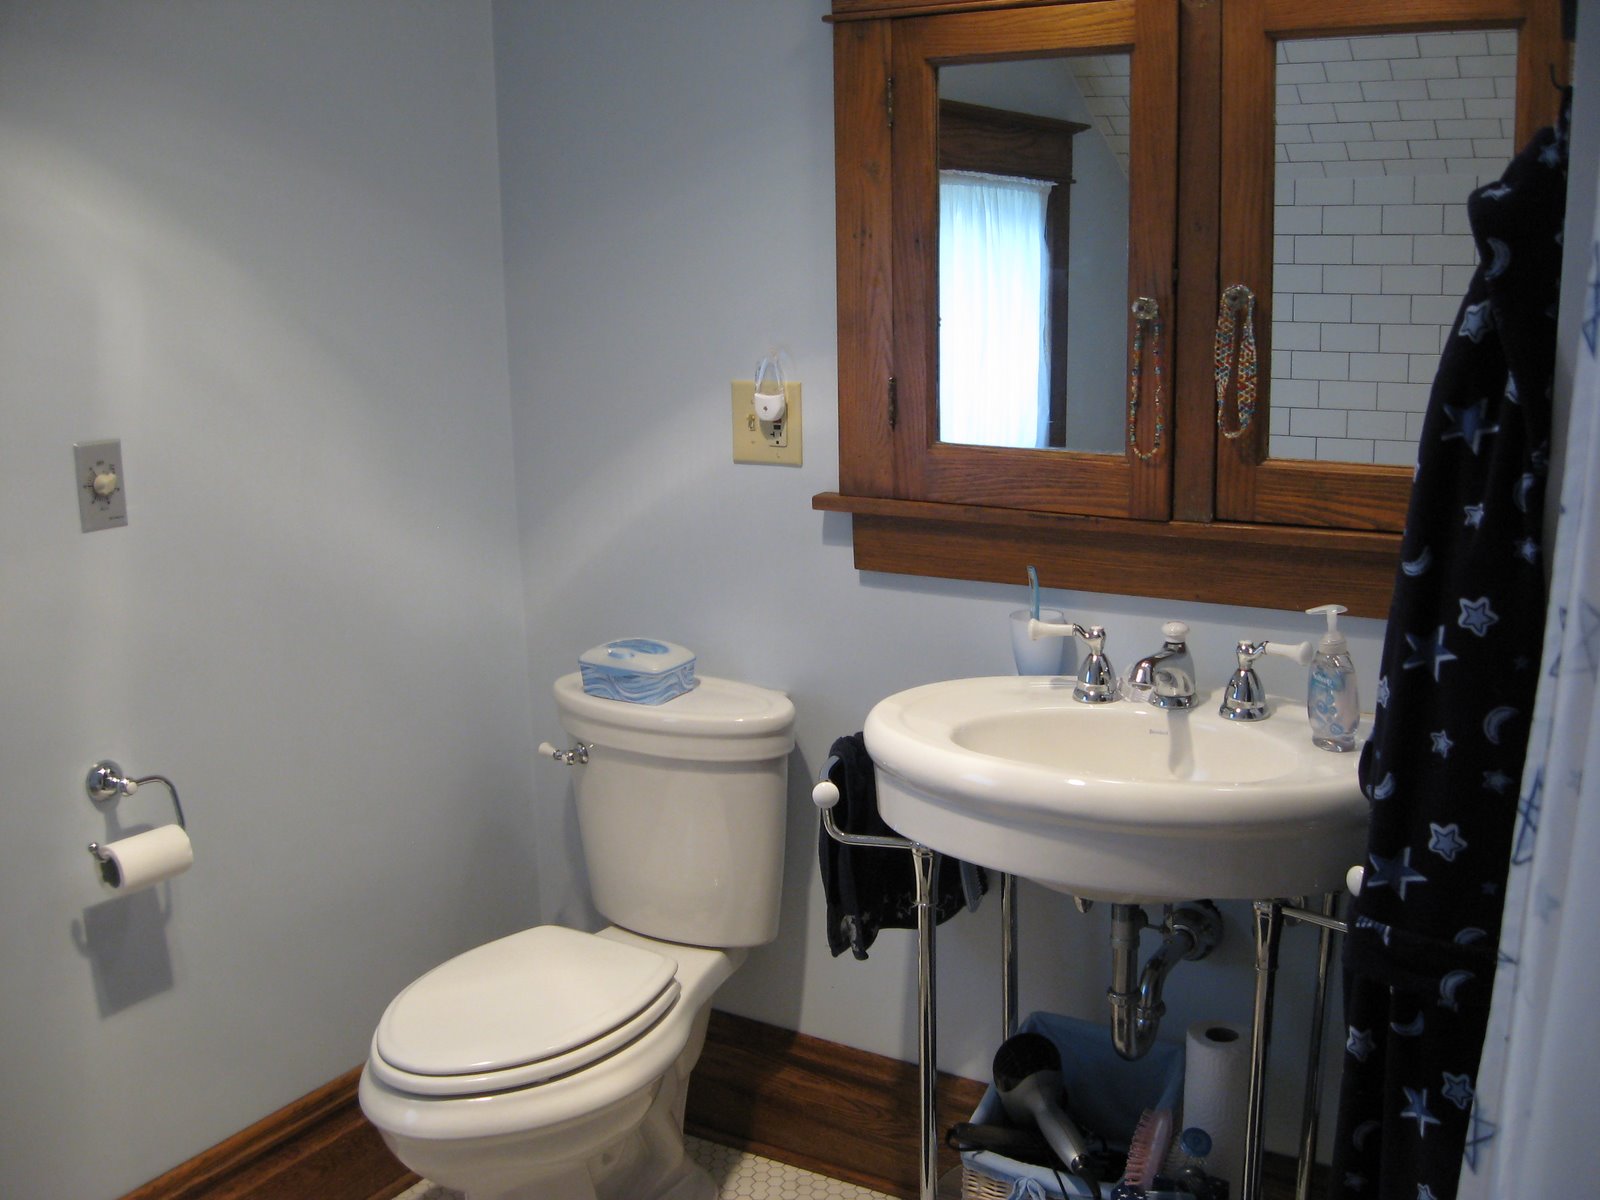
You may have noticed that the new bathroom looks a lot bigger. That’s because it is.
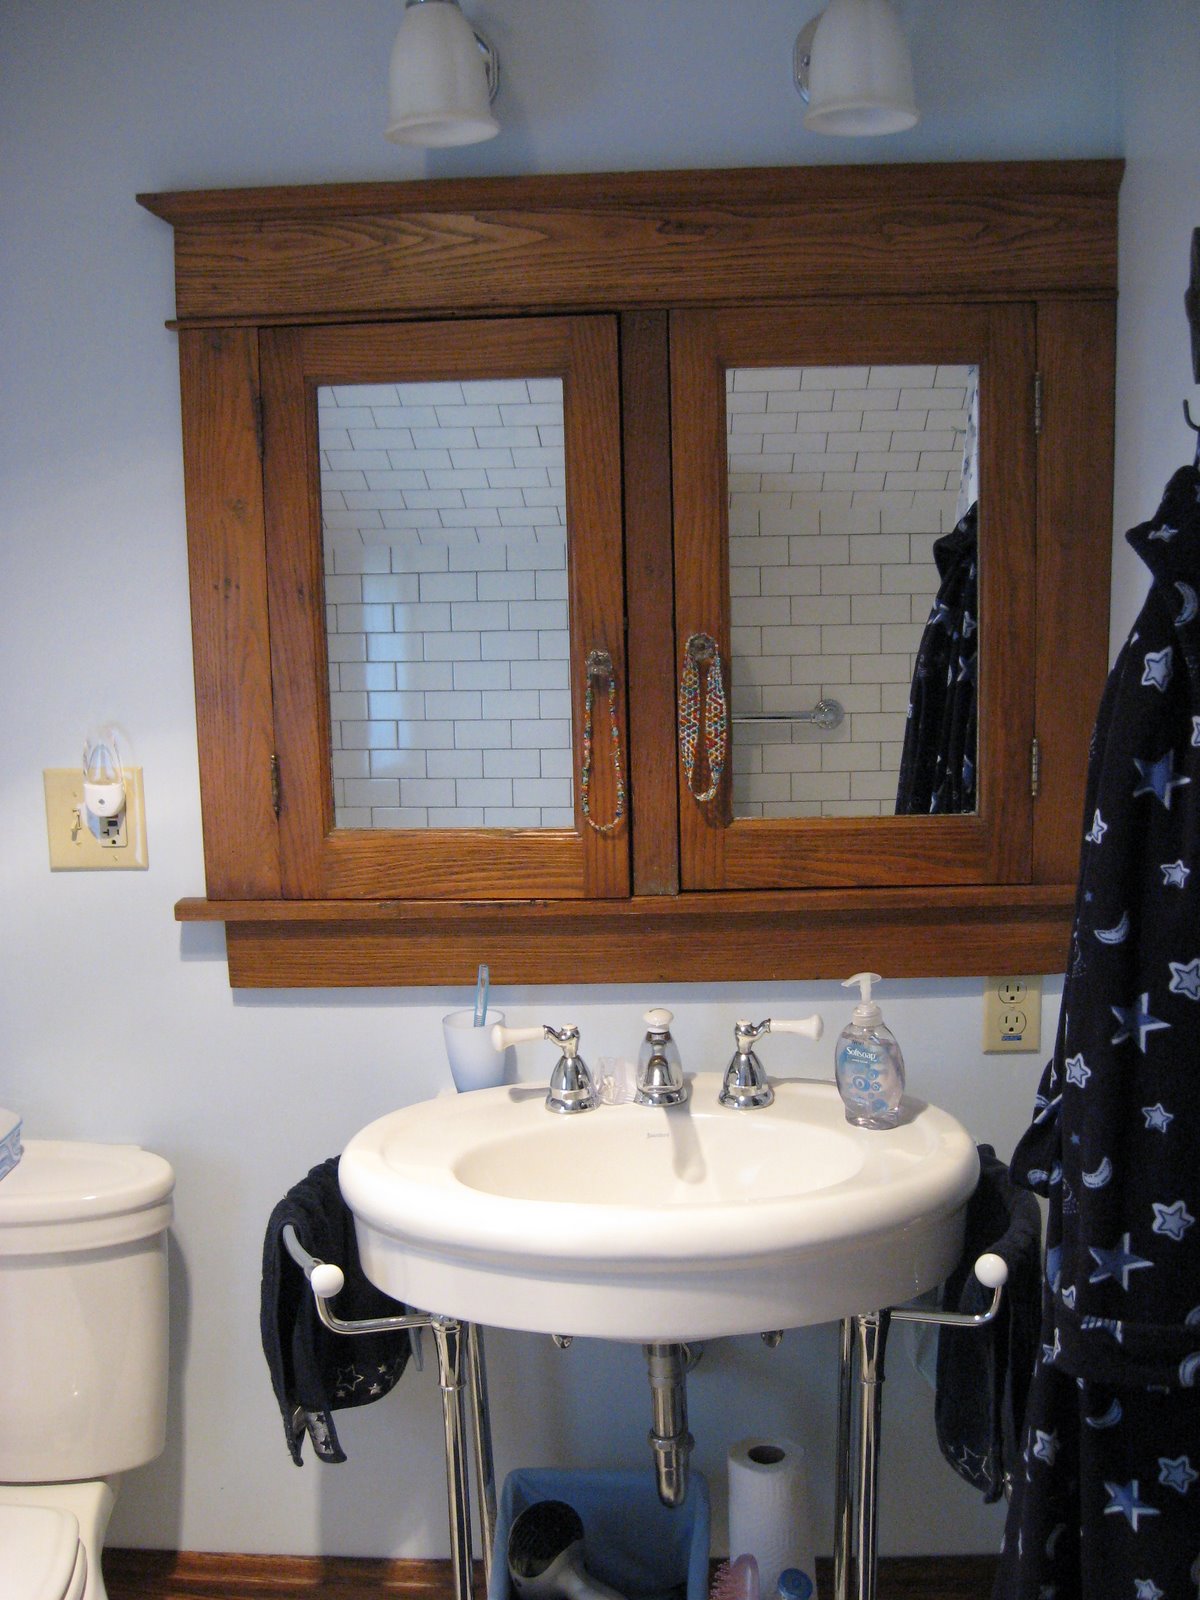
We bumped the wall where the door is out into the hallway. This gave us another 16″ or so in the bathroom, and we didn’t really loose anything but dead space in the hall. We considered it carefully, too. We didn’t want to find that we’d made it impossible to get furniture in. This didn’t impact that at all, mostly because the chimney stack was already there. That’s another plus. The bathroom doesn’t have heating, so by moving the door wall, we’ve now got two sides of the chimney in the bathroom. And when the hot water is running, like when you’re in the shower, the chimney gets hot enough to warm your towel!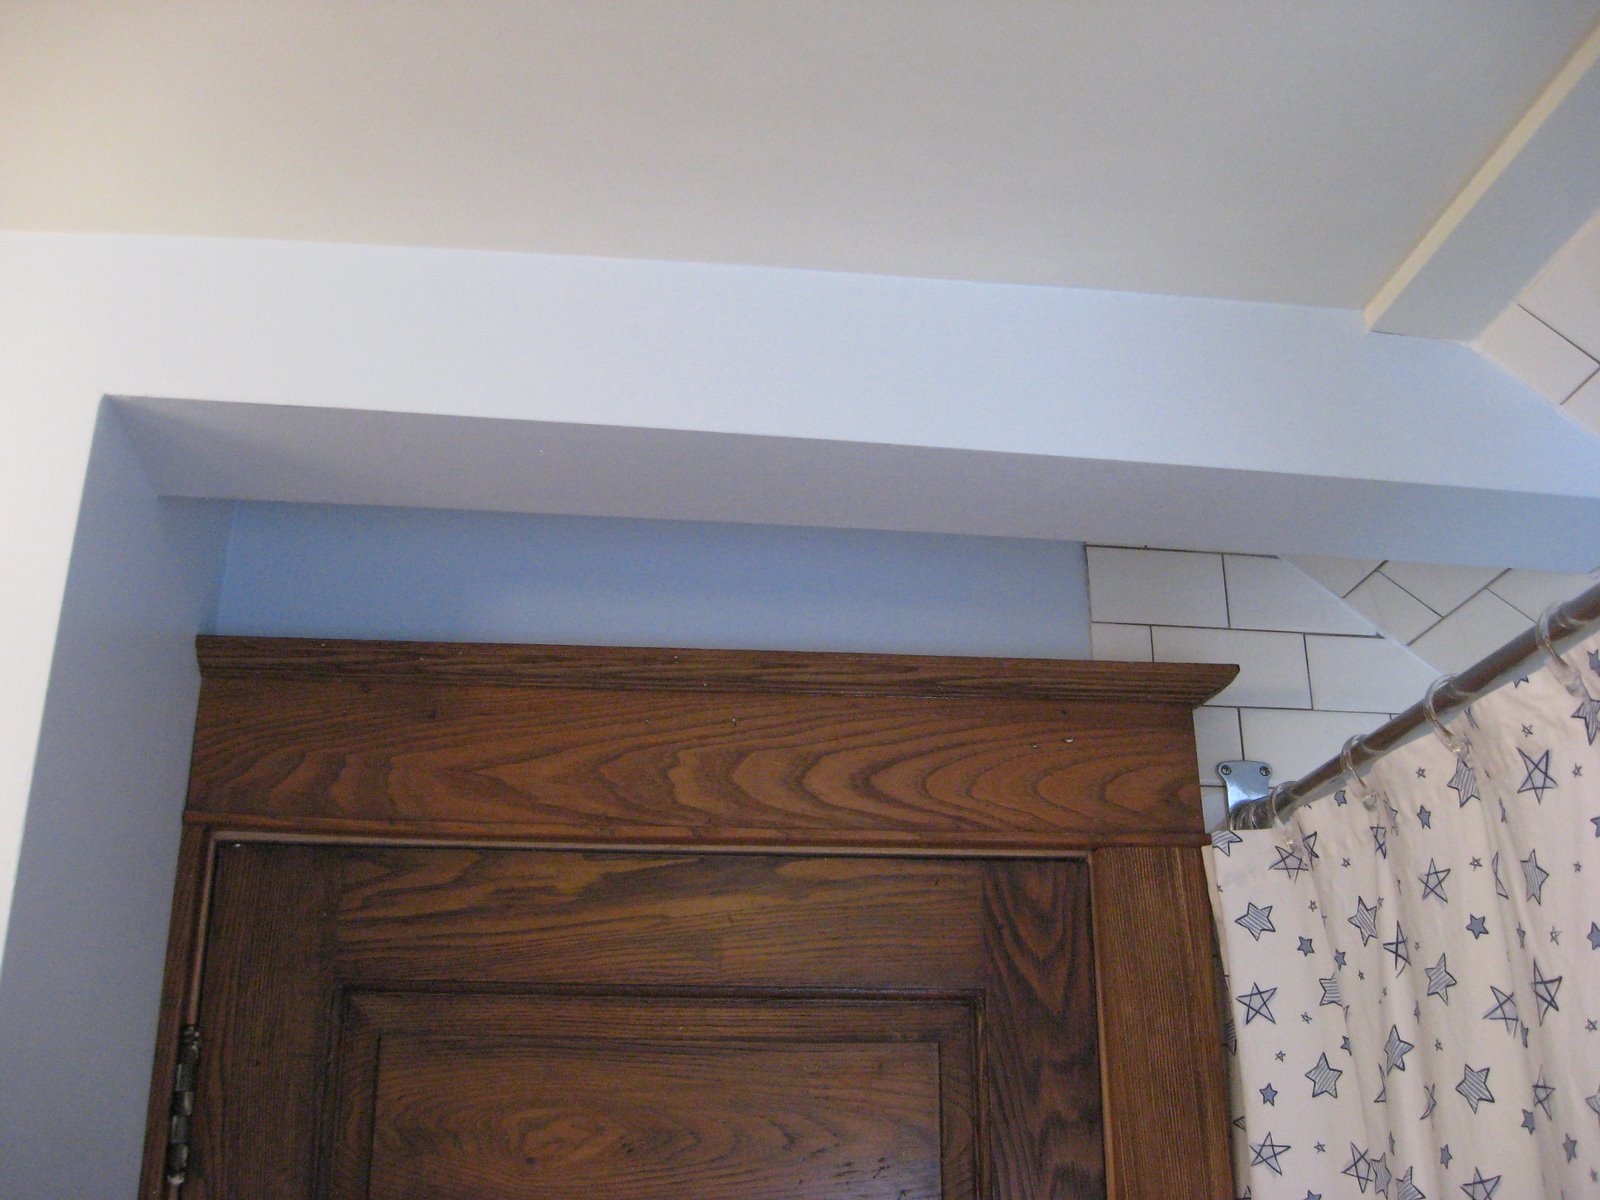 That nice structural beam had to stay, but I don’t think it looks out of place. Or, maybe I’m just telling myself that so I feel better.
Another place we gained space was the ceiling. Bill started to level the old ceiling when we had the bathroom gutted, and he realized that it was going to be a lot of tedious work. He asked me if it would be okay to take the framework down and start from scratch. I’ll bet Bill got nervous when he saw the gleam in my eye. I had an idea. Since we had to tear it down anyway, could we raise the ceiling? Pretty please? At only 7′, it always felt claustrophobic, and Lewis’ hair grazed the light fixture. So Bill agreed that would be best all around, and I couldn’t be happier.


 The toilet also leaked. Alot. We woke up one morning to water dripping from the ceiling right onto the kitchen counter! I would have been a whole lot more disgusted if we had actually been using the kitchen at the time. Anyway, the downstairs bathroom wasn’t yet completed, so my dad’s solution was to turn the water off to the toilet (luckily it was the ingoing water that was leaking, not the, erm, outgoing). This did not render the bathroom unusable, however, because all we had to do was collect water dripping from the tub faucet into a bucket, and voila! Instant use of wasted water. The tub faucet was leaking about a gallon of water every two hours. Daddy intended to fix it, but he said the whole thing had to be replaced, he couldn’t reach the plumbing, and we were going to gut this room in less than a year, so…
 Check out the gold vein on that counter surface. Not matching, but coordinating.
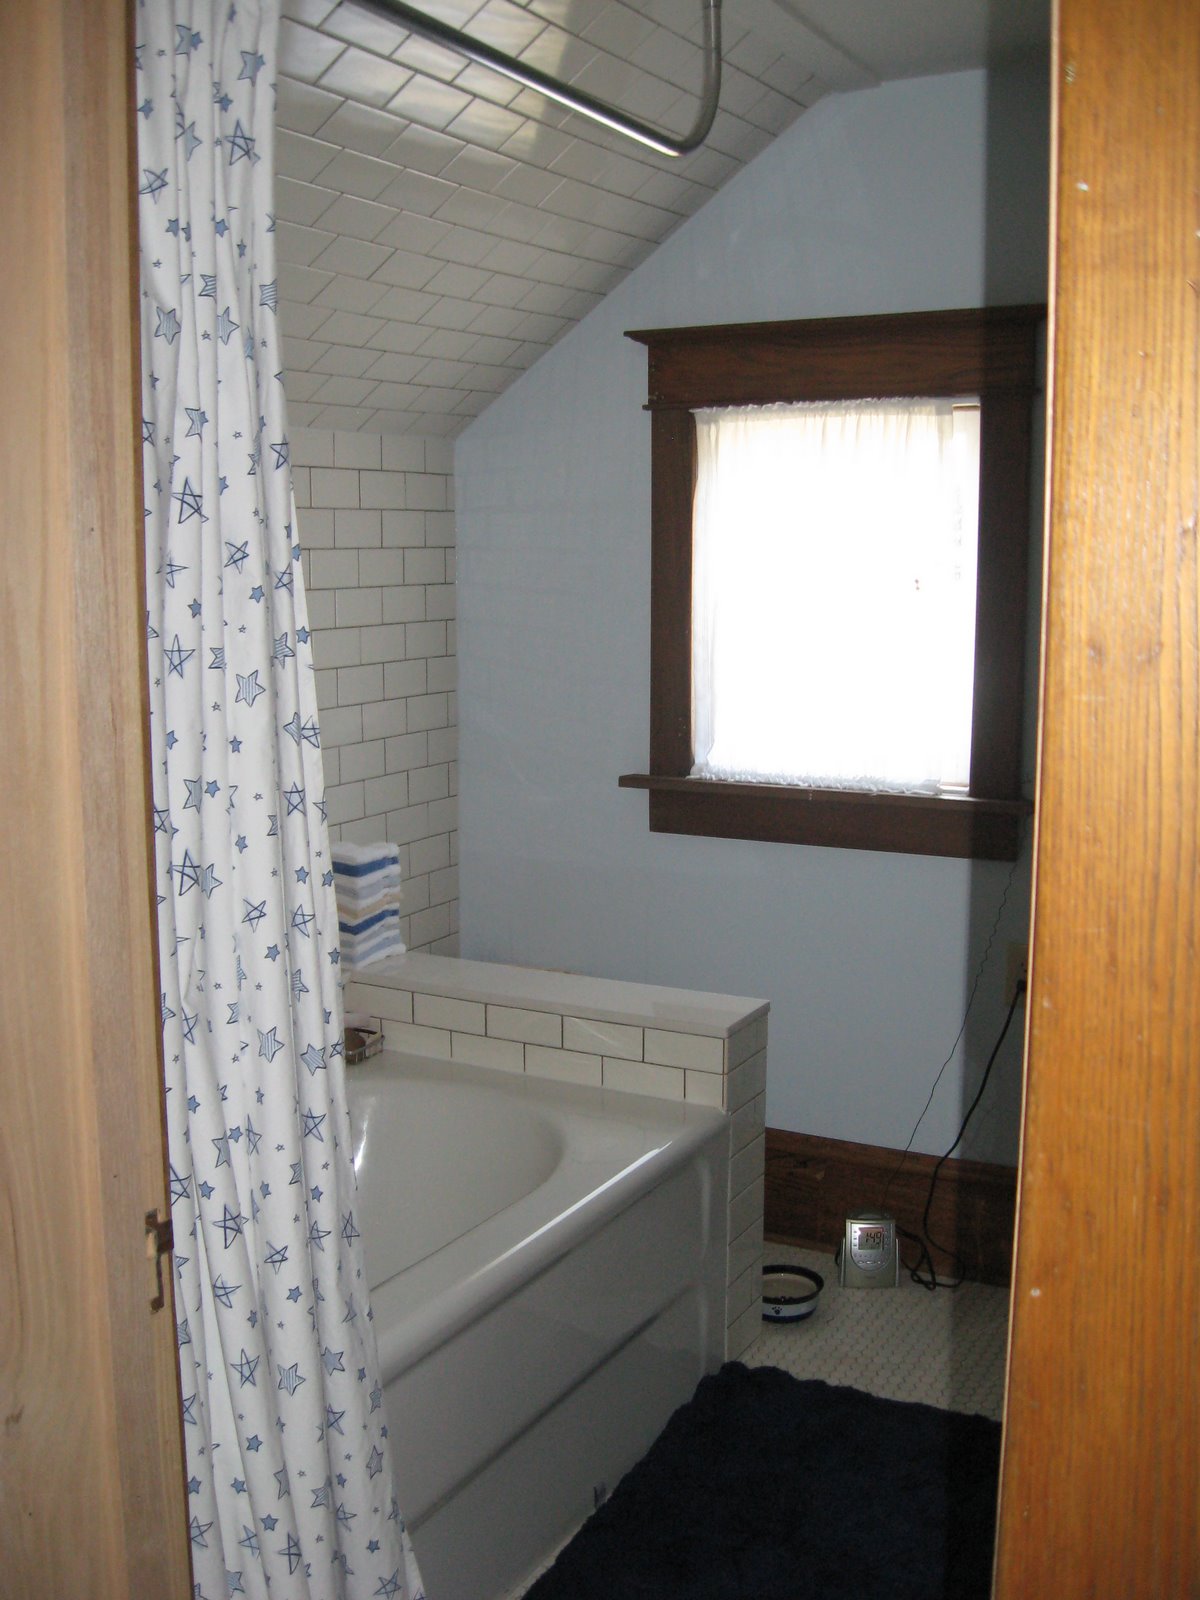
 Just wait till you see all we did to this room. You may not recognise it. Once we realized how bad the water damage was, this room had to be torn down to the studs. And then some of those even had to be sistered. We bumped two walls out, raised the ceiling, leveled the floor, well, you’ll see…
 This is the
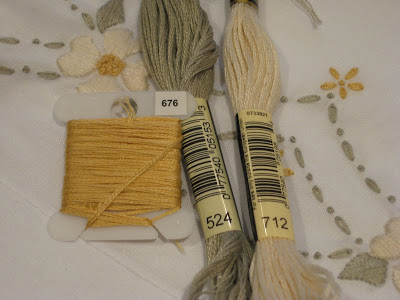
  I actually used the recommended colors for this kit: