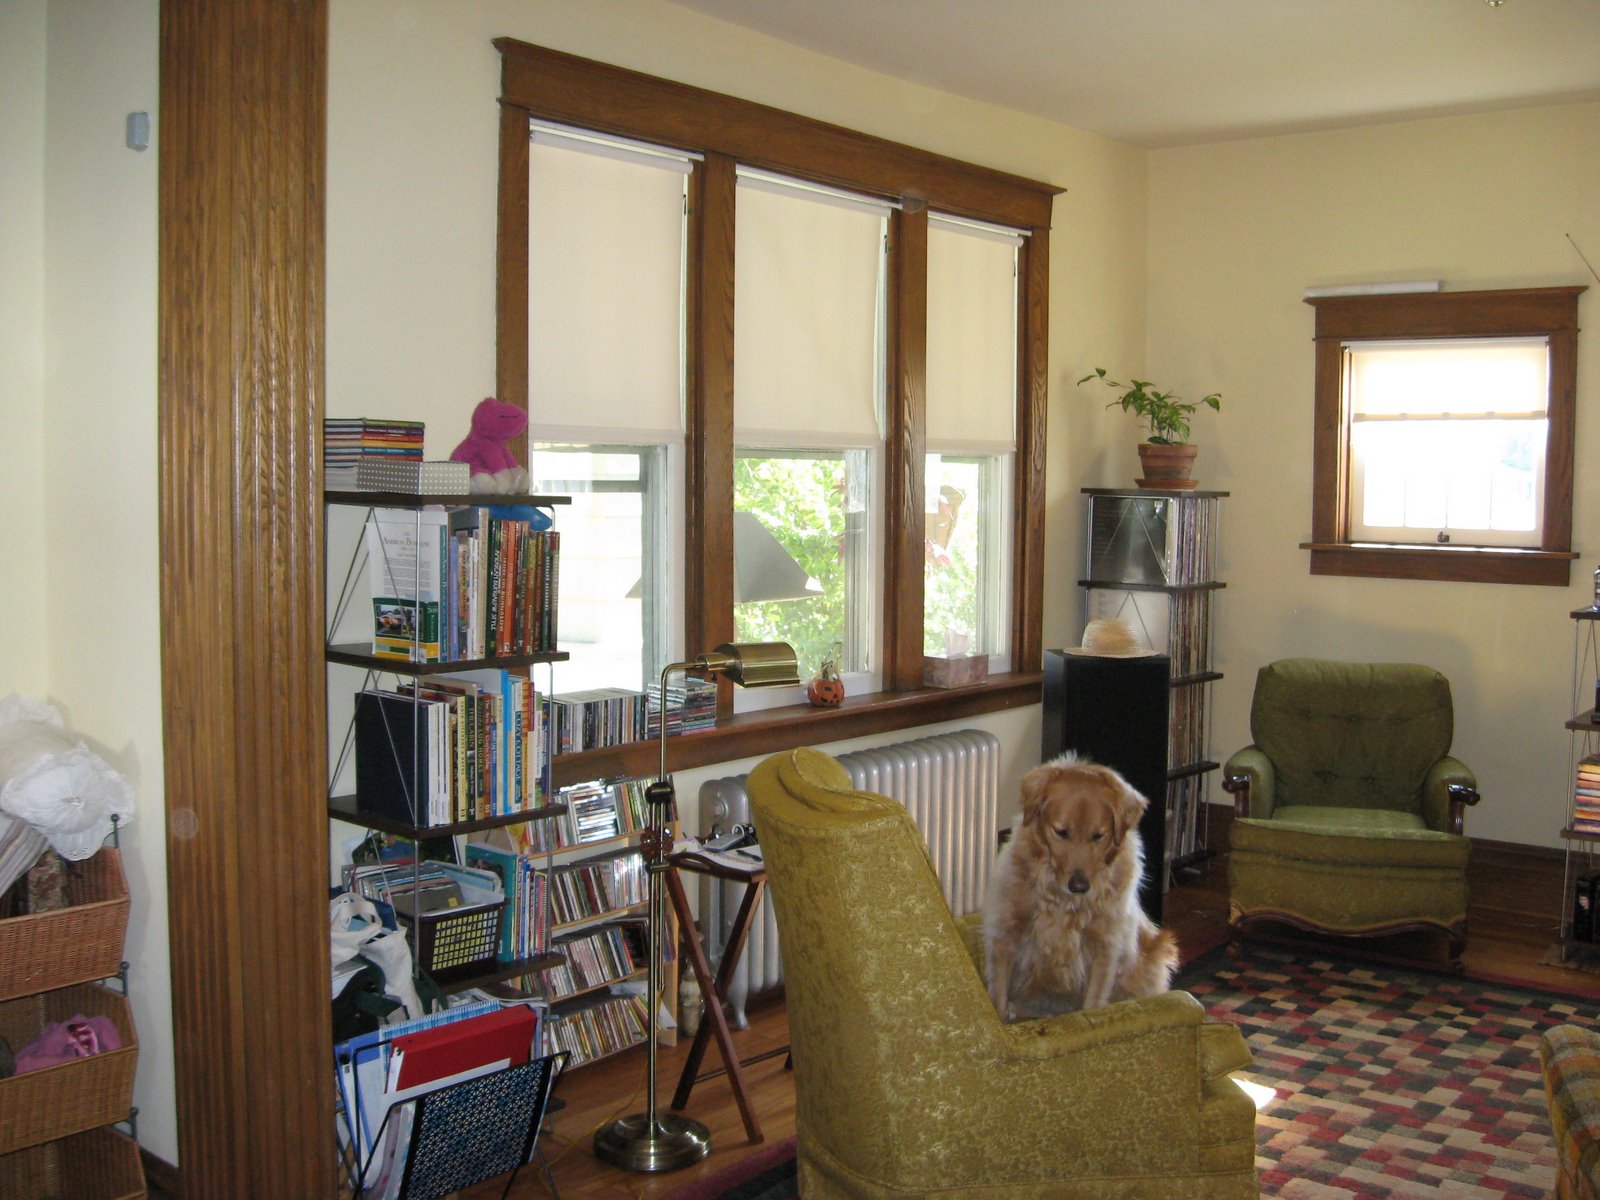
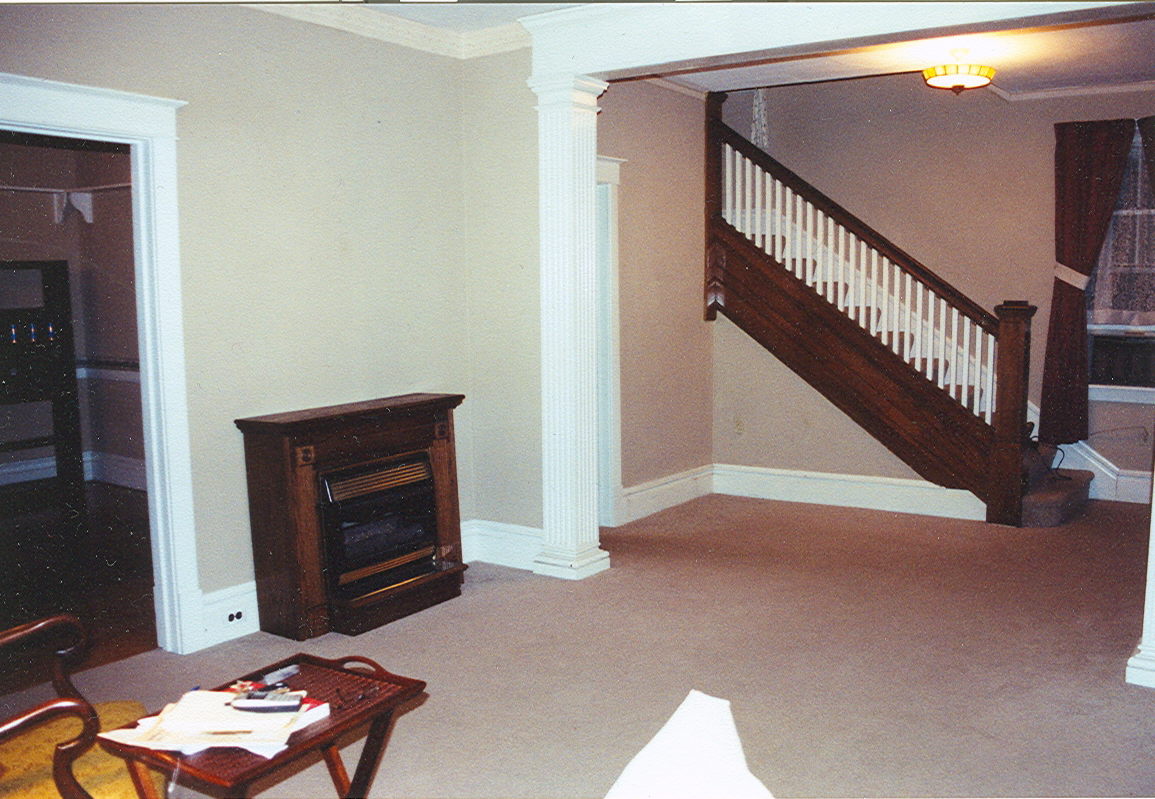
The Dining Room, as it looked in September 2003…
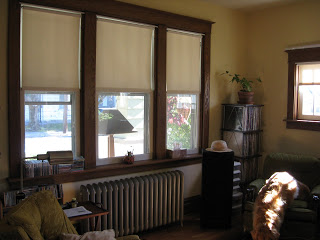
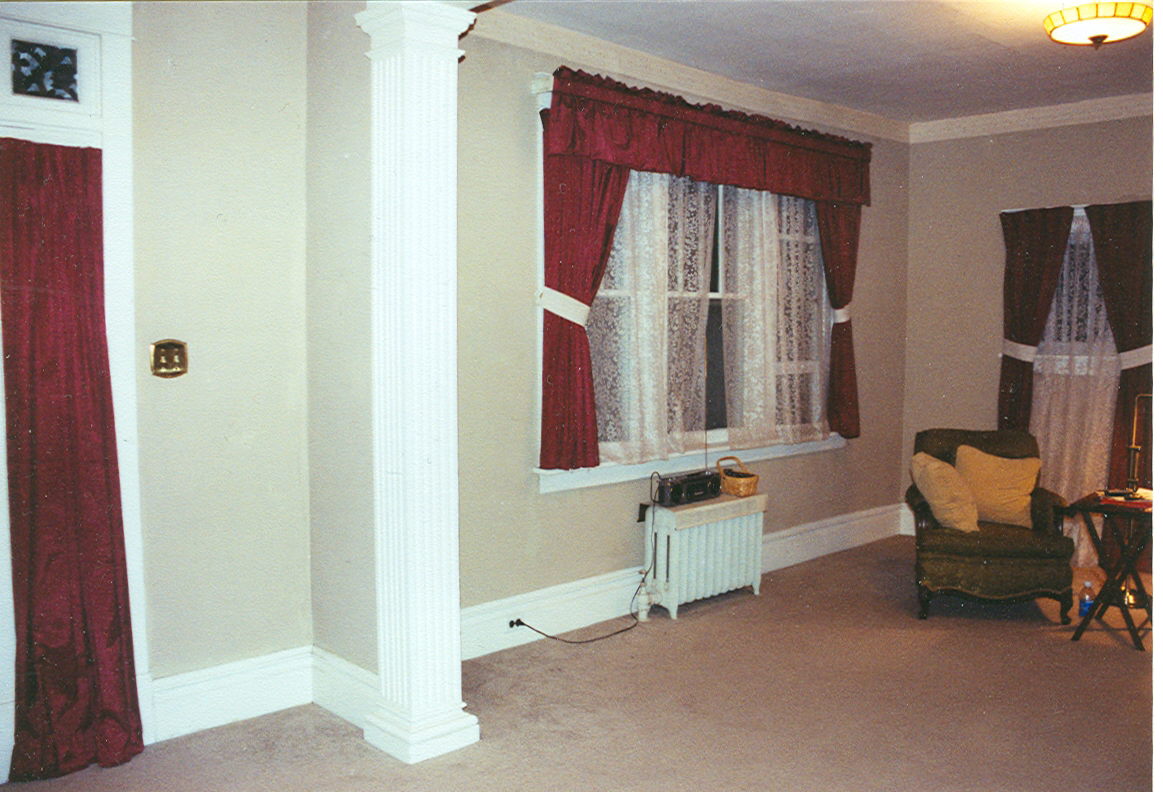
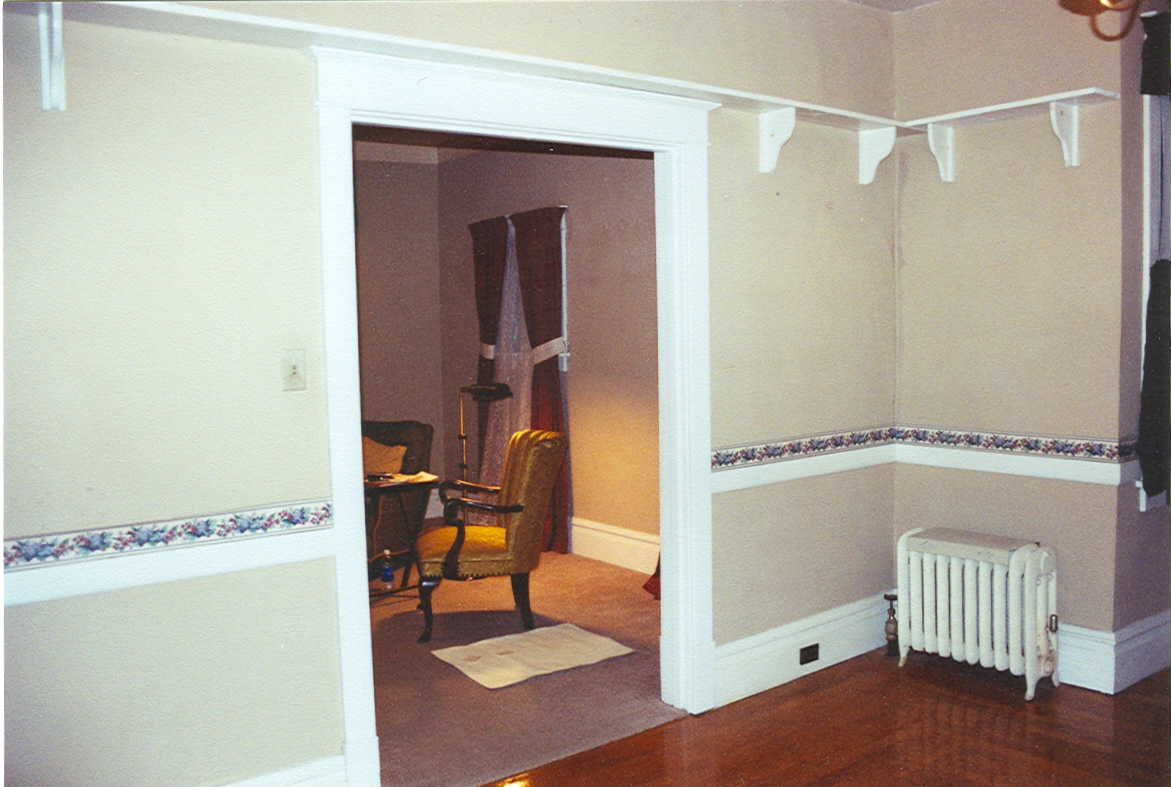 Really, no too bad. Bland wall color. Really poor treatment of that beautiful bank of windows. The glass shelves across the windows were really special, too. These people really had a thing for wall mounted shelves. They were all over the place. The plate rail around the top wasn’t bad, but it had to be removed when we moved the wall, and we discovered that it was definitely not original, and was very cheaply made. Also the chair rail was added at a later date.
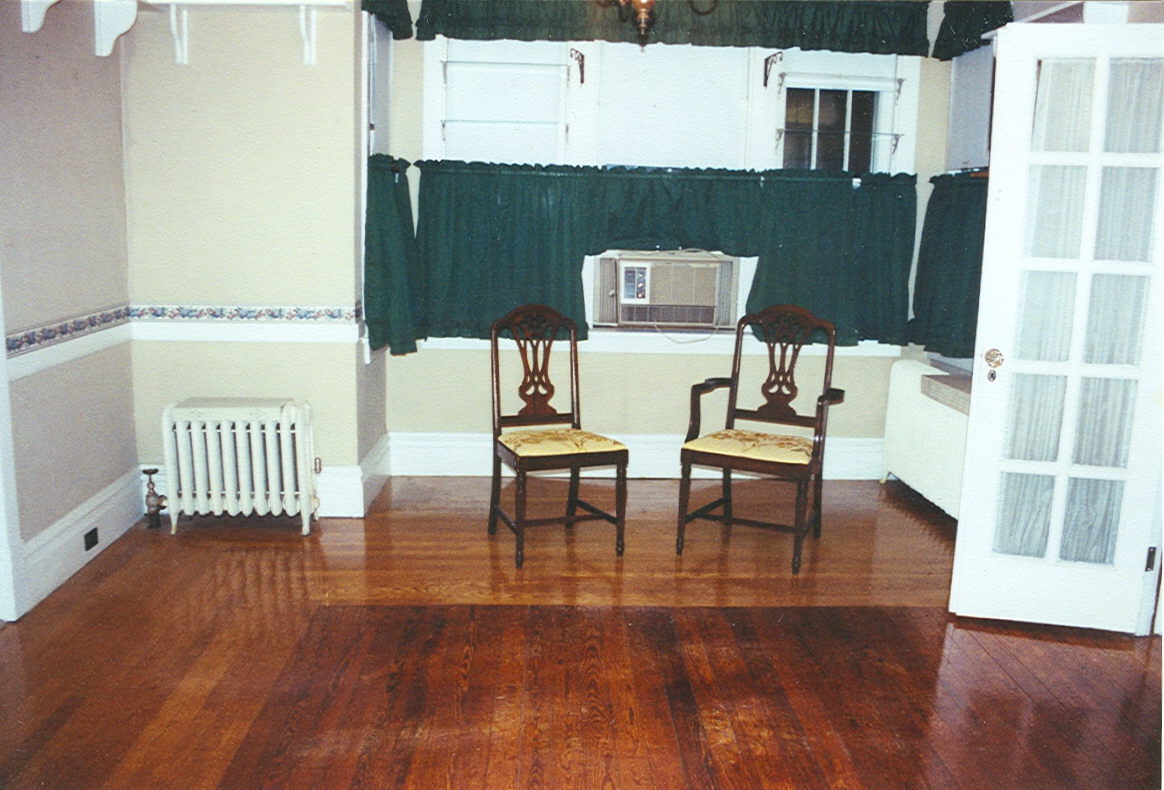 It took me a little while to figure out what was wrong with this room. The proportions were wrong, but I couldn’t quite put my finger on it. In the picture below, to the left of the French doors, you’ll notice a strange lumpy line running down the wall, right above the radiator. It is hard to tell from these pictures, but that is the edge of the bump out. You see, sometime in the past, probably in the 1950s or 60s, someone enclosed the back porch to make a bedroom. And they moved the dining room wall to make the bedroom slightly larger. Once I figured out what threw this room off, I knew it would bug me until I would be able to move it back to its original location. I just didn’t know it would be so soon…
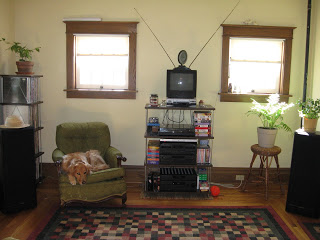
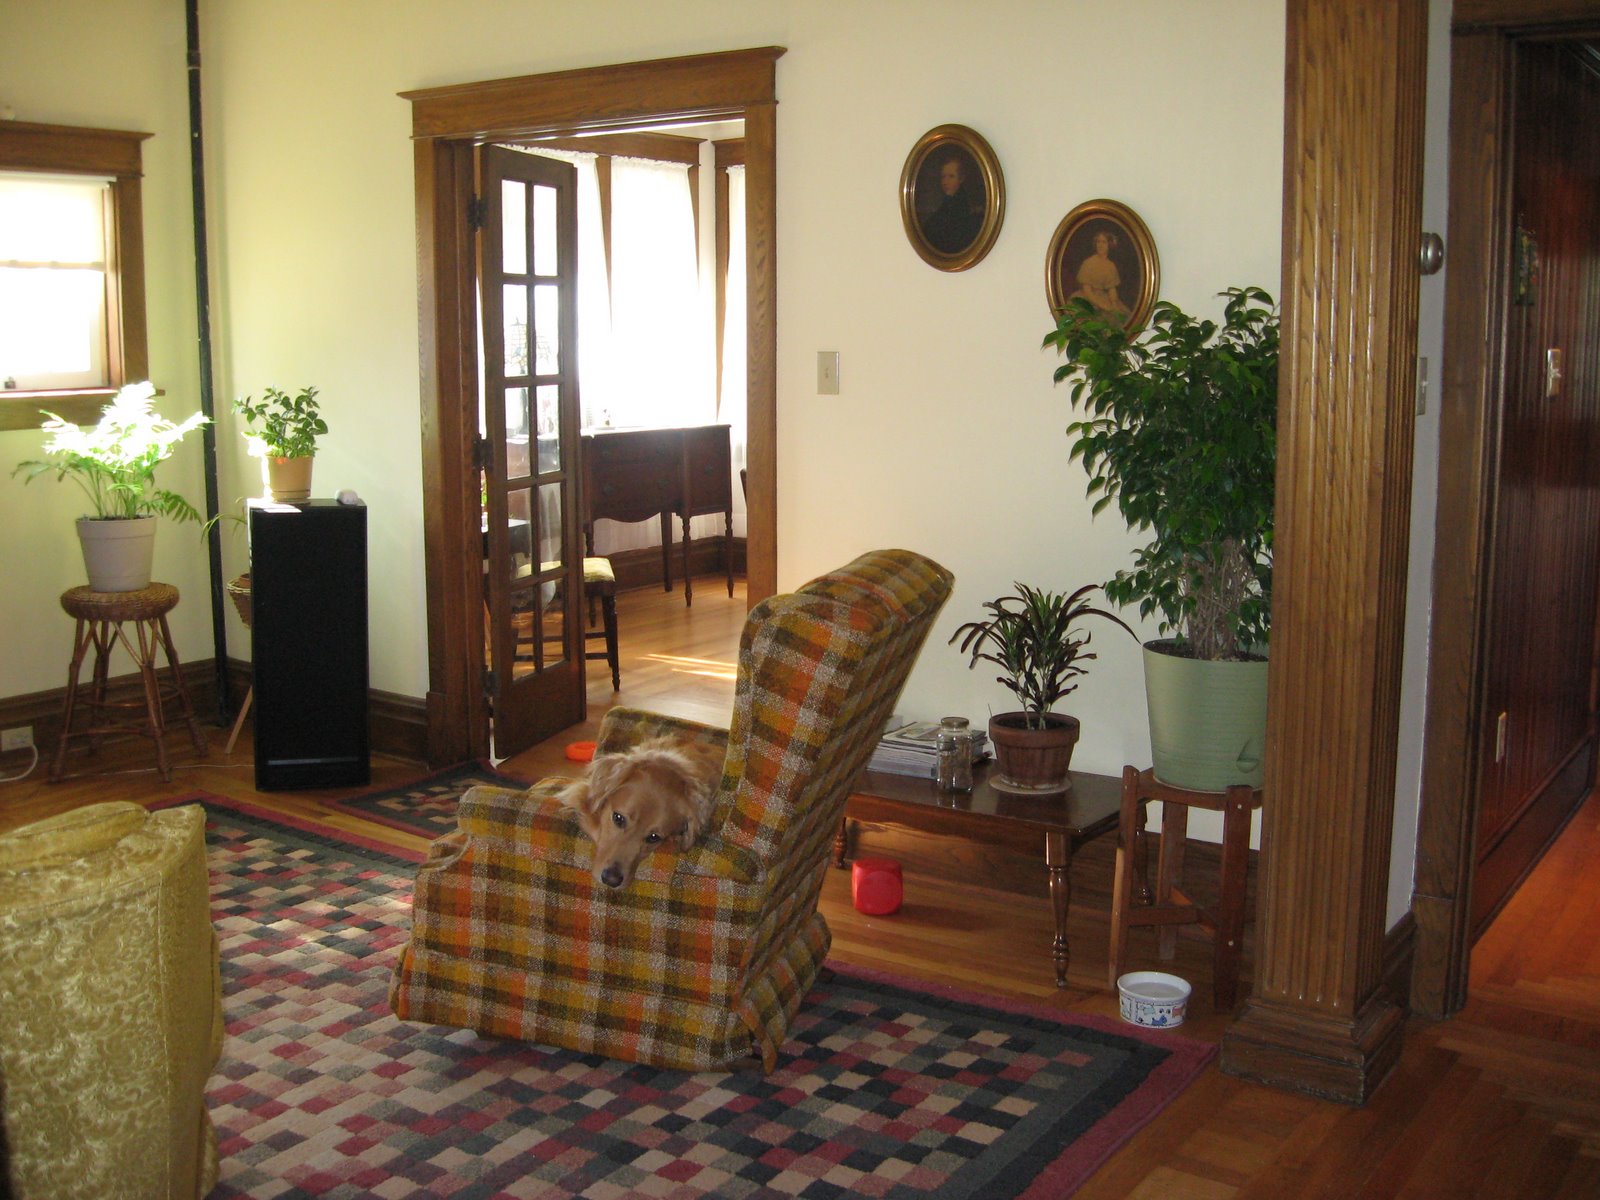
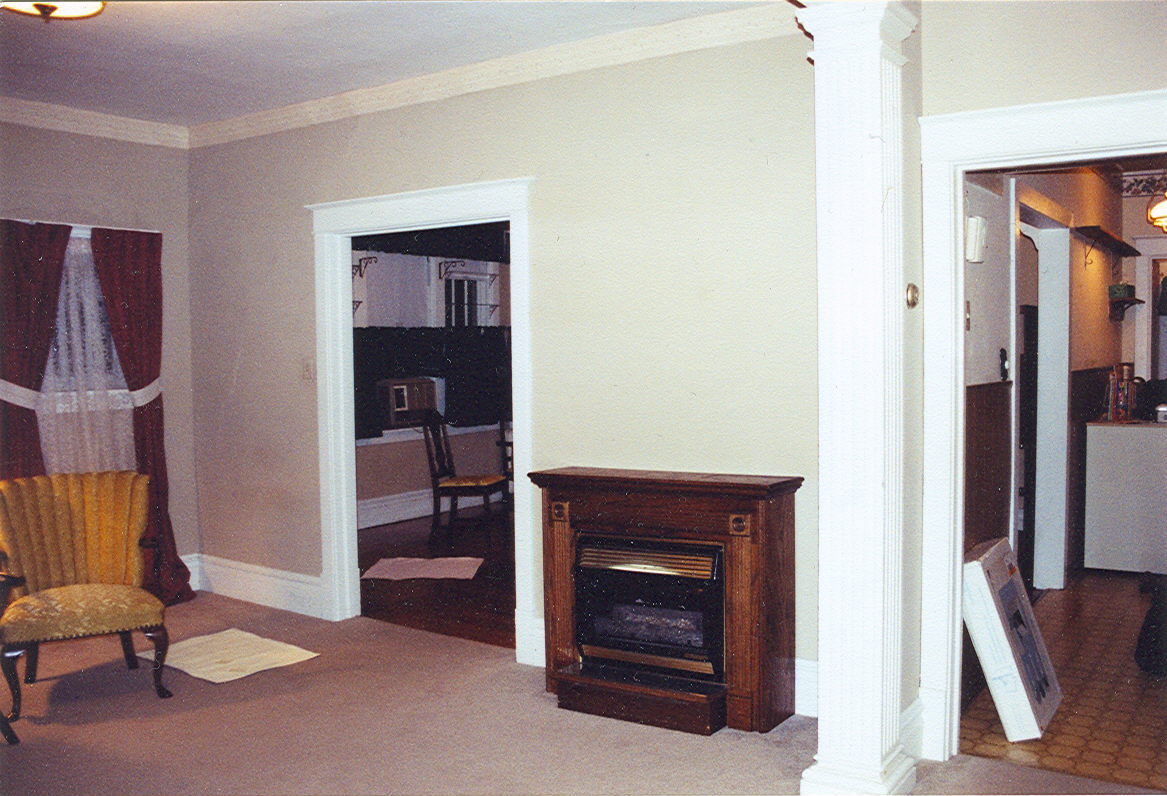
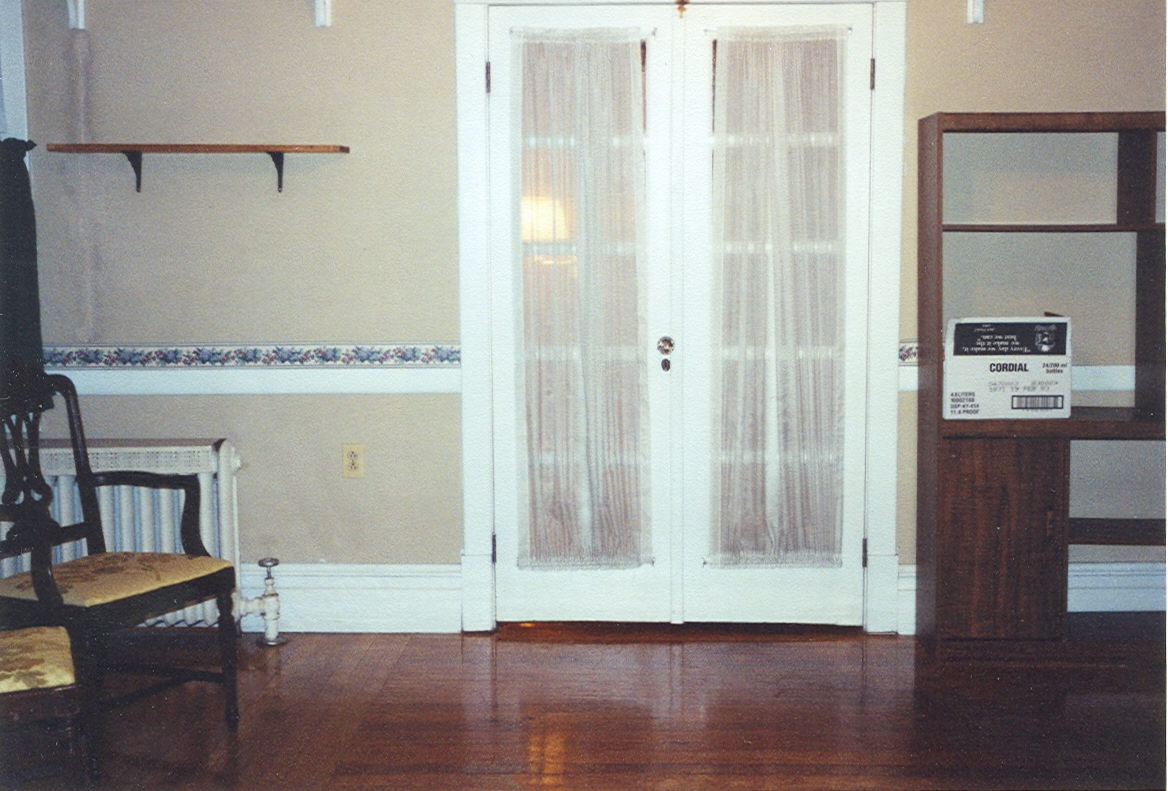 Note the fabulous press-board entertainment unit the previous owners left for me, mostly because they couldn’t fit it on their moving van.
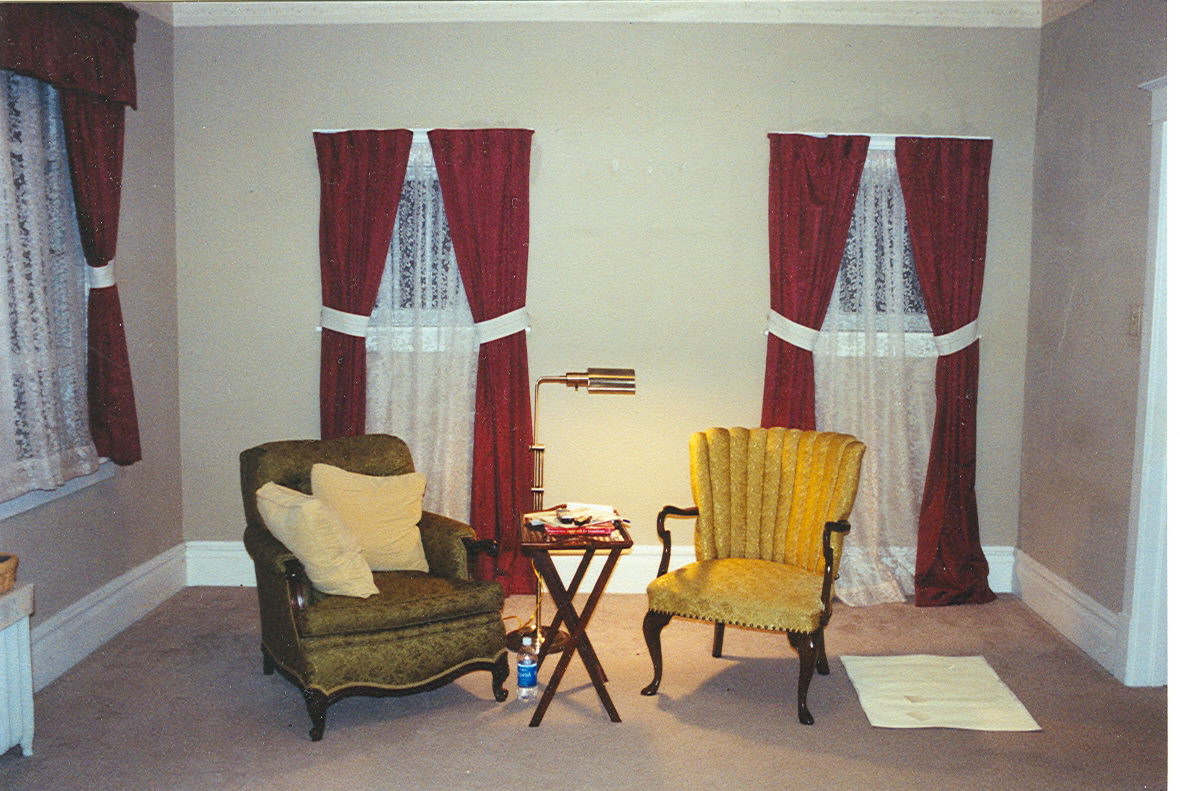
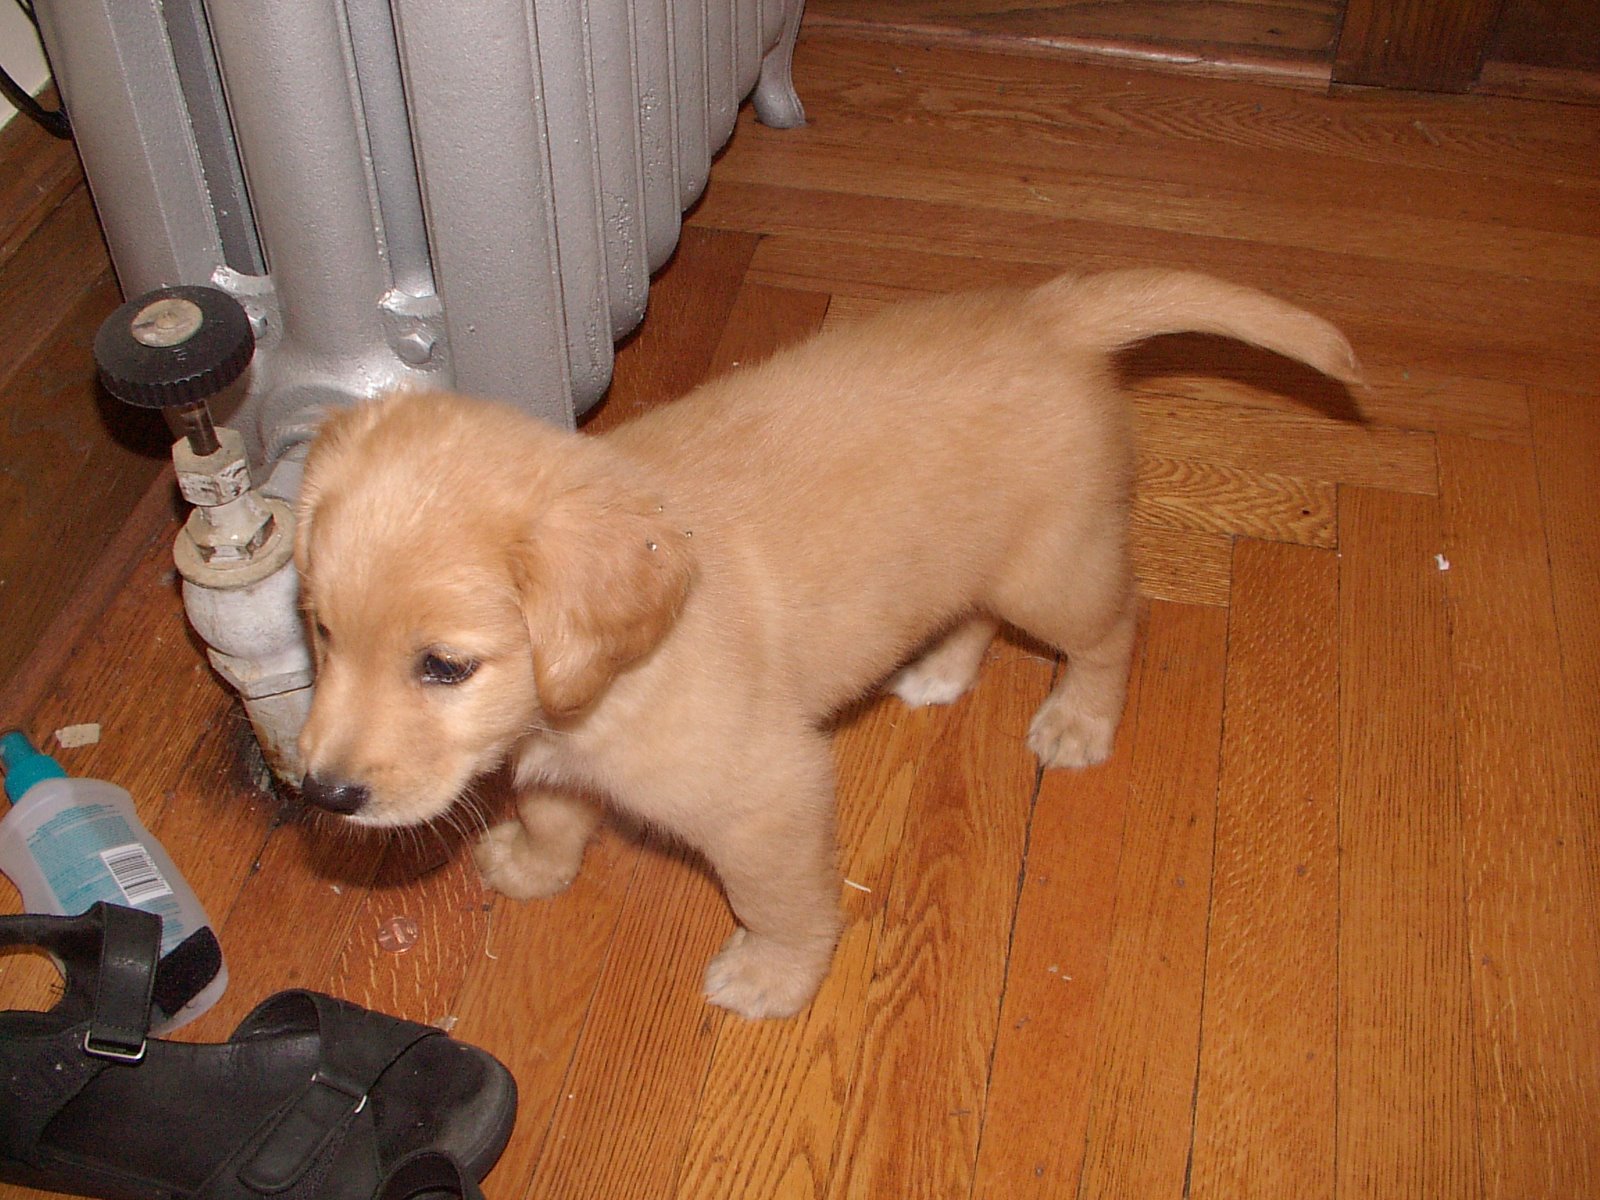
There are two radiators in this room. They should be about the same size, and they flank the window bump out. As some point, probably when they moved the wall, someone swapped the second small radiator from the dining room and put it in the living room. They took one that was almost twice as big and made it the second one in the dining room. I can only assume this was done to provide extra heat to this tiny, make-shift bedroom. Even now, it is cold back there, and before we rearranged walls there was no heat source in that space, which is also over an un-insulated part of the basement. Burr.
The doorway to the kitchen was also no longer in its original location. It should have been about 32″ wide with a swinging door. The door is still here, and it is in beautiful condition. I was very lucky. Many of the original doors were still tucked here and there around the house. Also, don’t you just love the 60s-70s “chandelier”? Brass AND wood.
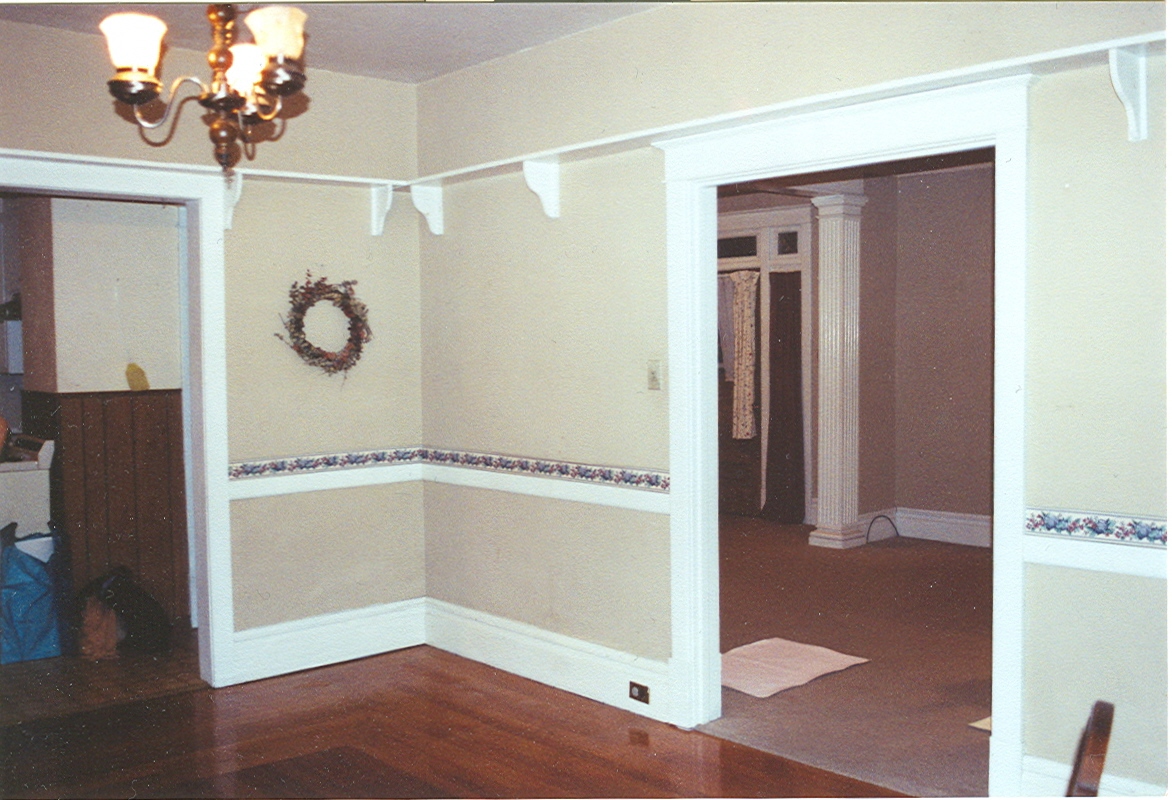 Although I like the plate rail, we never put it back up after we moved the wall. We would have had to replicate the brackets (which I have hung on to), and by the time we were even at the stage to even think about it, almost all of the shelf board had been re-purposed.
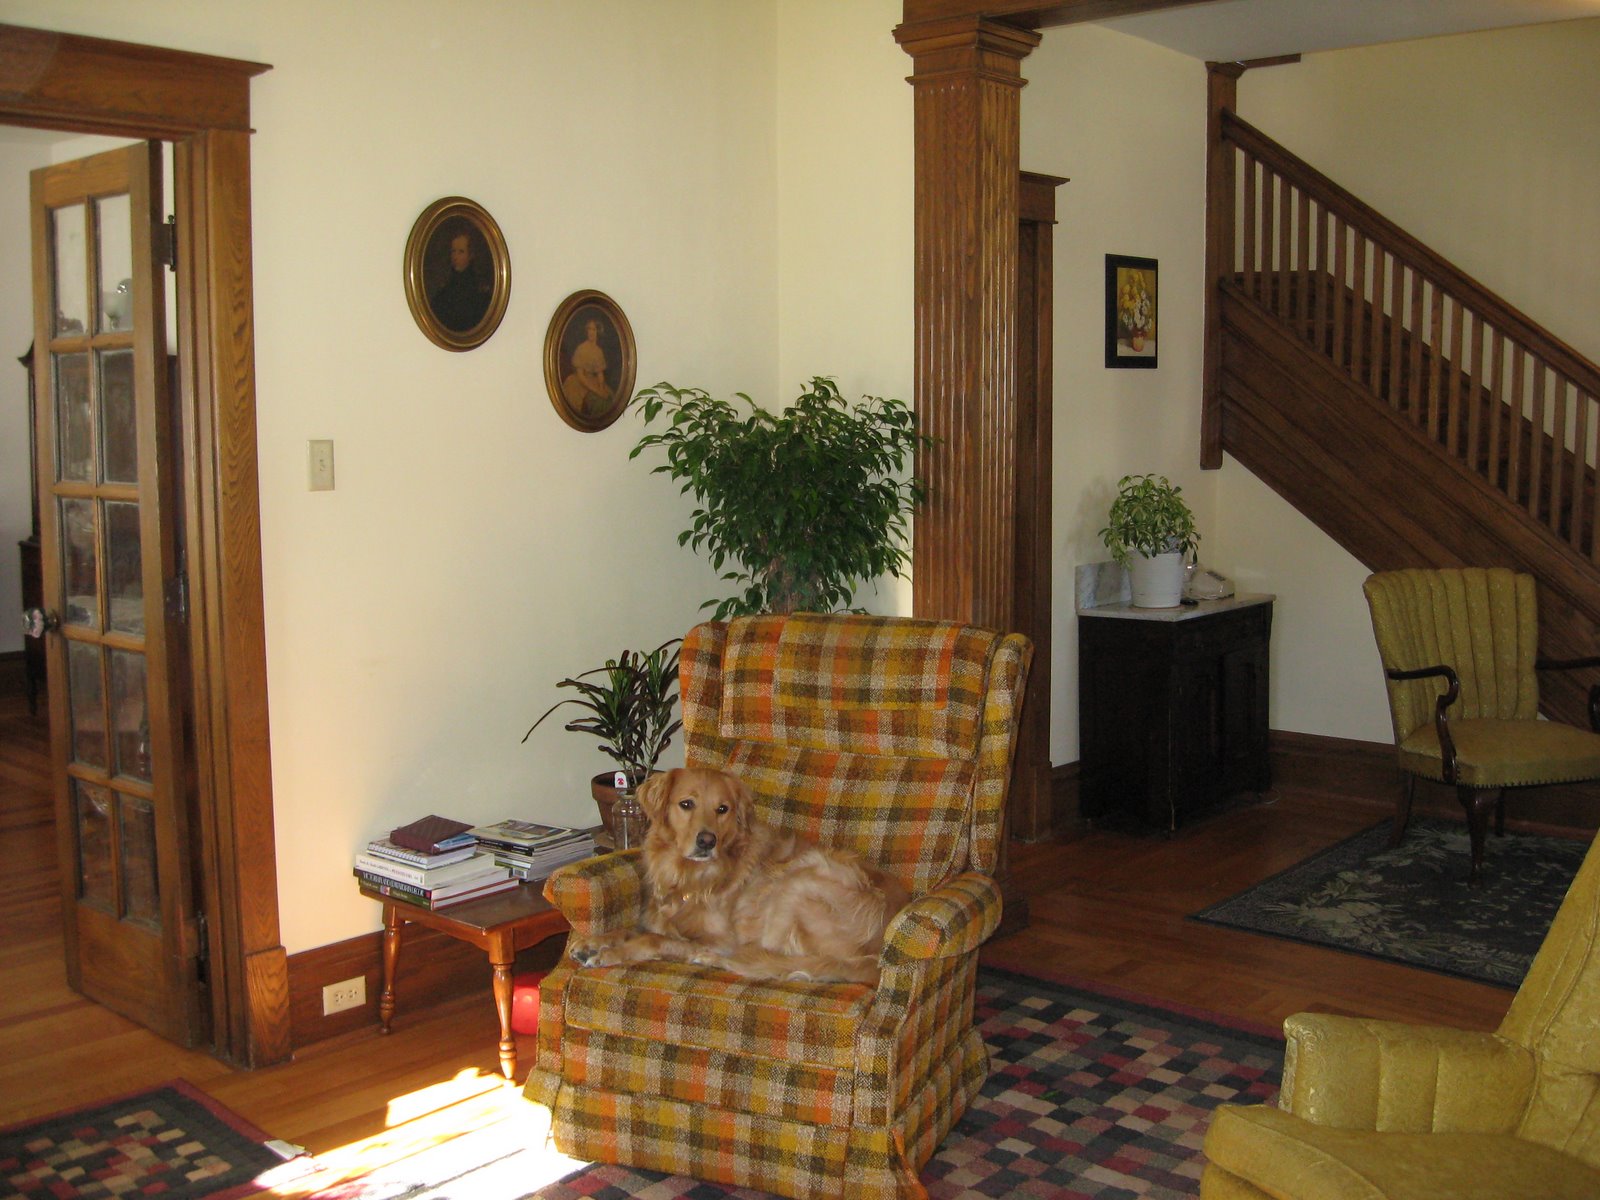
For such a simple room, it really looks different today.