In September of 2003…
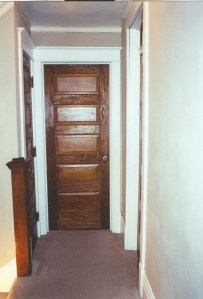 This is the upstairs hall, looking toward the front of the house, door to the front bedroom straight ahead, door to the side bedroom on the right, door to the linen closet on the left, and just next to that is the staircase to the first floor.
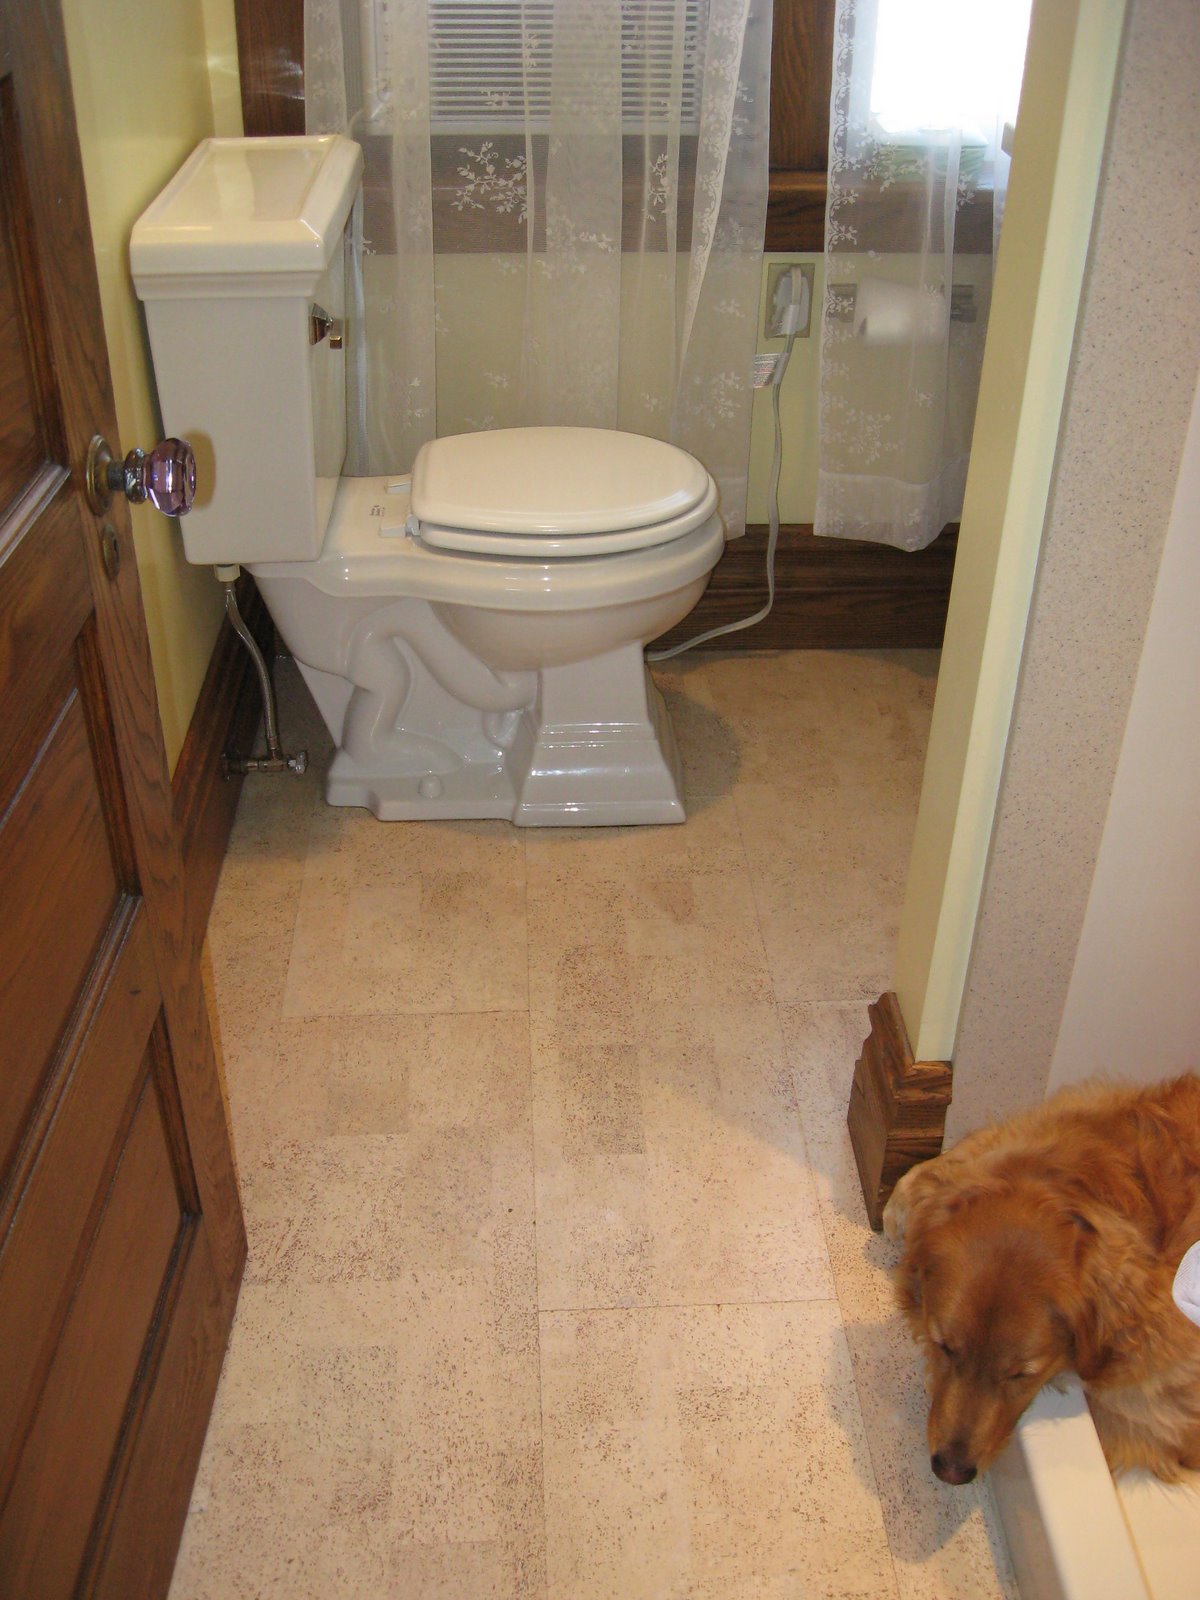
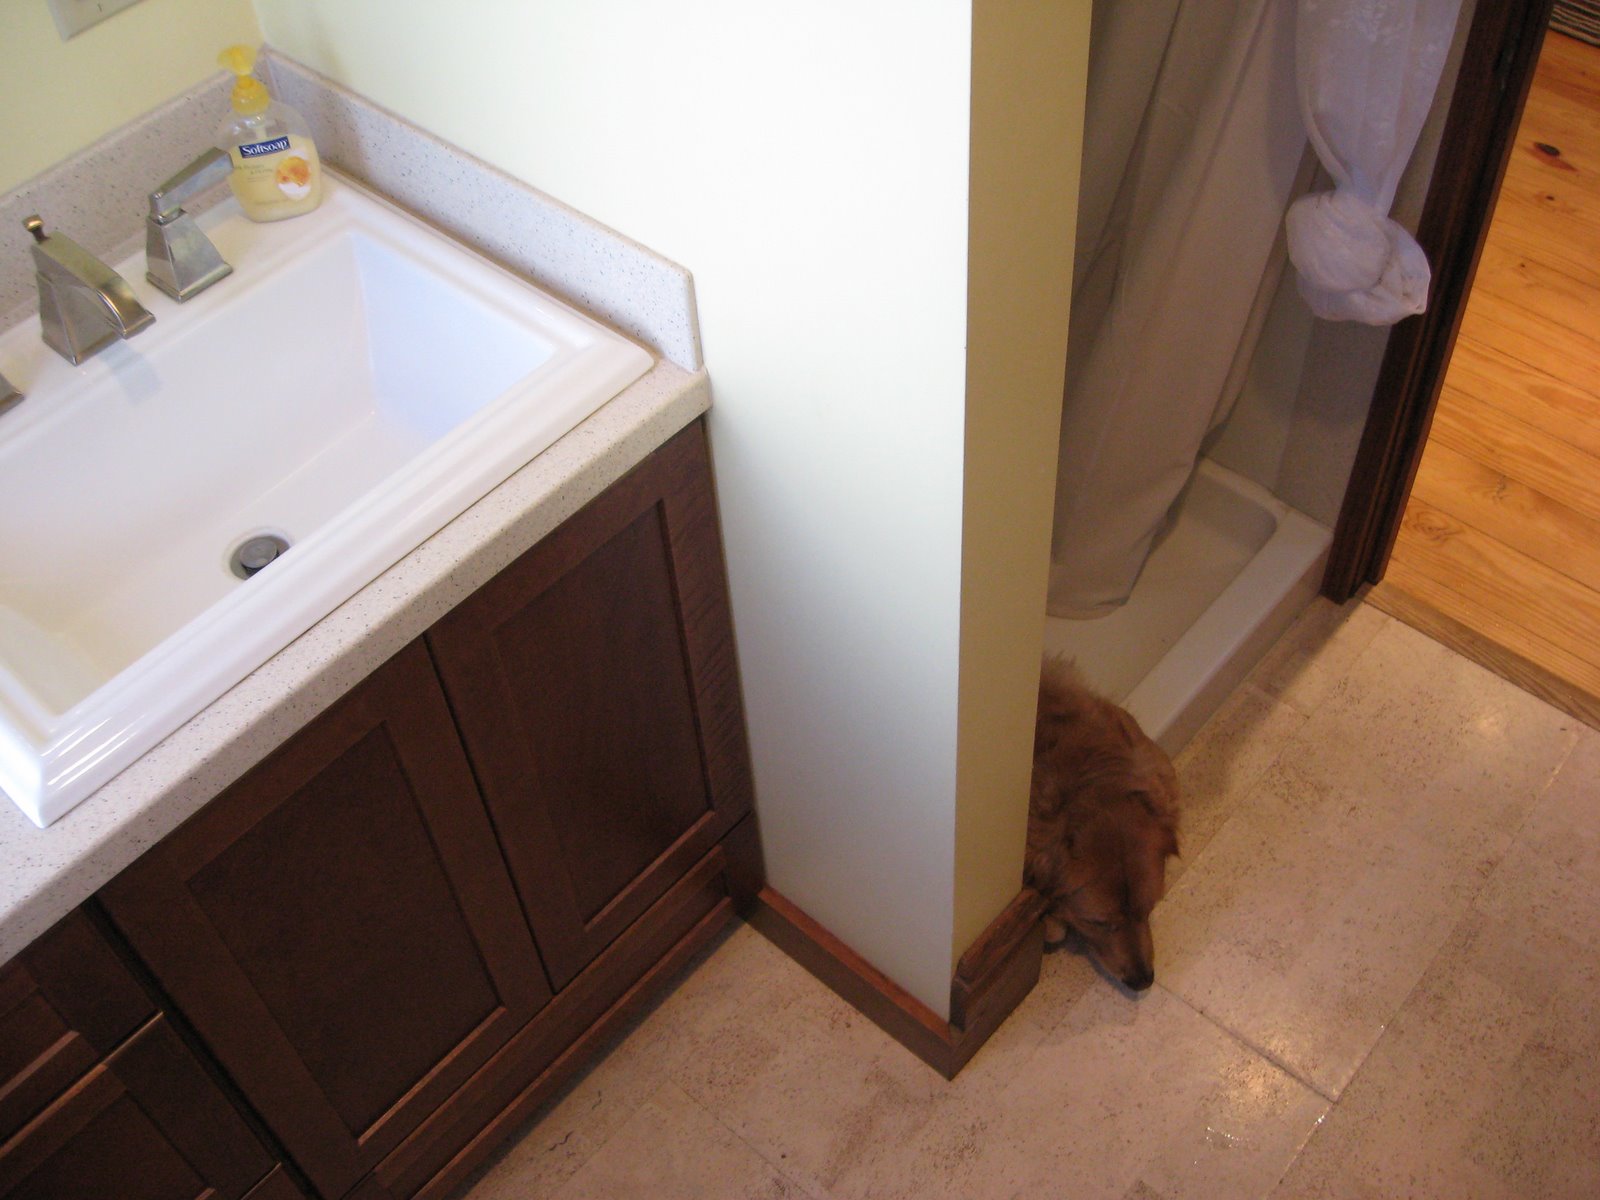
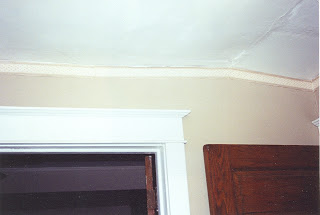 This is a good view of bad plaster patching. Don’t worry, that’s all fixed now. The open door on the left is to the back bedroom, and the open door on the right is to the bathroom. We made some major modifications to this area to enlarge the bathroom, but nothing you would notice today if I didn’t point it out. Which I will do. So keep this spot in mind when we get to the back bedroom and the upstairs bathroom.
 This is the upstairs hall, looking toward the front of the house, door to the front bedroom straight ahead, door to the side bedroom on the right, door to the linen closet on the left, and just next to that is the staircase to the first floor.This is a good view of bad plaster patching. Don’t worry, that’s all fixed now. The open door on the left is to the back bedroom, and the open door on the right is to the bathroom. We made some major modifications to this area to enlarge the bathroom, but nothing you would notice today if I didn’t point it out. Which I will do. So keep this spot in mind when we get to the back bedroom and the upstairs bathroom.
 Unfortunately, I didn’t learn about this until after all the woodwork was refinished, and now I am afraid to mess with it. If I broke the cap while prying it off, I’m pretty sure we couldn’t replicate it. I know we have saved nearly every scrap of chestnut wood, but I don’t think we have anything that thick.
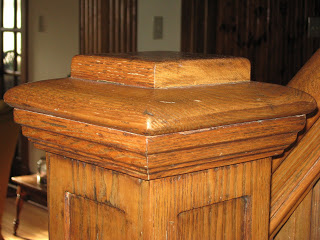 On the other hand, there could be something very valuable in there. No, I don’t expect to find money, but blueprints would be terrific.
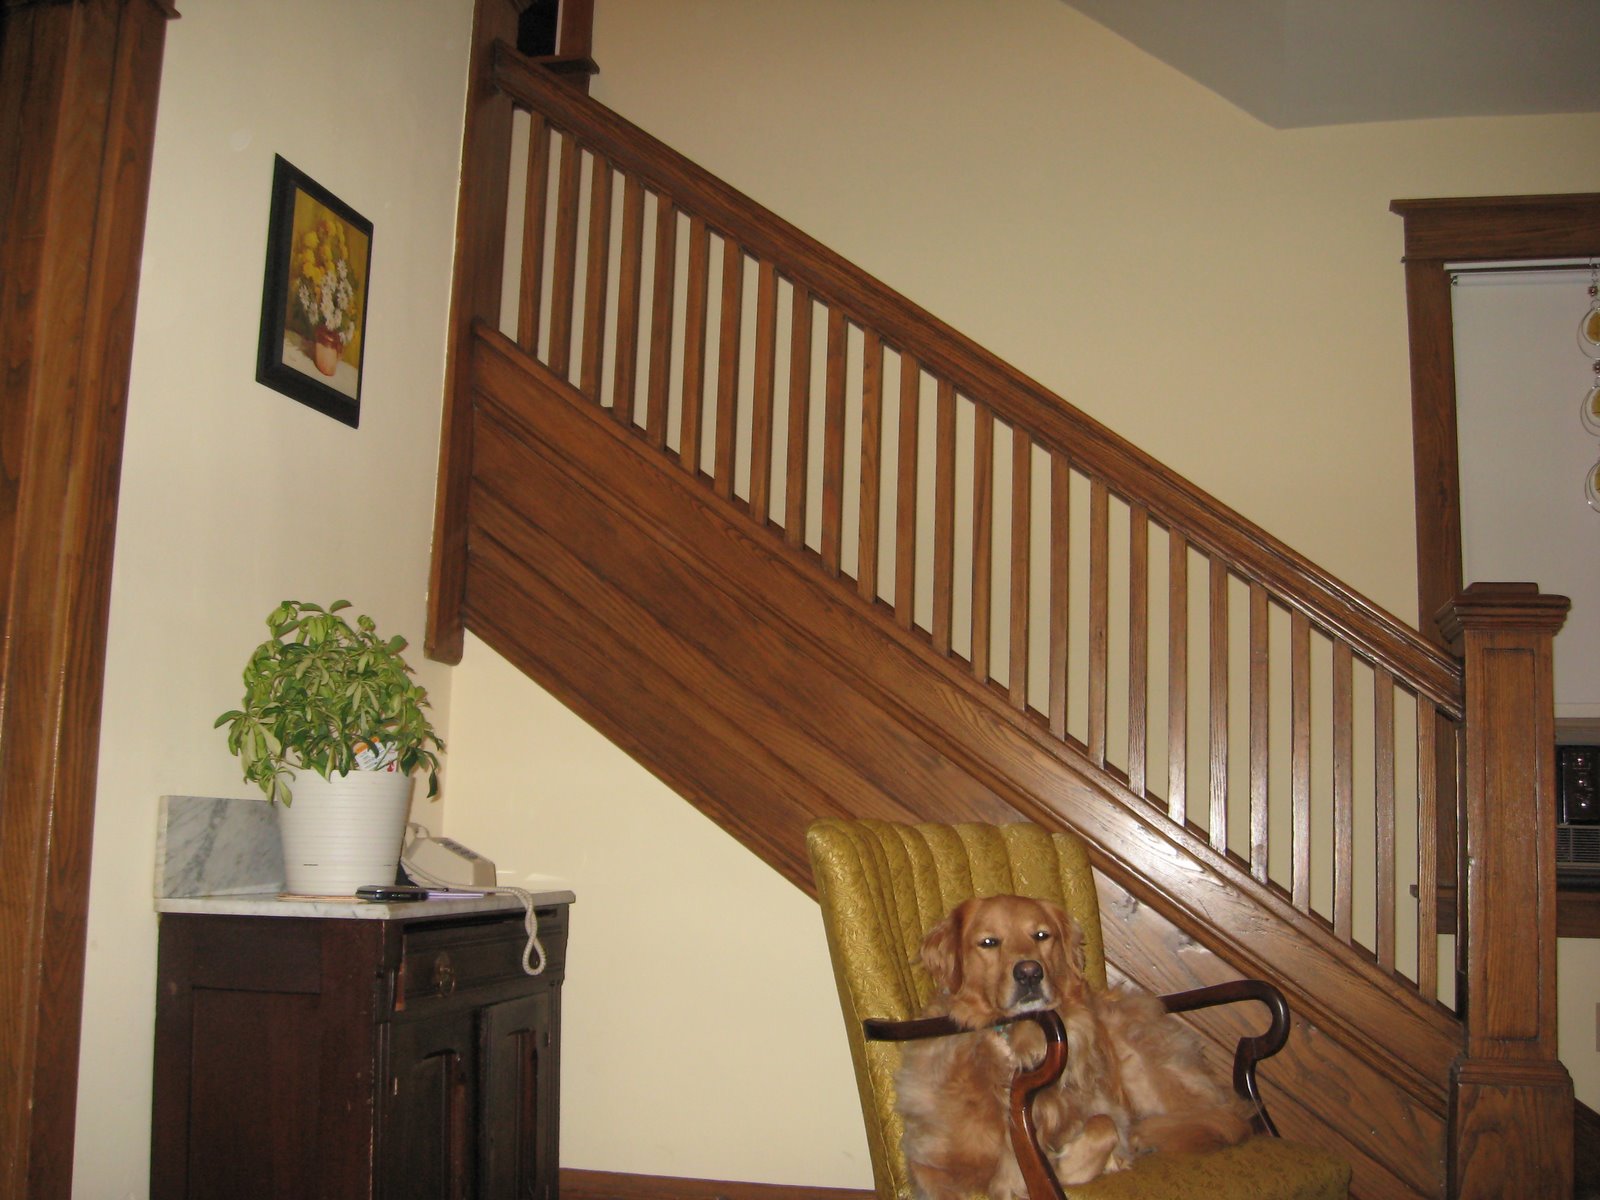
 Funny story about the stairs. When it came time to strip the baseboard trim on the staircase, they couldn’t get to all of it without taking the carpet out. Now, I wasn’t in love with the carpet, but until this point I hadn’t really thought about pulling it out. I mean, it was in okay condition, it wasn’t quality to begin with, but still… When it was all said and done, all the carpet in the house was torn out. It made a good drop cloth to protect the lovely original wood floors hiding beneath.
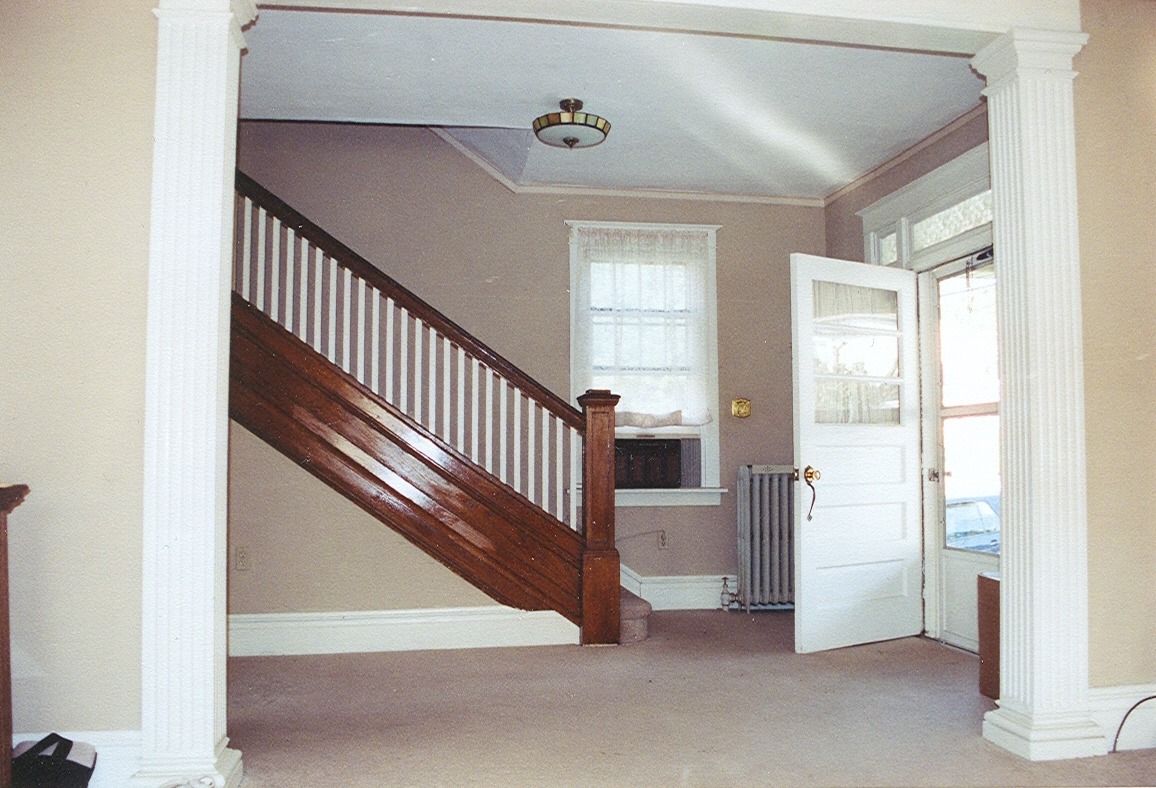
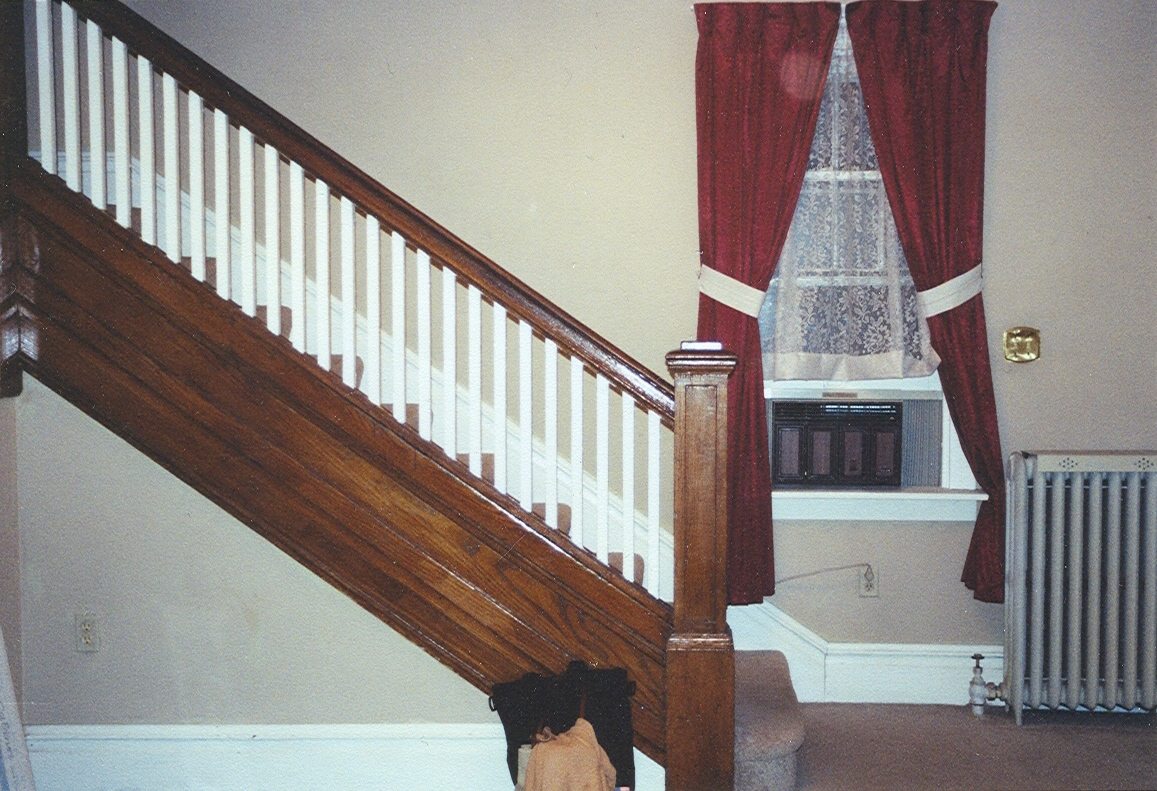
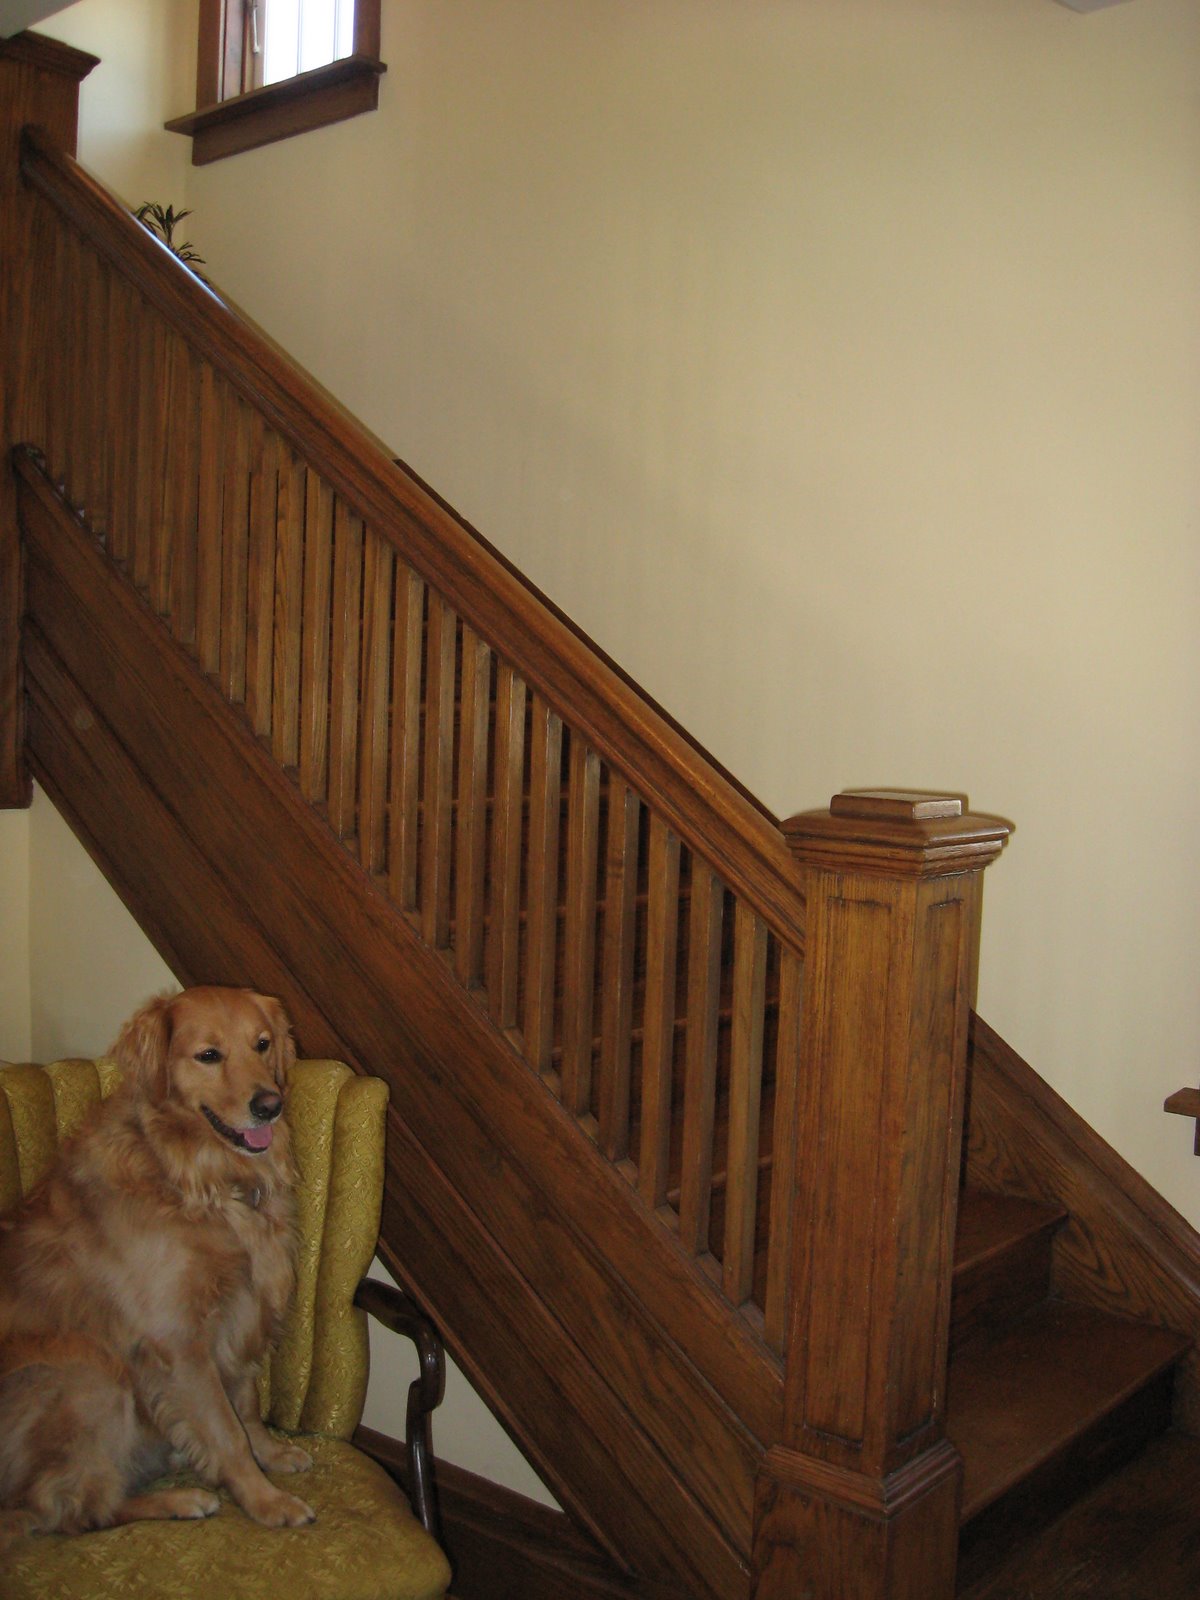
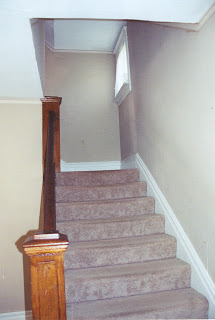 The view from the upstairs hall, showing the landing and its window. Nice curtains, huh? Gotta love that skinny wallpaper border, too. Really. The crooked, aged plaster ceiling is where you want to draw the eye, right?